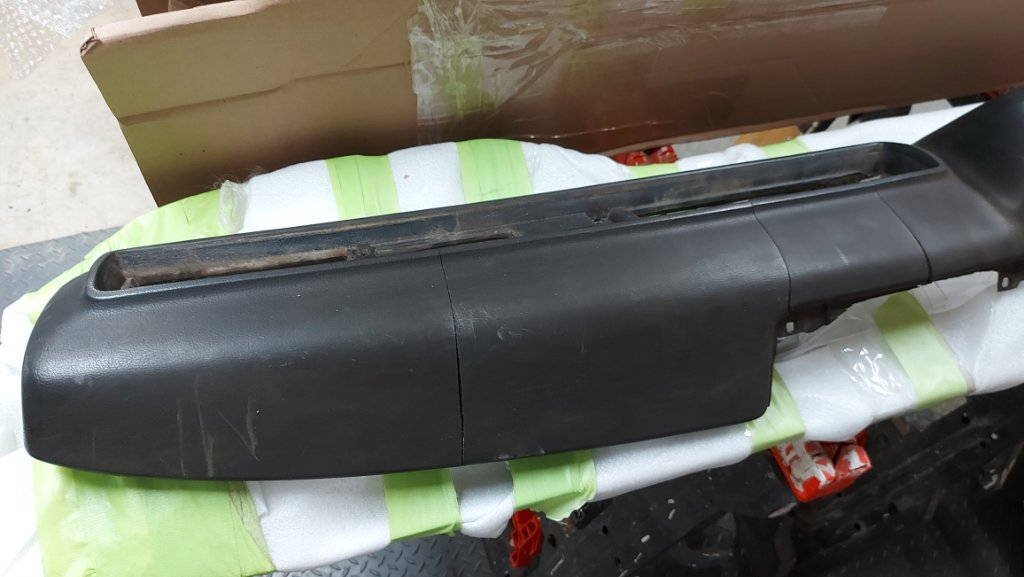
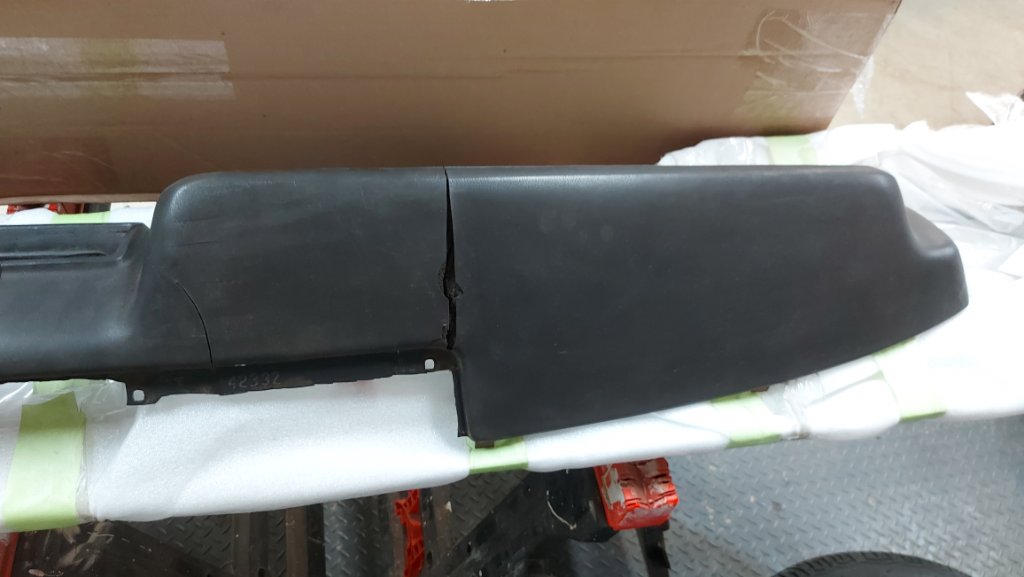
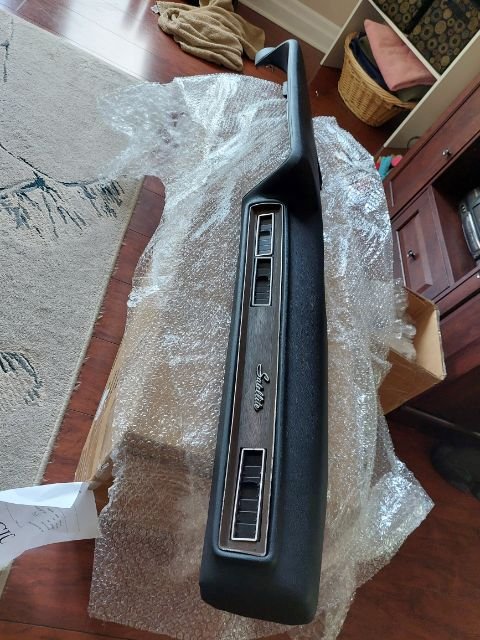
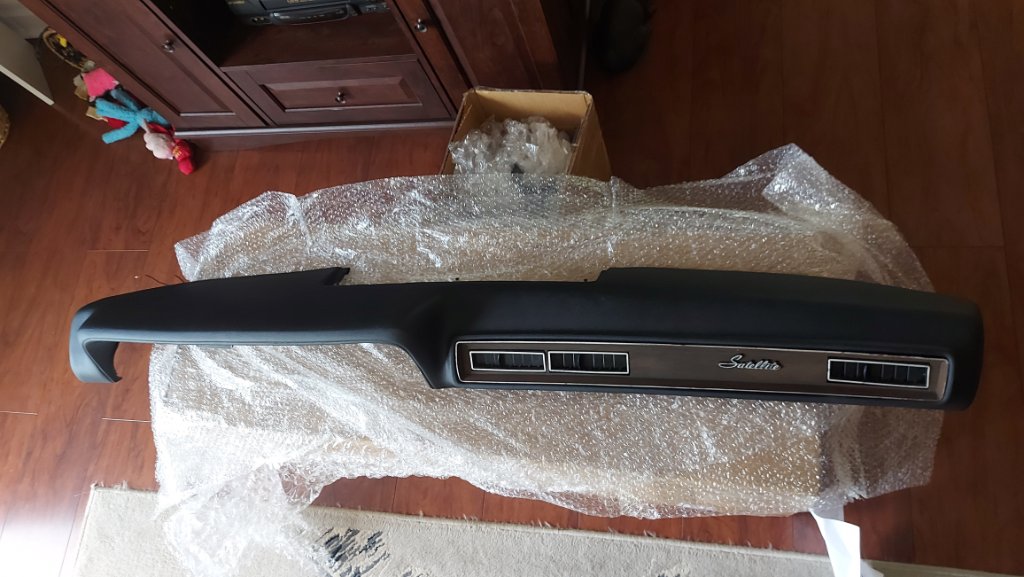
I was finally able to score the most sought after part for this project...........the coveted dash pad..

I'd been searching for a replacement pad for about 2 years now as the one that came in the car was had the typical cracks on it.
- July 3rd (12).jpg (74.34 KiB) Viewed 239983 times
- July 3rd (13).jpg (58.23 KiB) Viewed 239983 times
A little backstory on this crusade.
I had an order for one with a company called Moparts Canada located in Windsor, Ontario.
Well after dickin me around for a year they still could not come up with one, so I cancelled my order.
A local Mopar guy was getting them from a company in El Paso, Texas (but wouldn't tell me the name of said company) so I had him order one for me - that was in March of this year.
I heard nothing about mine until recently I messaged him and he said that he cancelled all his orders and stopped payment.
So I asked about my order to which the reply was "sorry, I might go to Carlisle and find one."
So I figured my chances of him finding one was a snowballs chance in he!!

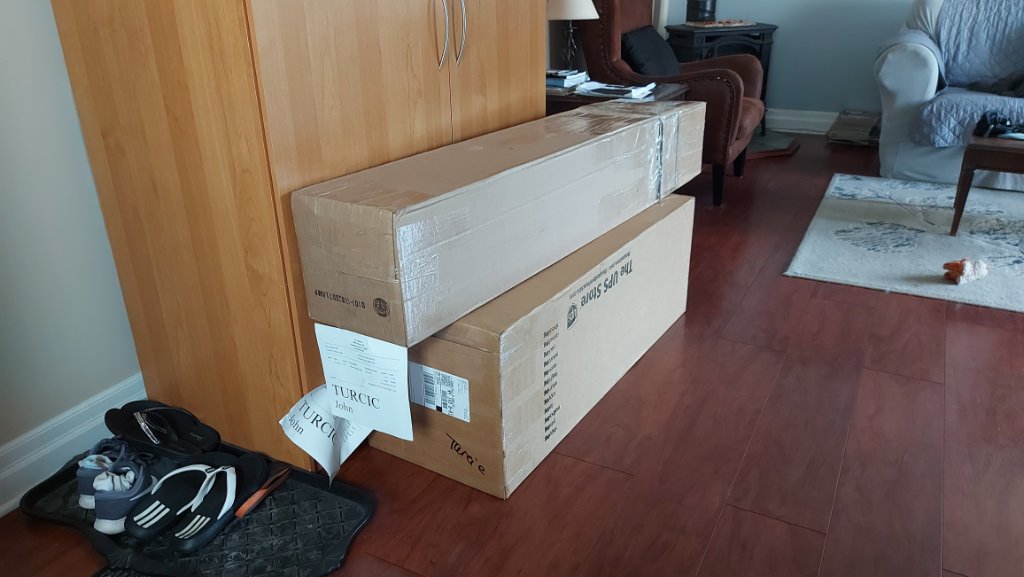
Last week I was looking on the for B-Bodies site under interior parts for sale and lo & behold there's a dash pad for sale!!!
Long story short I made contact with the seller who agreed to ship it to my US mailbox.
I picked it up on July 3rd.
I couldn't be happier...

- July 3rd (1).jpg (81.51 KiB) Viewed 239983 times
- Dash pad pics (12).jpg (83.67 KiB) Viewed 239983 times
- July 3rd (2).jpg (109.9 KiB) Viewed 239983 times
