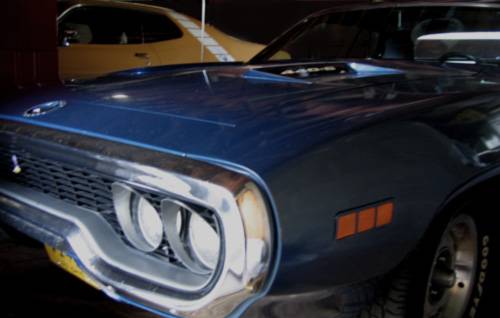
Onto removing the drivers side door glass from the original door.
I figured if the quarter glass was any indication on the difficulty level I was in for a bad time.

Well, I took my time and it wasn't too bad.
First - take some pics of misc. items to know where they go back in place.
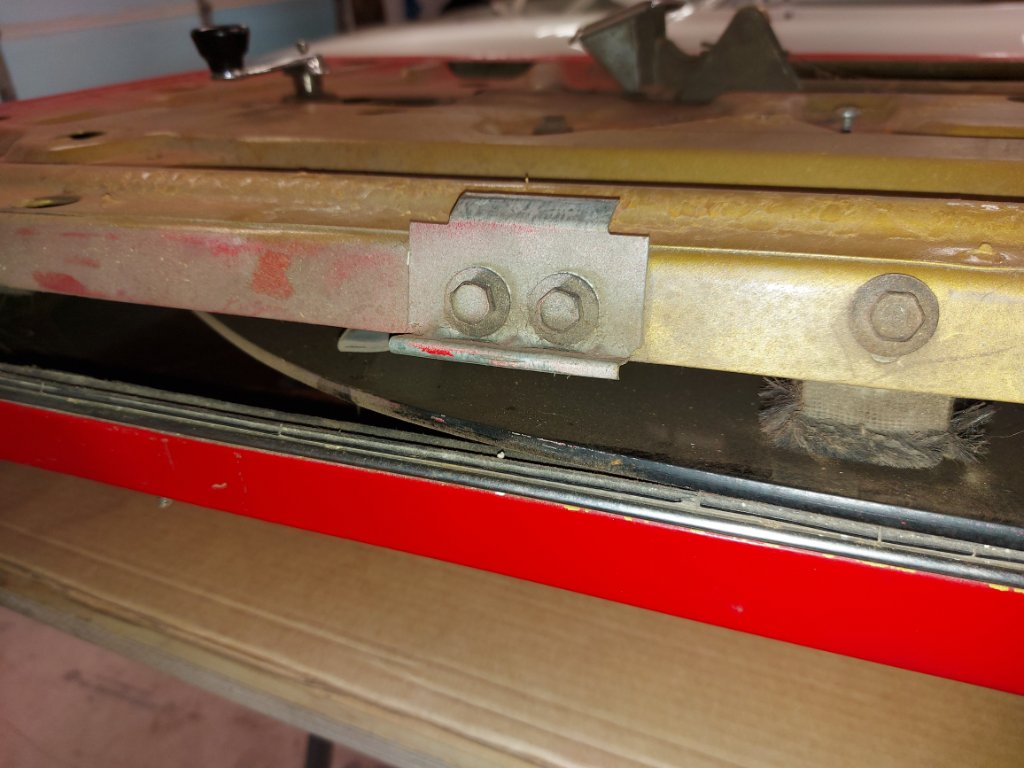
- Oct 25 (6).jpg (108.43 KiB) Viewed 58830 times
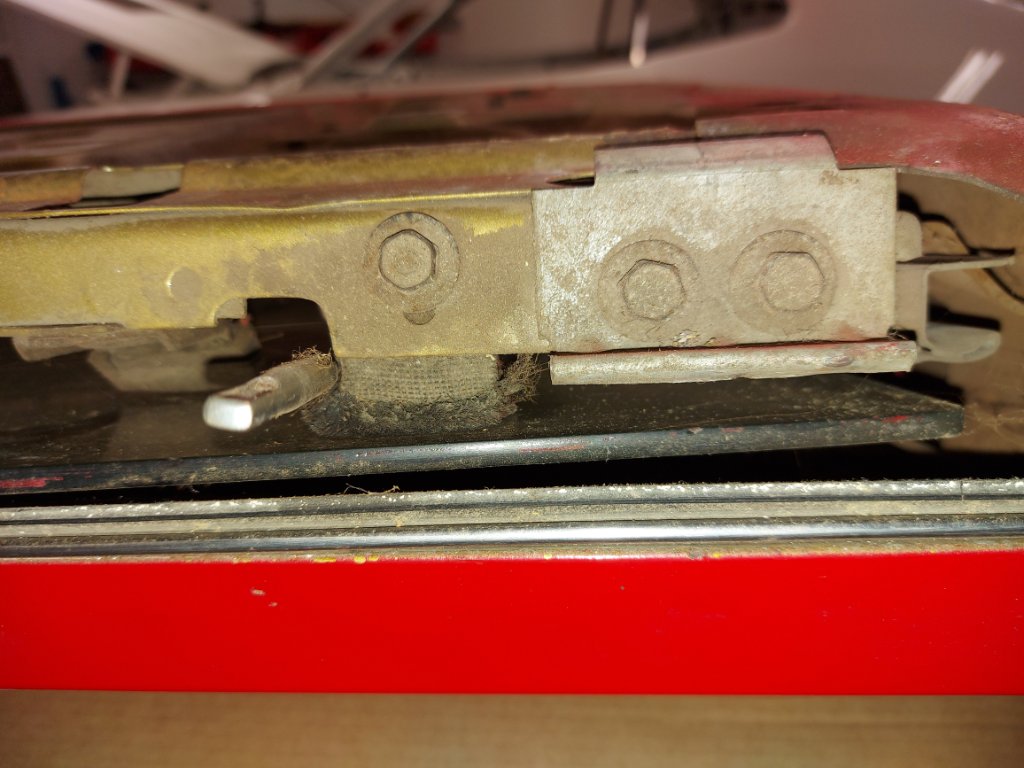
- Oct 25 (8).jpg (114.42 KiB) Viewed 58830 times
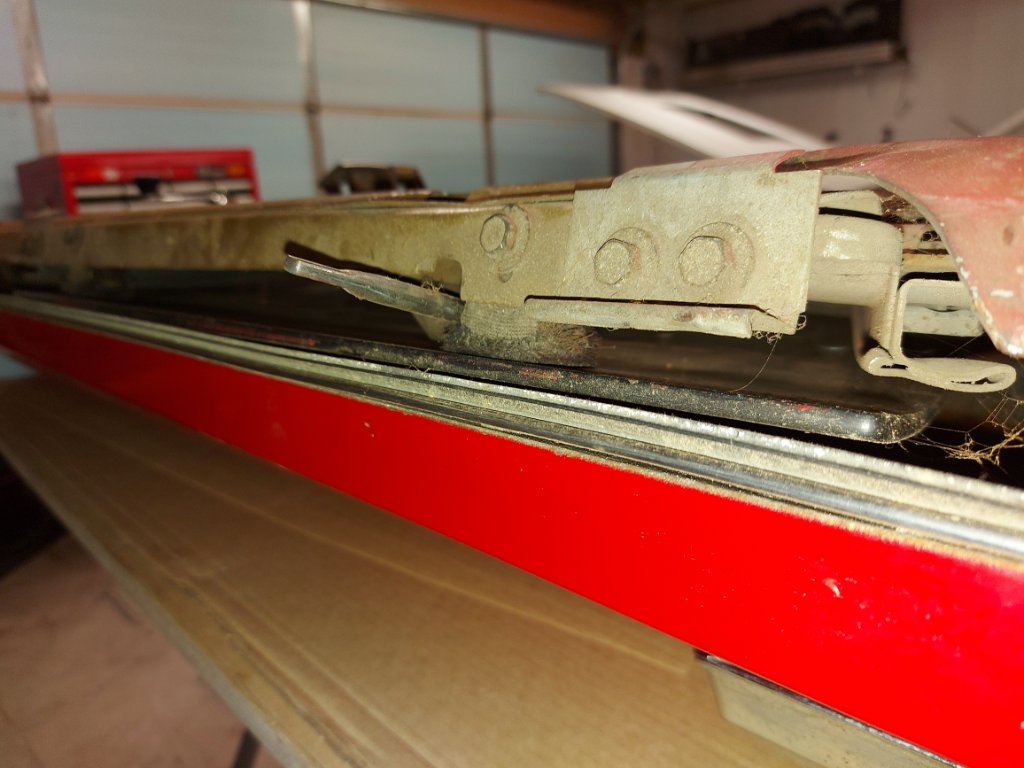
- Oct 25 (9).jpg (100.14 KiB) Viewed 58830 times
Next, pull out the door latch and door handle.
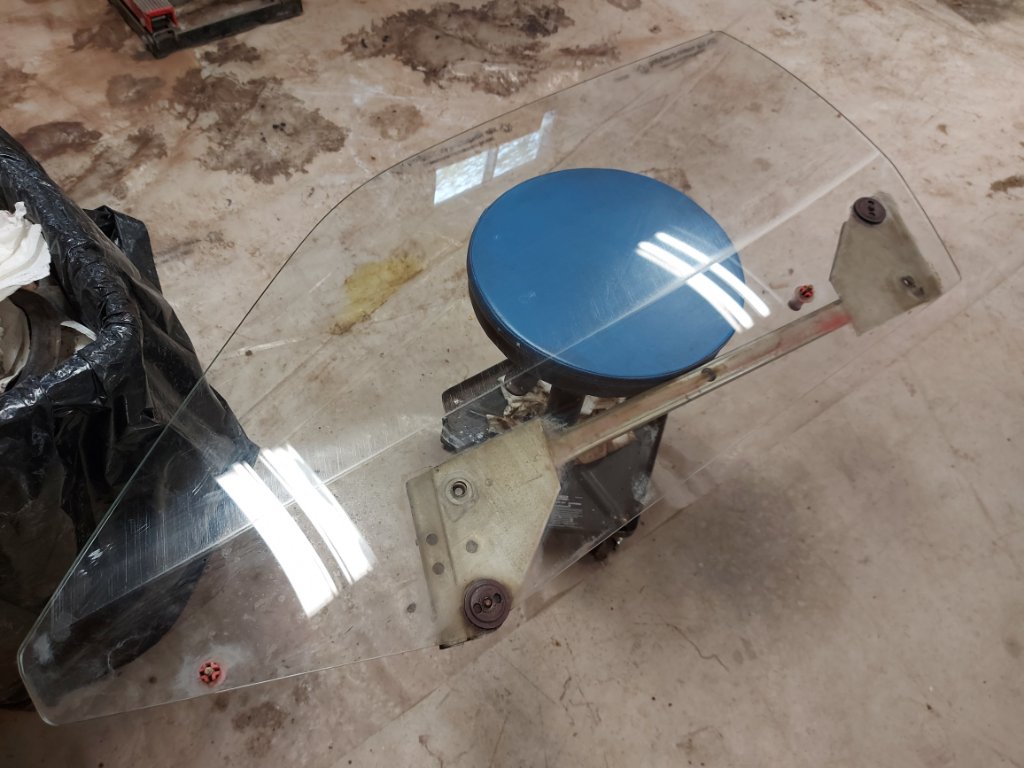
That leaves room to pull the glass and the track.
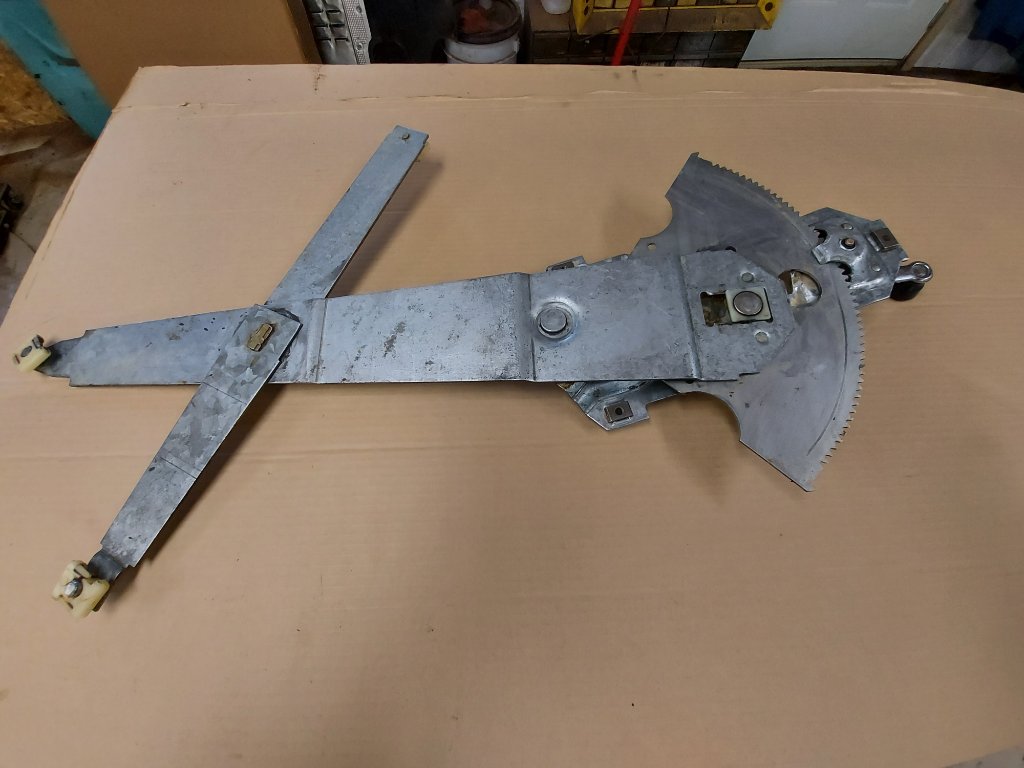
- Oct 25 (23).jpg (82.57 KiB) Viewed 58830 times
- Oct 25 (25).jpg (112.33 KiB) Viewed 58830 times
The track shown here was cleaned up after 50 years of grease was cleaned off of it.
The glass has some scratches in it, but oh well, they will mostly be in the down position in the summertime anyways.