I made this for another forum, but the information contained is universal. The only changes I would make for a B-Body mopar is to recommend a complete primer job. And to block the whole car out after you prime it. If anyone has questions about the additional prep work let me know. Also, to paint a B-Body complete with trunk, jambs, etc. You will need about twice the paint I have listed. Budget about $400.00 for paint. I hope you find this useful.
Every product I will mention in this thread can be bought at any local automotive paint store.
Here is a short list of what you will need for this project;
-Air Compressor with a minimum of a 30 Gallon tank (this is a must other wise you will not have enough air to complete a paint job, borrow one if you dont have one)
-HVLP Spray Gun
-Point of use air line filter
-Good Clean Air Line
-DA sander
-Red scotch brite pads
-180-320 DA paper
-1000-1500 Wet sanding paper
-Masking tape and Paper
-Wax and Grease remover
-Lacquer Thinner
-Latex Gloves
-3M painting mask (A MUST, paint has not just been linked to cancer, it FLAT OUT causes cancer!! You want none of this in your lungs.)
To start out you will need a clean open area to work. Garages are best but will need to be cleared out, you need a minimum of 3 feet around your Fiero to work. Also this can be done outside but the results will not be as good. Keep your work area clean at all times, you never want any contaminants on or near you car when you are getting ready to paint.
Step 1- WASH THE CAR!
Often this step is overlooked but you never want to start any work on a car that is not completely clean. Spend time washing the car, dont forget the under the skirts, under the front and rear bumper, along the wheel wells. Use only a very mild soap, nothing that claims to help shine. Dish soap works well but make sure to use something that will not leave a residue. Spend extra time on anywhere armor all has ever been, dont forget it flys off your tires.
Step 2- Now the car is washed, use wax and grease remover and wipe down the whole car. Once again a totally clean car before any work begins.
Step 3- Assess the damaged areas.
Well I'm sure if you are painting you car there is a reason. So any where there is damage repair it. For baked off clear coat use a DA sander with 180 grit and sand it out, but be careful you dont sand all the way through the paint. You only want to remove the bad clear. In any areas where you break through a layer of paint you want to "feather" it back an inch. This means you should see a minimum of one inch of each layer of paint. If you do not do this you will have a lake in your paint. Also when using a DA sander ALWAYS HOLD IT FLAT other wise you will get waves.
Step 4- Primer areas.
NEVER USE SPRAY PAINT PRIMER! This primer is not catalyzed, so when you paint over it, the paint will reverse it back to a liquid from. This is not good if you are hoping to fill sand mark etc. with the primer. So spend a few bucks and buy good catalyzed primer from a paint shop. Now onto where you will need to primer, you will only need primer if you have body work on the car, if your have sanded all the way through the paint to fiberglass, or you have spider web cracks your are trying to fill. It is unnecessary to prime the whole car if you dont have too much body work.
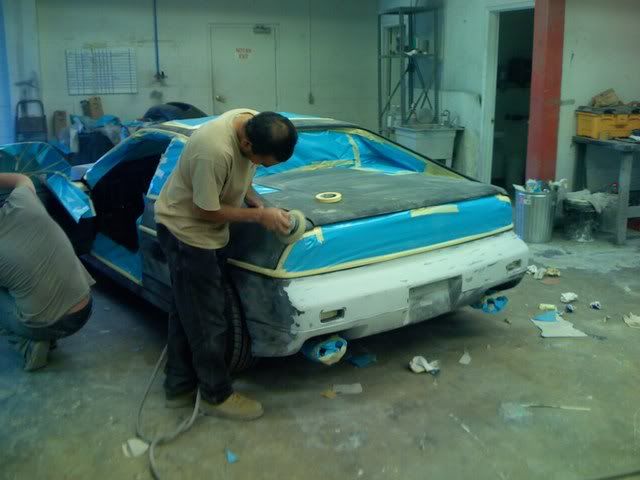
Step 5- Prepping the car for paint.
Now that you have a clean repaired car you will want to prep is so the new paint has something to attach to. Take a DA sander and sand everywhere with 320 grit, you only need to scuff it so there is no more shine your not trying to sand off the paint. Sand over any primer with 320 as well. If there is any areas you cannot hit with a DA sander, use a red scotch brite pad, like around the windows, under the door handles, etc. DO NOT SAND BY HAND WITH THE 320, this will result in straight sanding lines and will show up once painted. Always use a DA or scotch bright pad on final prep because they have a random pattern and will not show up when painted.
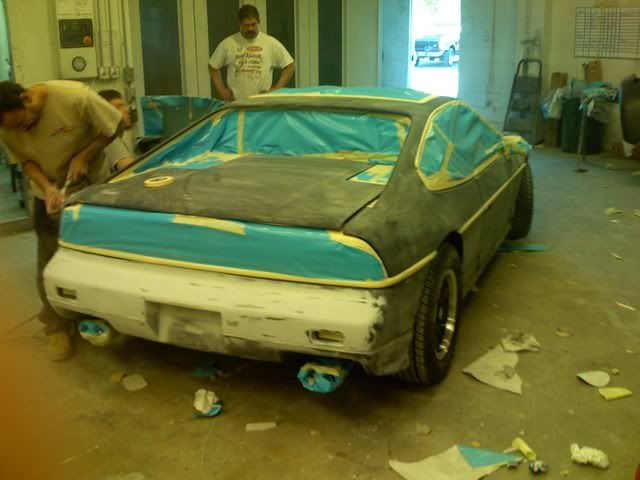
Step 6- Set up your painting area.
If your in a garage move everything out that you can, what you do not move will have paint on it forever after. It best to cover what you cannot move with plastic tarps, also line your walls with plastic tarps. Now make sure you have drained your air compressor, water and oil builds up in the tank and will ruin and paint job. Its best to buy a brand new air line for this job, that way there is no air tool oil in the line to screw up your paint job. Then put a point of use filter on your air line right at your spray gun to remove any water and oil before it gets to your gun. Lastly right before you paint the car wet down your garage floor, this keeps the dust down when spraying paint.
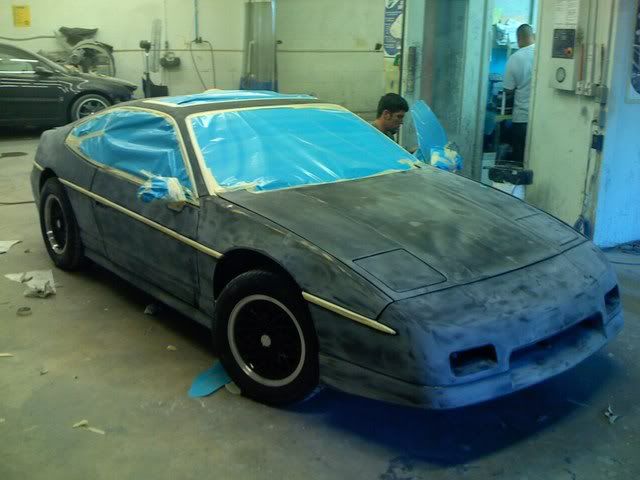
Step 7- Masking off.
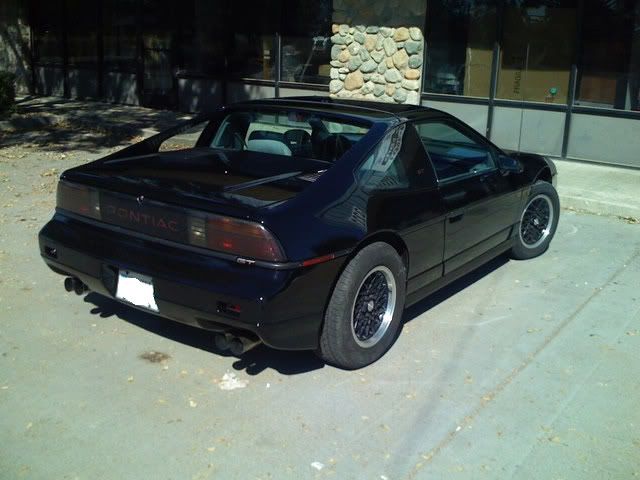
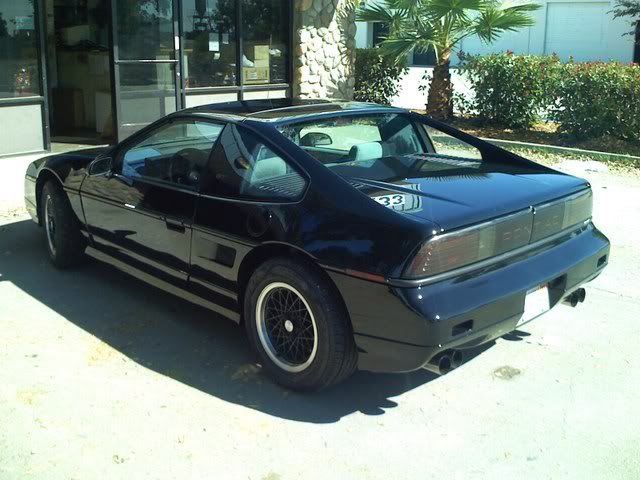
Mask of everything you dont want paint on, dont forget your door jambs, wheel wells, etc. Your car should now have a dull clean look like in the picture. Any shiny spots need to be sanded and prepped before you start to paint.
Step 8- Final Cleaning.
Once again wipe down the whole car in wax and grease remover. Then just before paint wipe the car one more time with a tack cloth.
Step 9- Base Coat.
Mix the paint as the manufacturer recommends (ask the paint shop), use a filter and pour it in to your spray gun (filter are free at the paint shop). Now set your spray pattern, using a piece of masking paper taped to a wall set your air pressure on your gun and adjust your spray pattern. Normally 35-40 psi works well, and for your spray pattern you want a 7-8 inch tall 1 inch wide vertical oval. You need to spray holding the gun about 8-10" from your work. Now lay on the paint, using robotic smooth overlapping sweeps go back and forth from the top of the car down painting the car. Put 2-3 coats, any place you get a run wait tell it dries and sand it out with 600 grit and re shoot that area. Once base coat is complete you can only wait up to 24 hours until you shoot the clear, but I would only wait about 45 mins.
Step 10- Clear coat.
Using the same painting method as the base coat apply the clear coat. Do 2-3 coats of clear, if you get a run or dust dont worry about it can be fixed after the paint dries. Wait about 4-5 hours before removing the masking paper. Be extra careful to not pull the paint up with the masking paper.
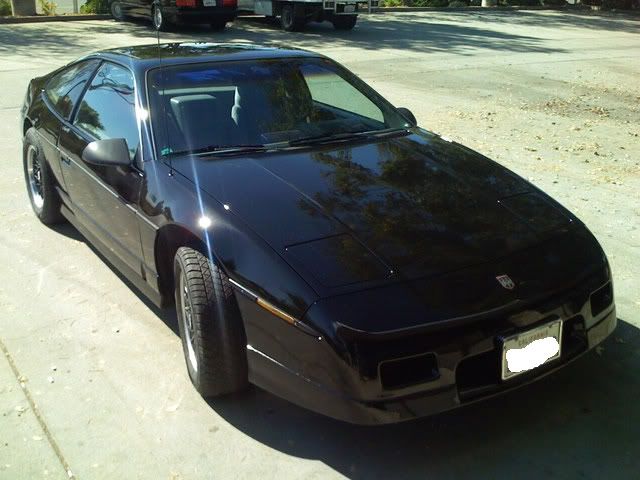
Step 11- Color Sand and Buff.
If you have any runs, dust, or orange peel now is the time to fix it. You can color sand starting about 24 after you finish paint. The sooner you color sand the better, because the paint will not be as hard to sand. If you choose you can color sand at anytime after the paint job, even years later. For run wrap a stir stick in 1500 grit paper and have a hose with water running very slowly and sand with the help of the water until the run is gone. For orange peel, fold a piece of 1500 in to thirds and using a hose again wet sand the area by hand, make sure to use you palm not your fingers, finger will leave lines. Also rinse off you paper so it does not get dirt caught under it a damage your paint. Once all the problem areas a gone, take a high speed buffer with a wool pad using 3M perfect II compound and buff the car until it shines great, be careful around edges you dont want to burn through the paint. Once its all buffed use a 3M swirl remover and a foam pad and polish out the car. Now your car should look like a show car!
Enjoy! Remember this is only a quick description, and is the way I have been doing it for 10 years. Everyone has there own way of doing stuff so please dont flame me!
The last Base-Clear paint job on a Fiero I did cost me $186.15 in materials. If you had a shop do it, you would spend $1500-3000

