Page 1 of 1
Restoring a 71-74 Rallye Cluster, this is how I did it.
Posted: Sun Dec 16, 2012 7:05 pm
by dangina
Re: Restoring a 71-74 Rallye Cluster, this is how I did it.
Posted: Sun Dec 16, 2012 7:05 pm
by dangina
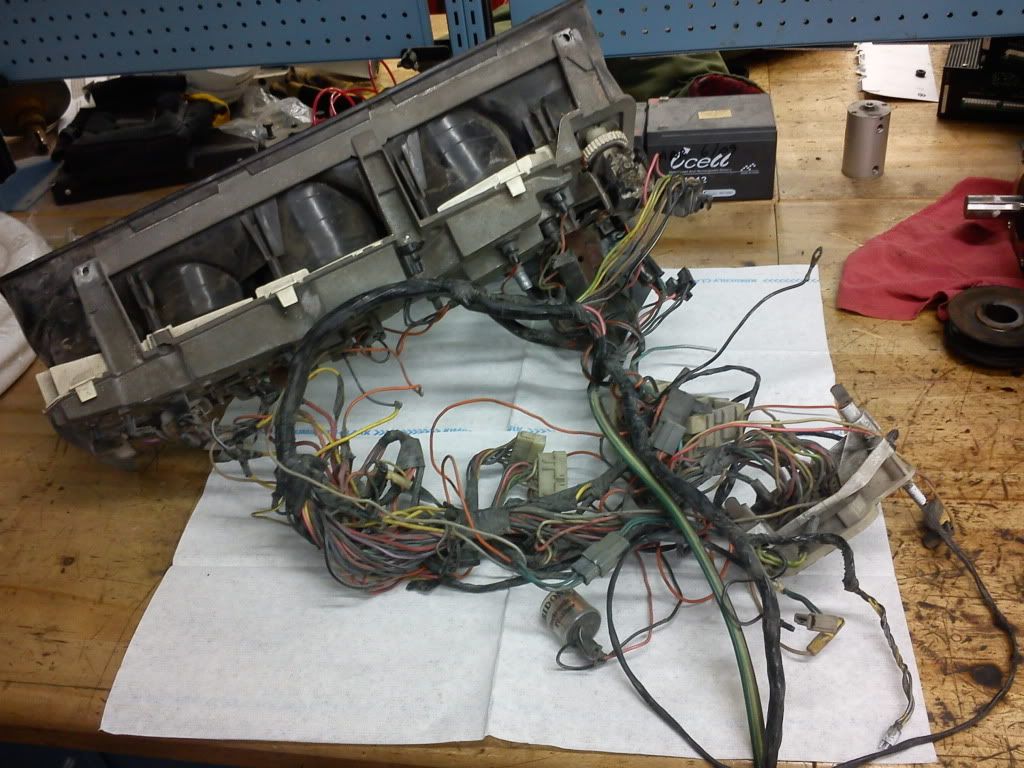
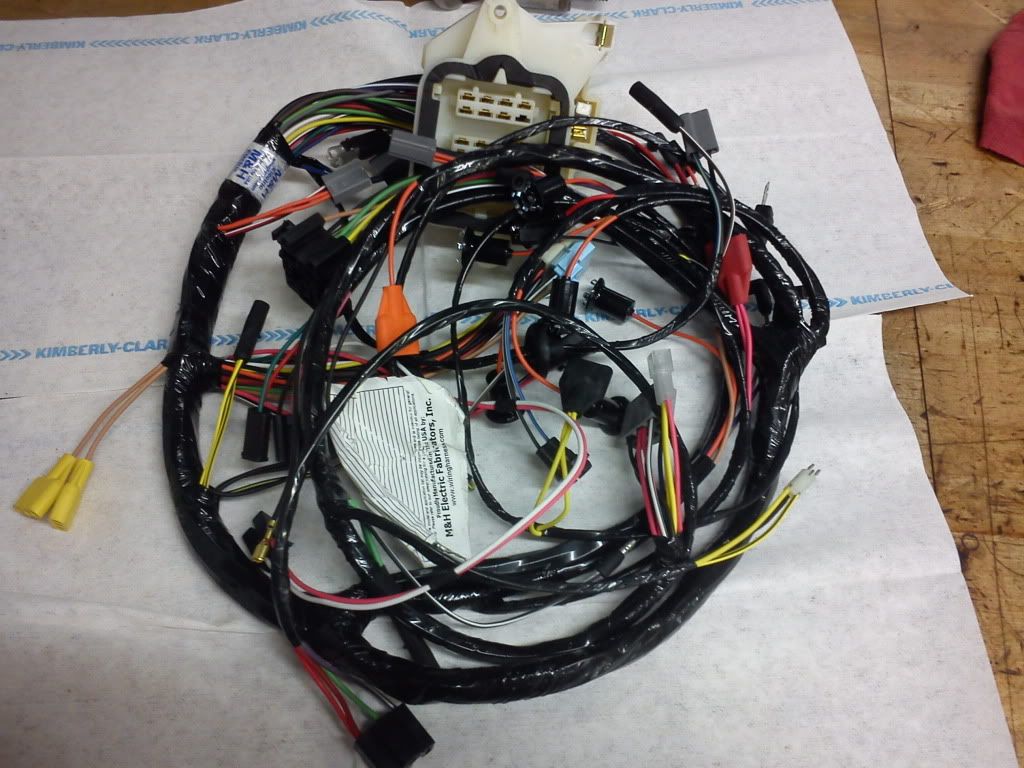
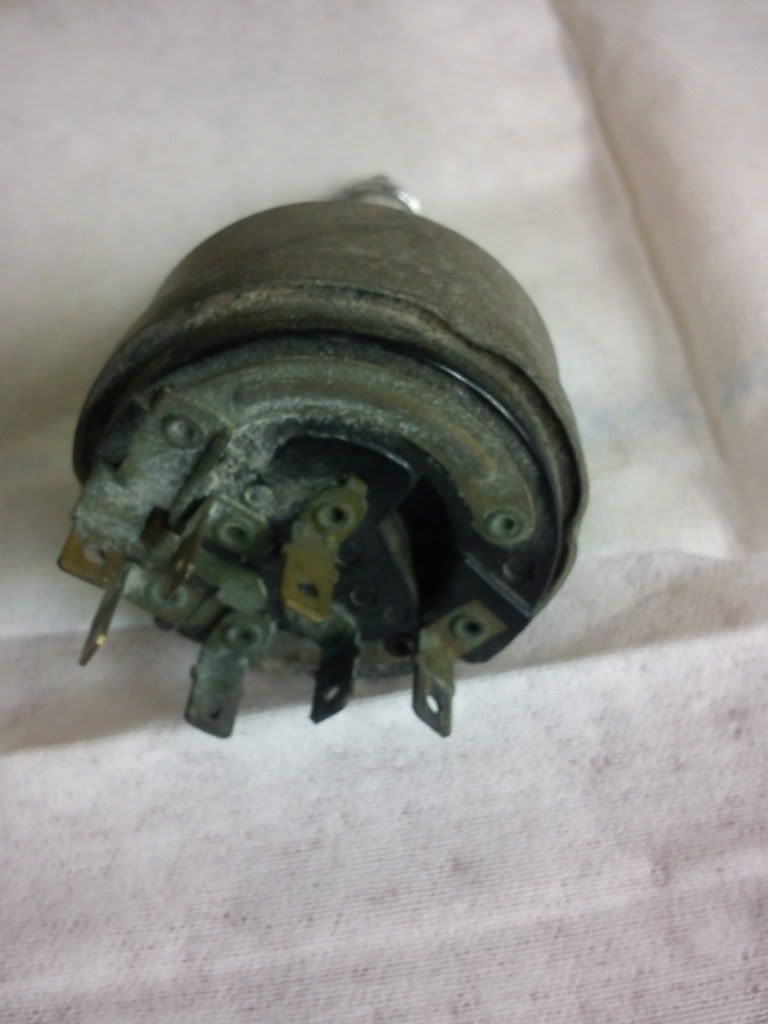
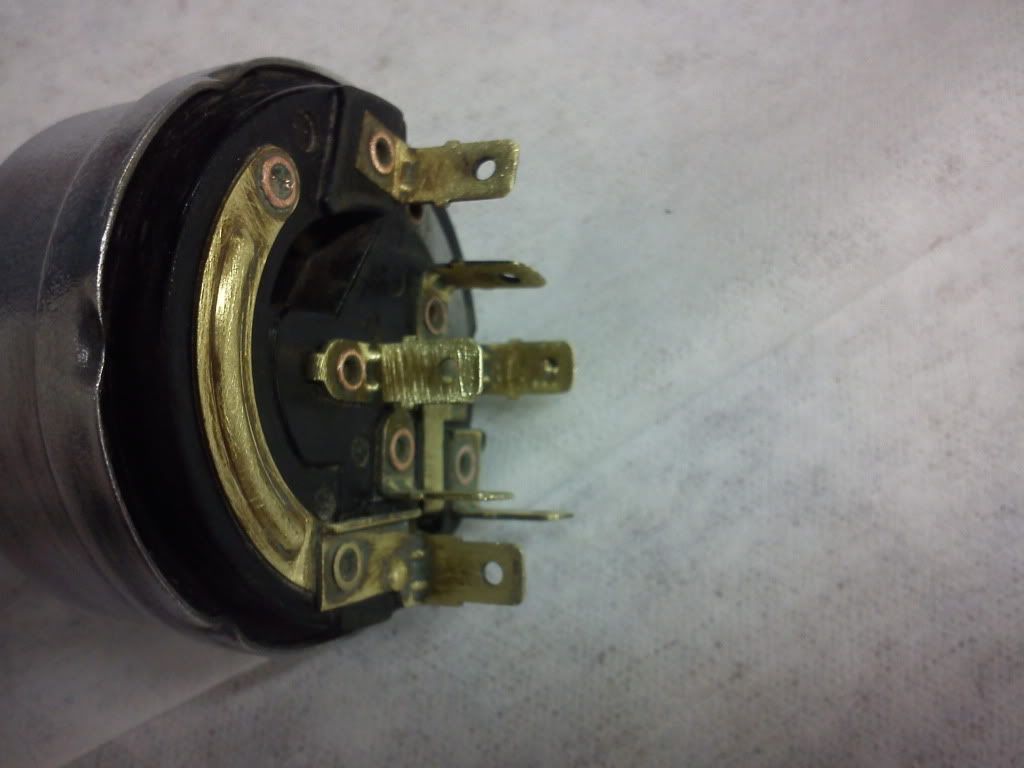
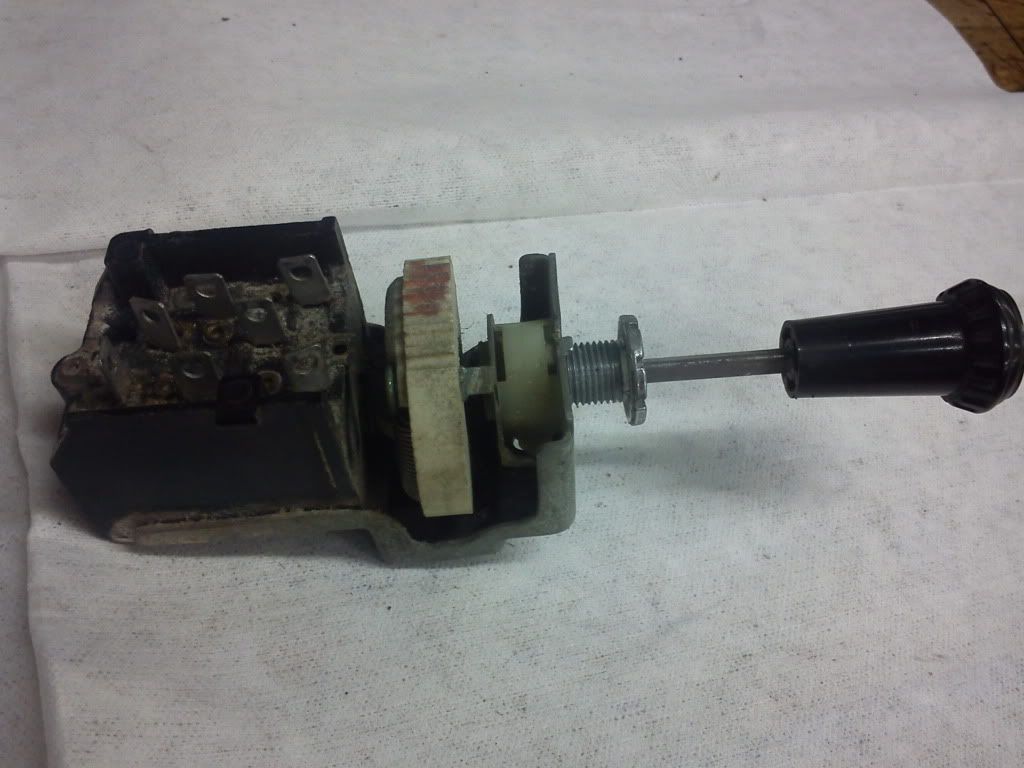
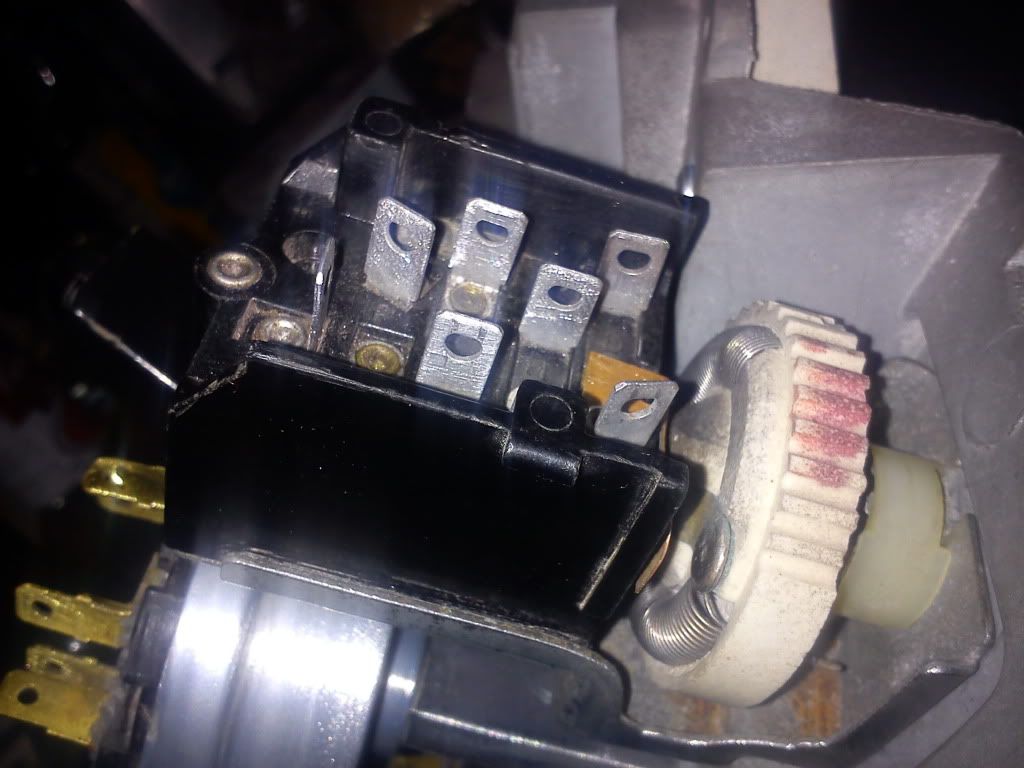
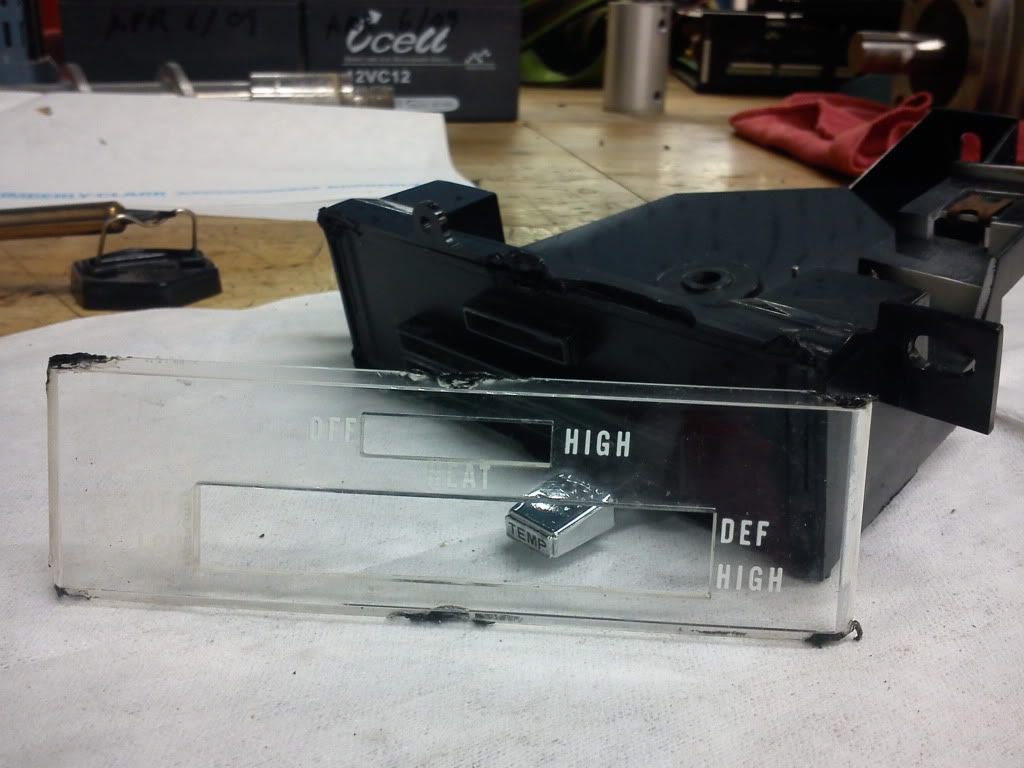
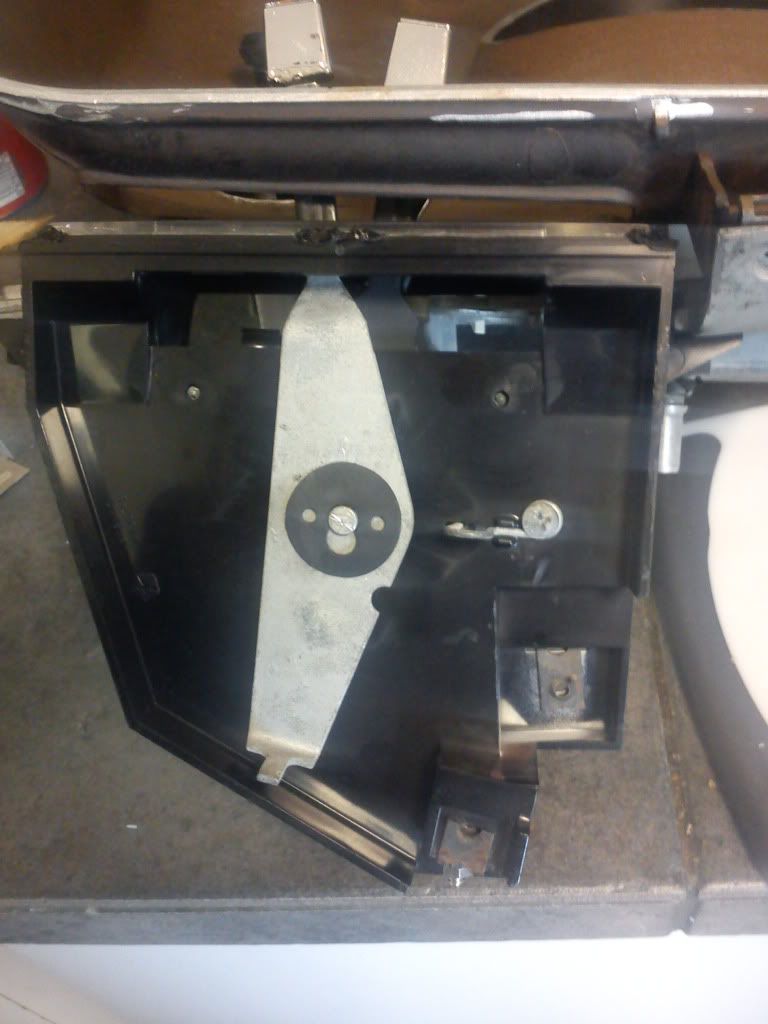
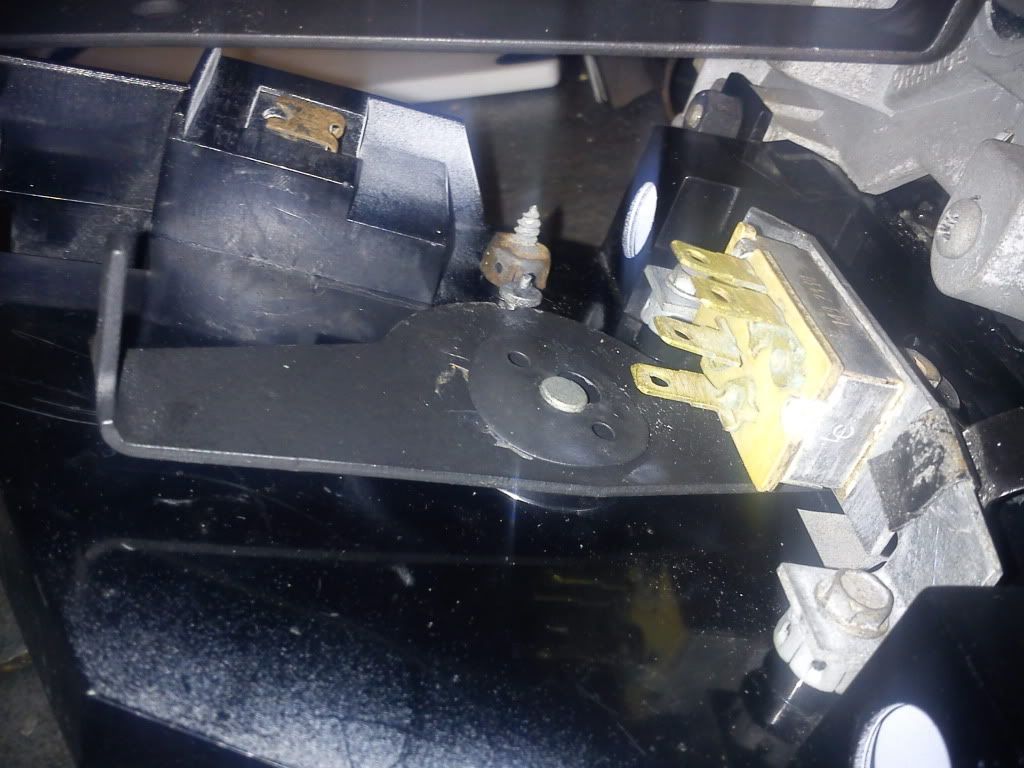
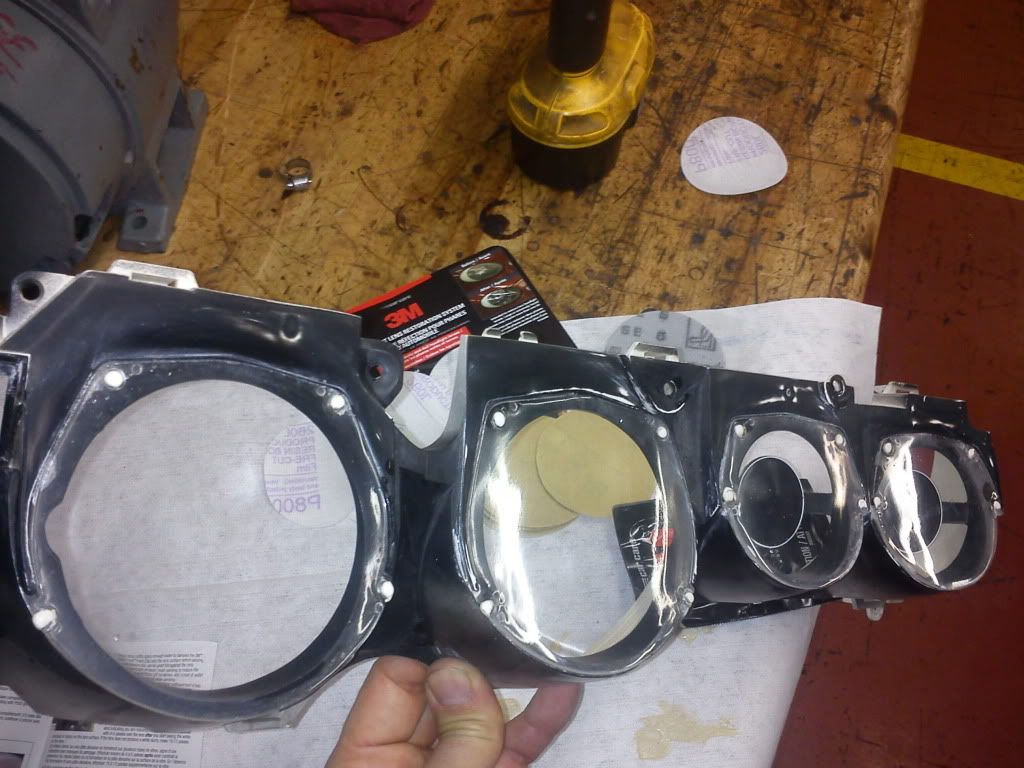
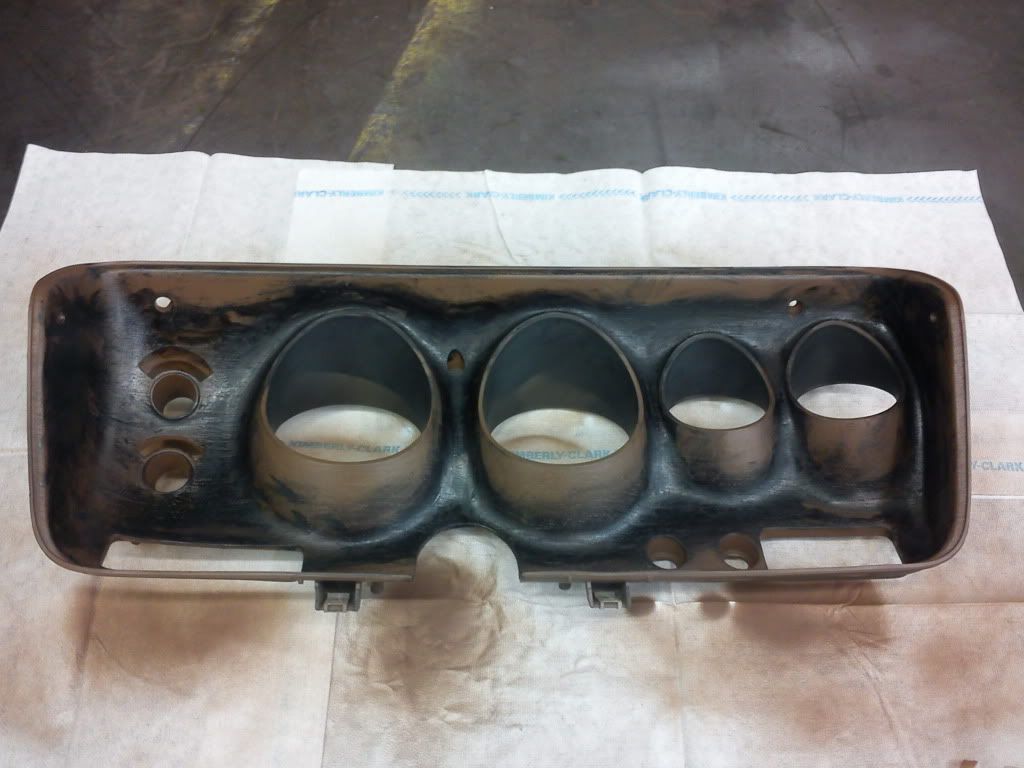
Now the hard part:
started on the gauge face plates, I used the 3M Headlight restore kit, I thought "what the hell, they're both plastic, should work for this as well" I also did this to the temp control plate as well:

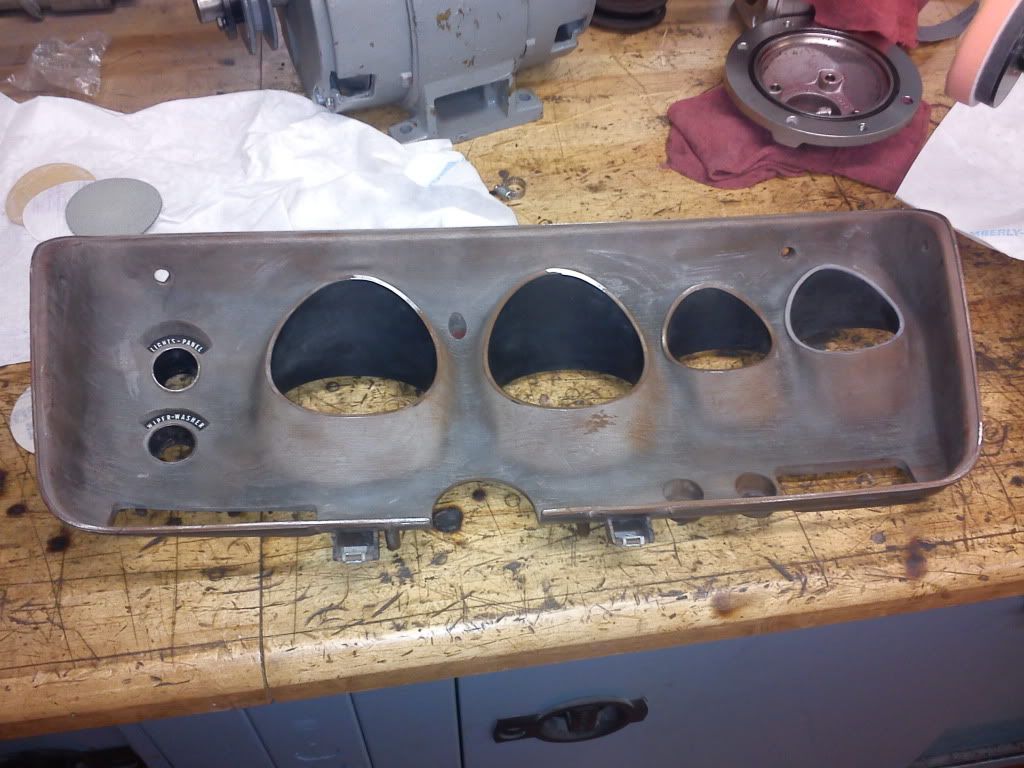
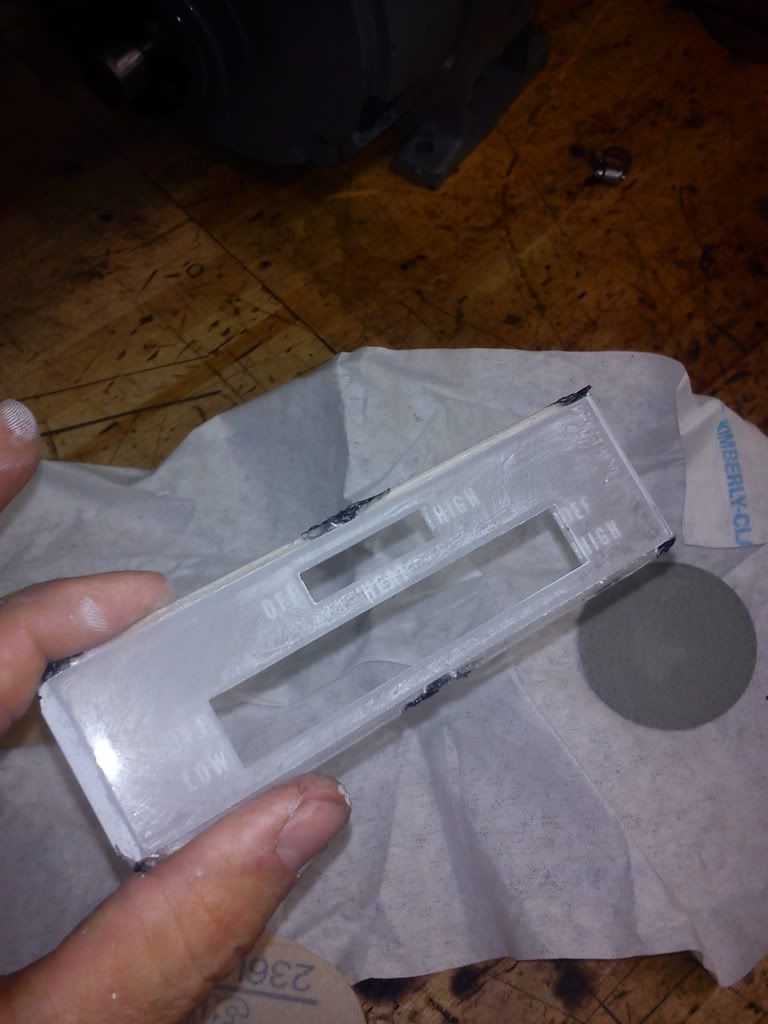
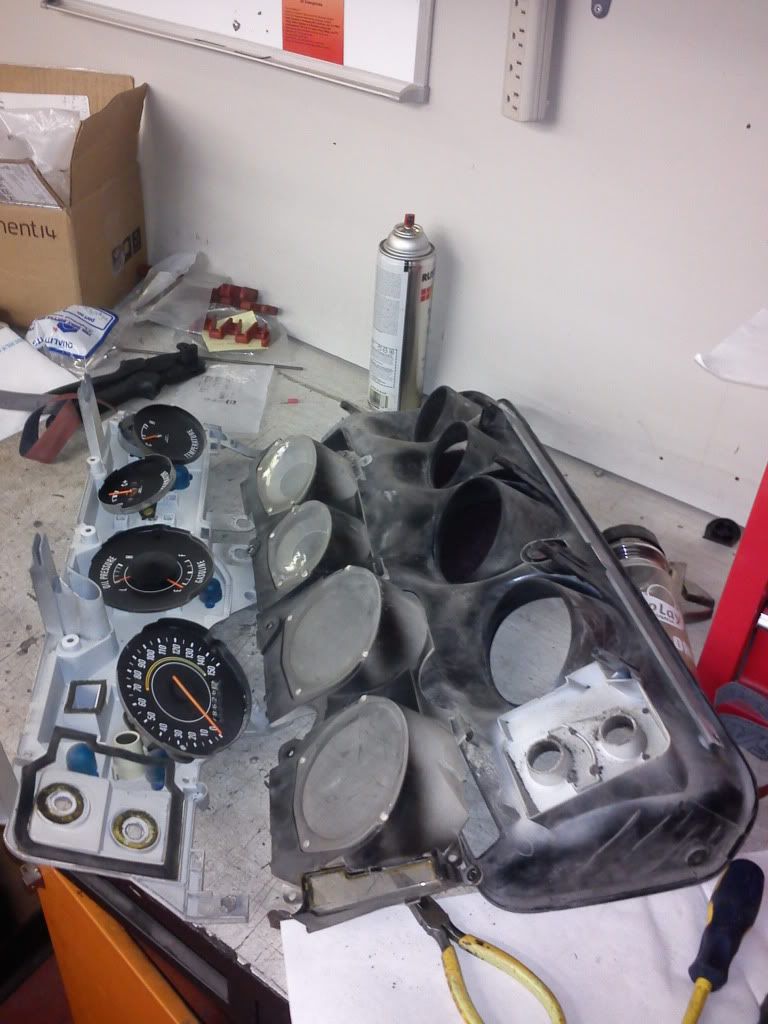
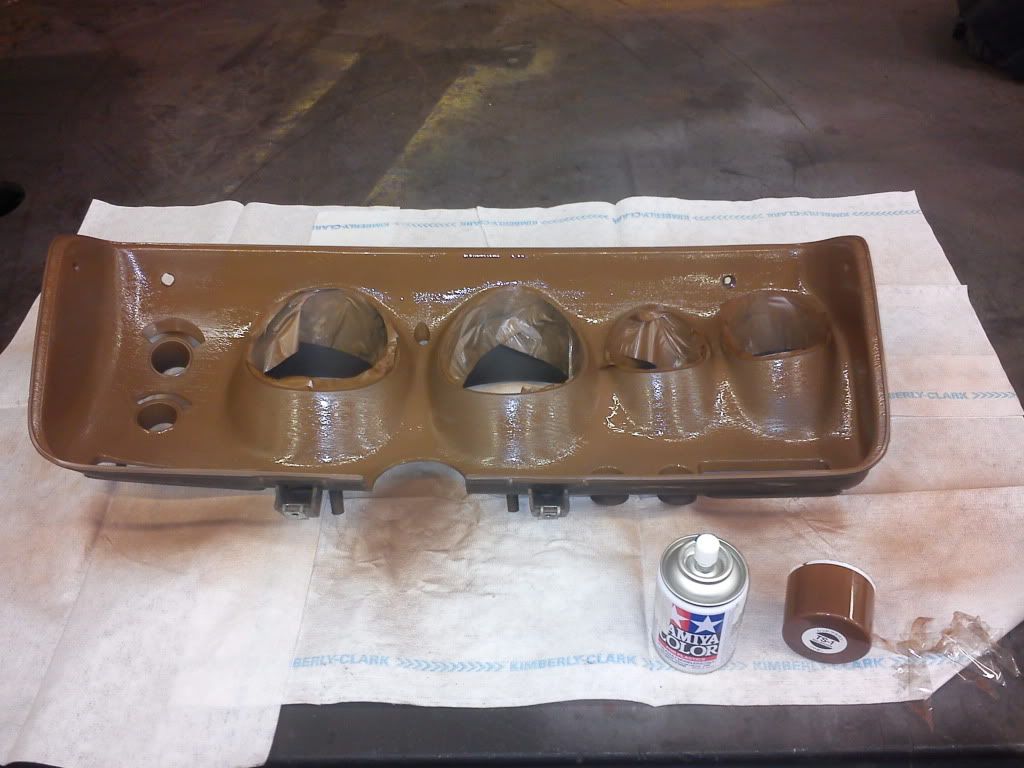
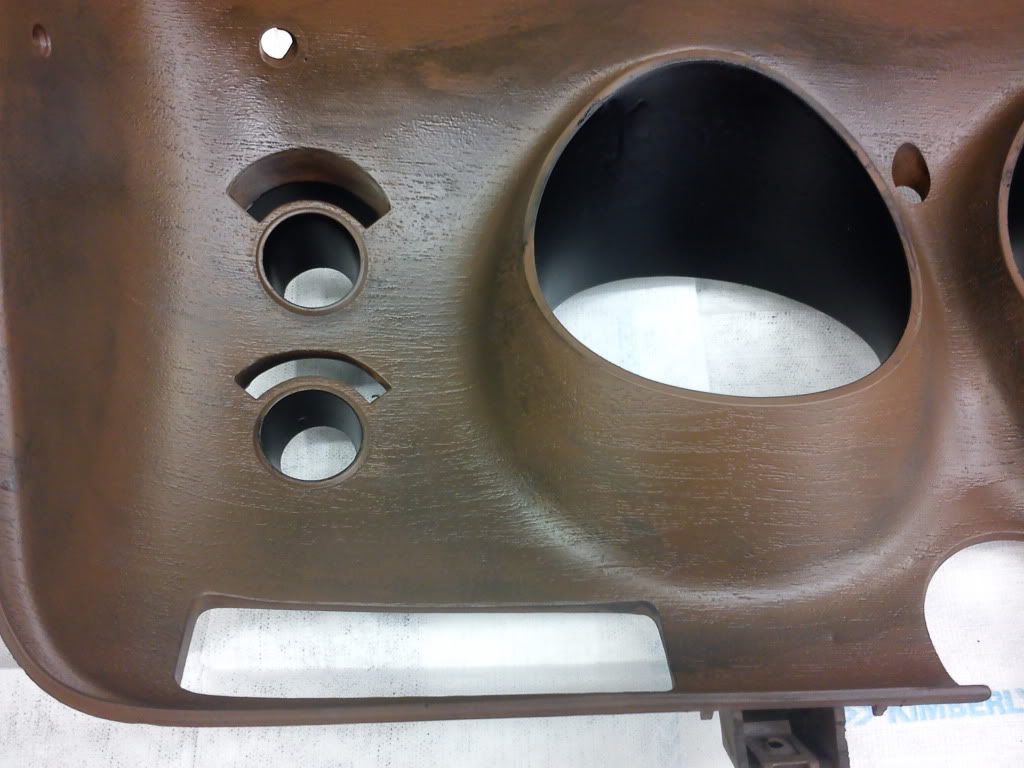
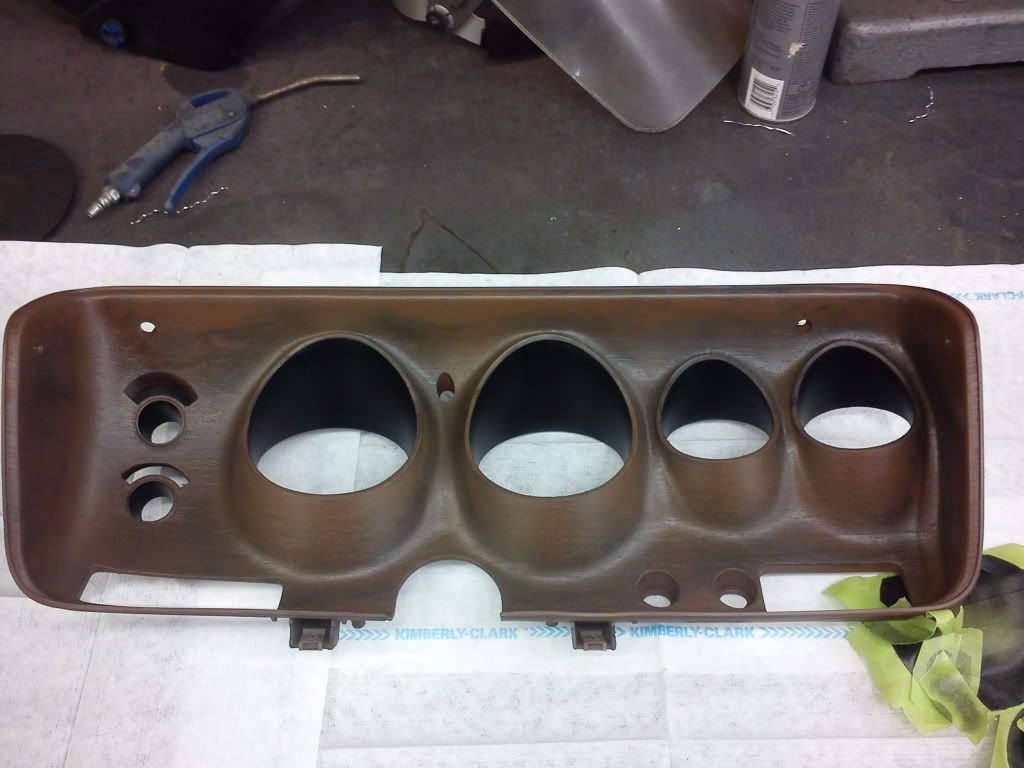
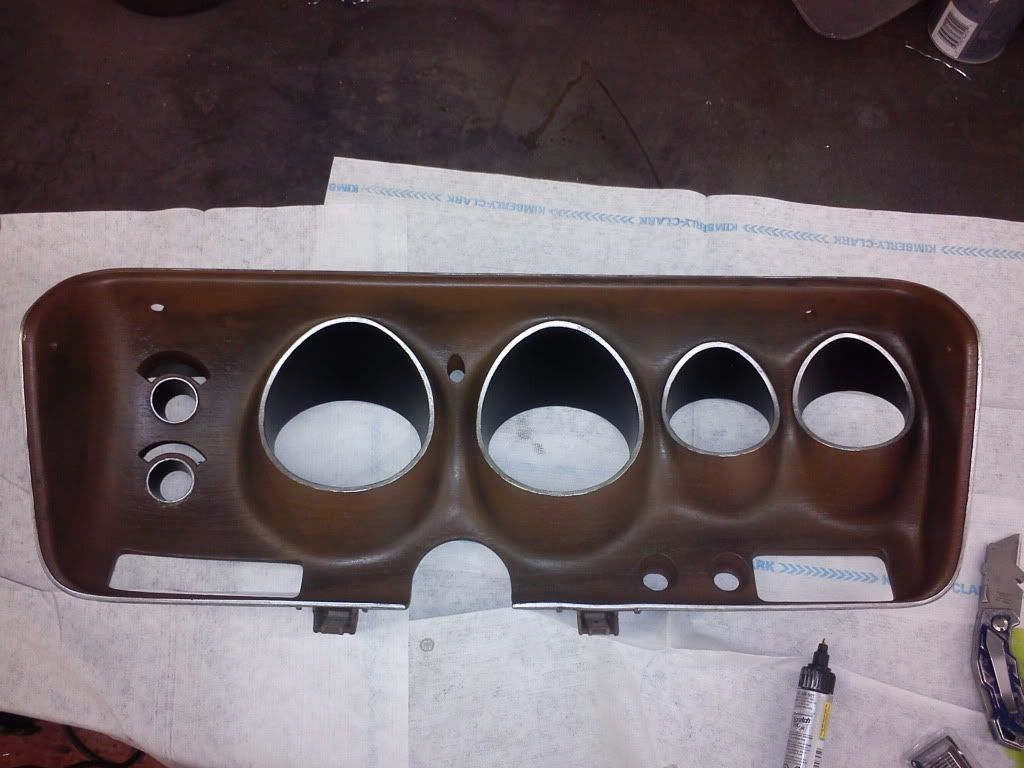
Went to a hobby shop and got a paint that I thought would look close to original and this stuff was bang on and it went on beautifully with no runs - Tamiya TS-1 Red Brown. Goes on light brown but dries to what I wanted. First I sanded and painted the whole shelll:
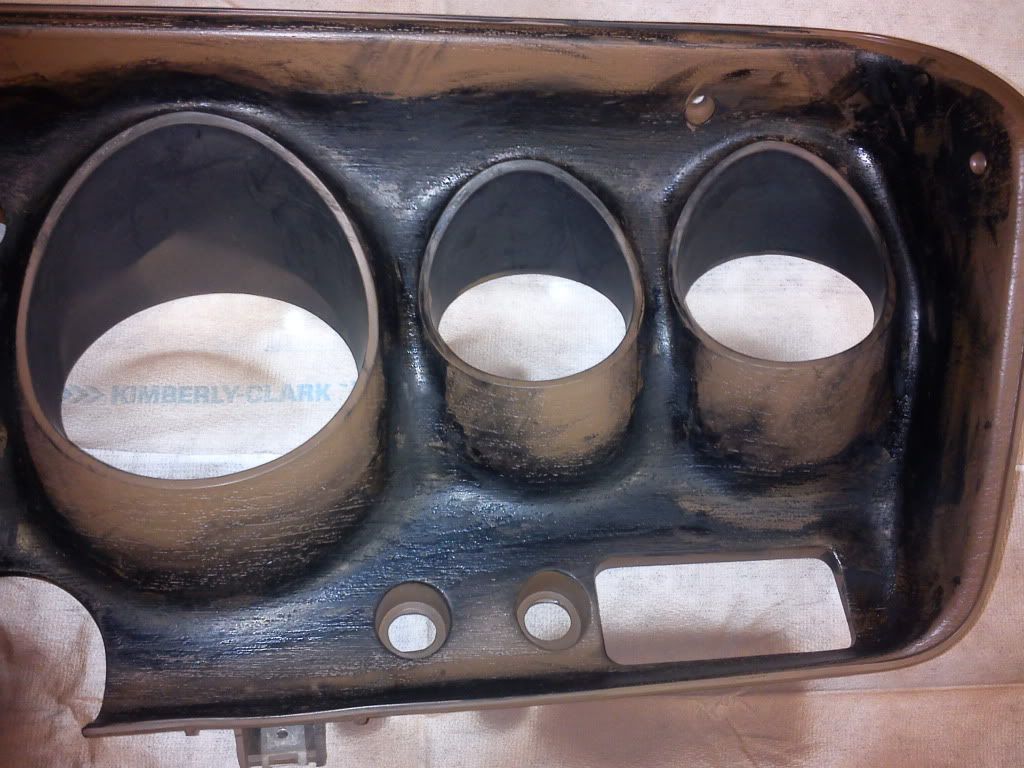
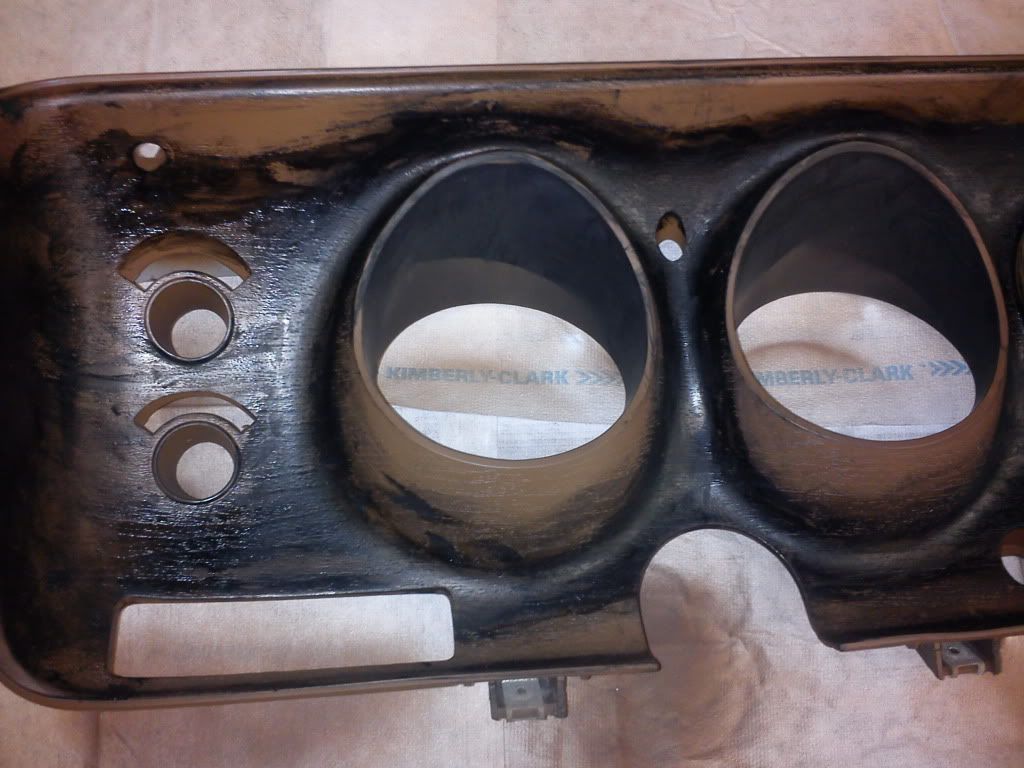
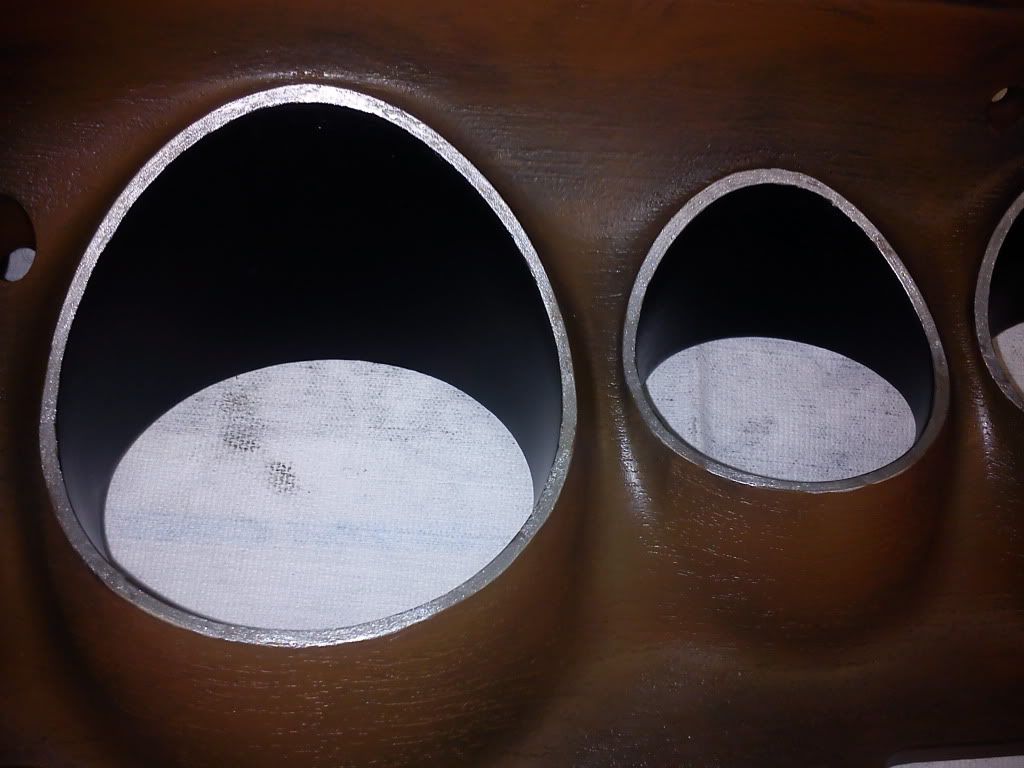
I wasn't sure how to get the black in the wood like on the original, so I improvised, I thought if I could paint the background in a matt black and paint over top it might bleed through the paint. I used a acrylic paint which was messy to work with and it ran like crazy and pooled up alot so i had to keep wiping it down so the layer wouldn't get to thick, It was a PITA and I reccomend a different method but it ended up in my favor, I tried fingerpainting all the areas where the black was on the shell:
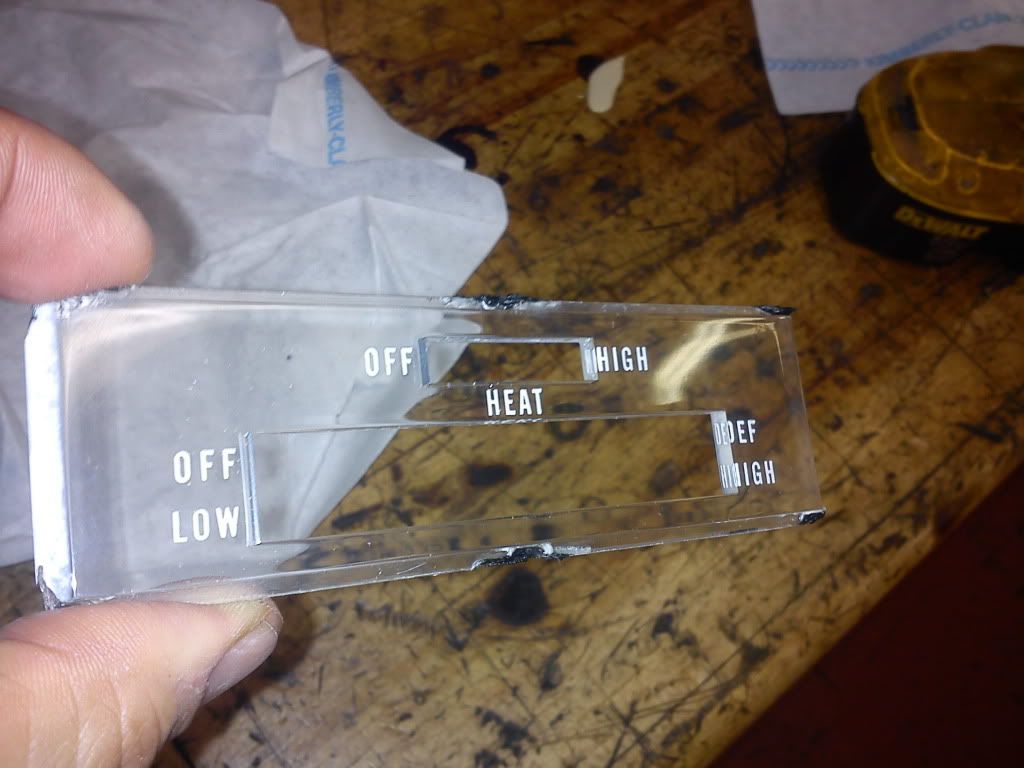
Next I painted a very light layer of the red brown again:
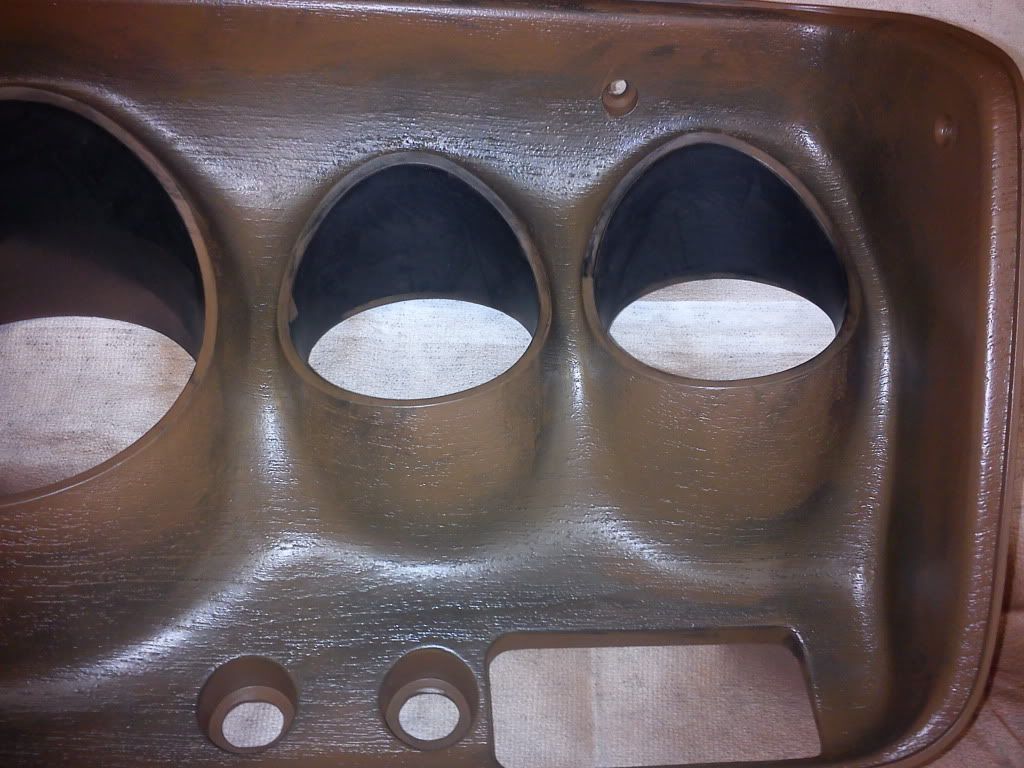
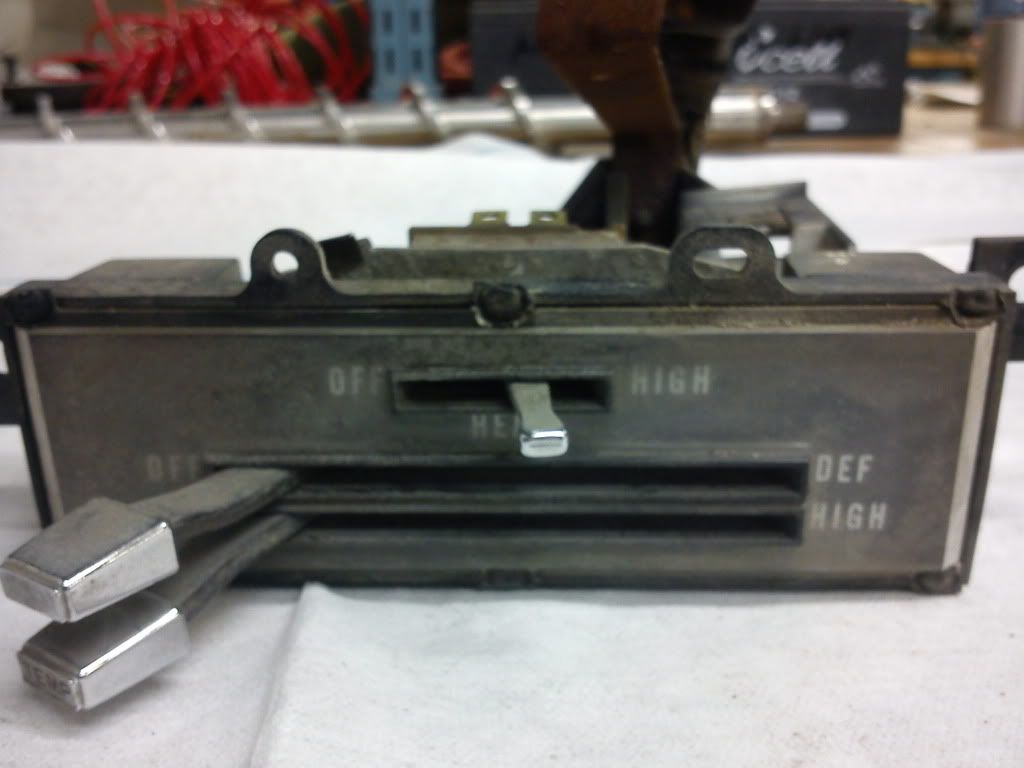
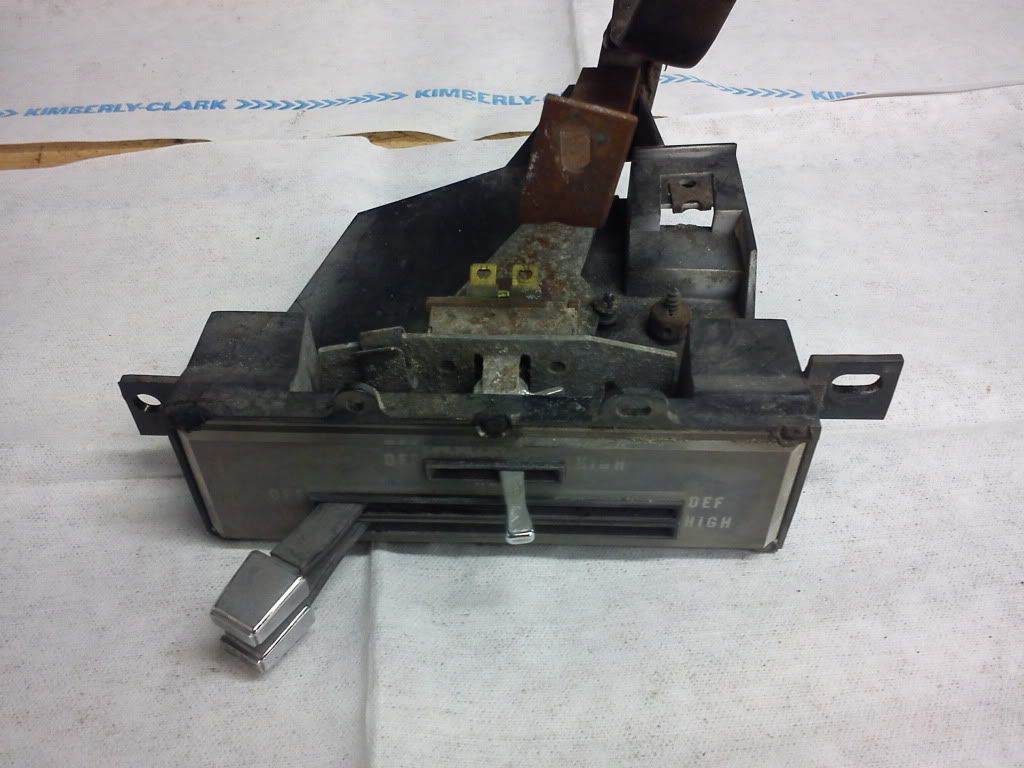
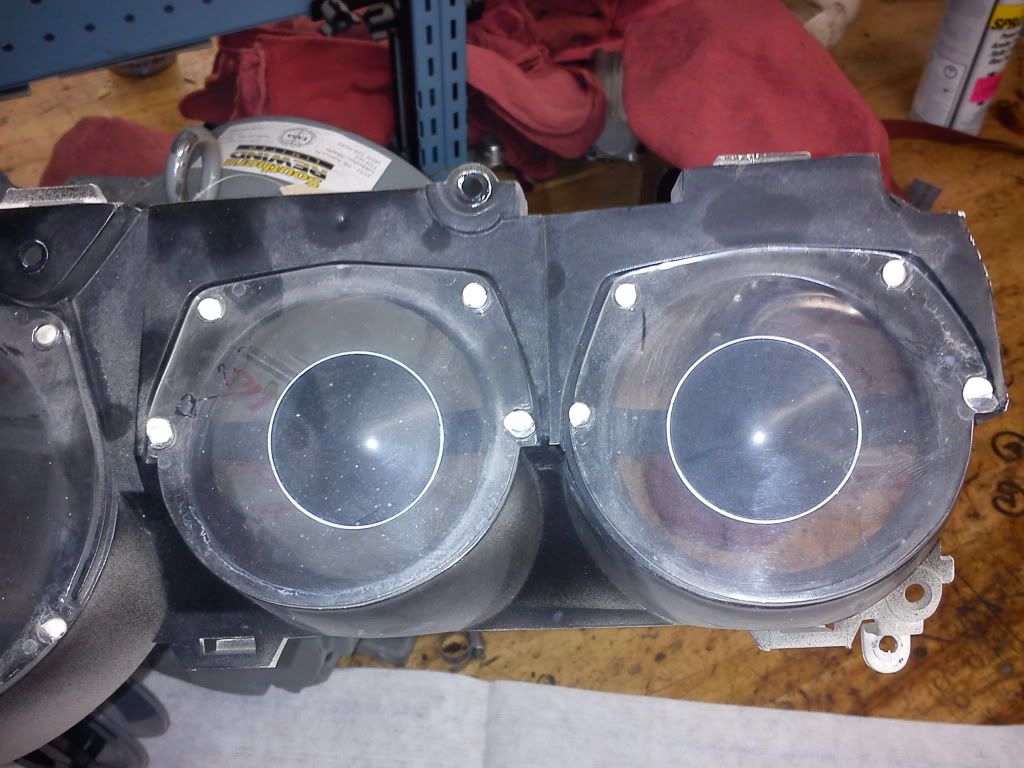
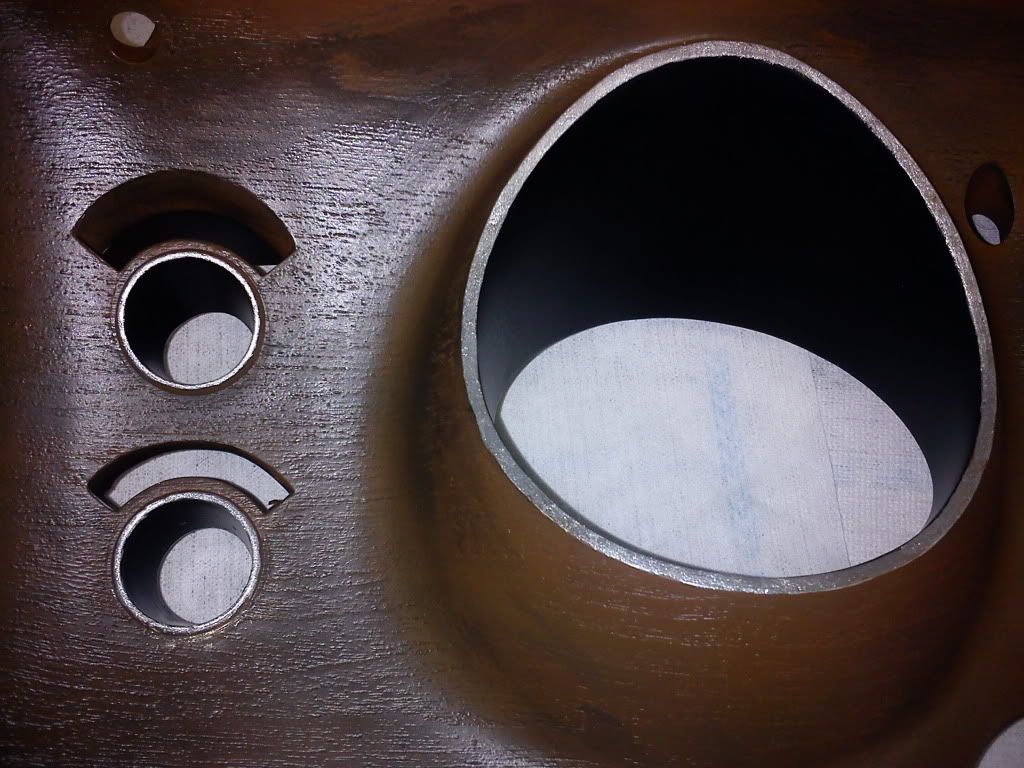
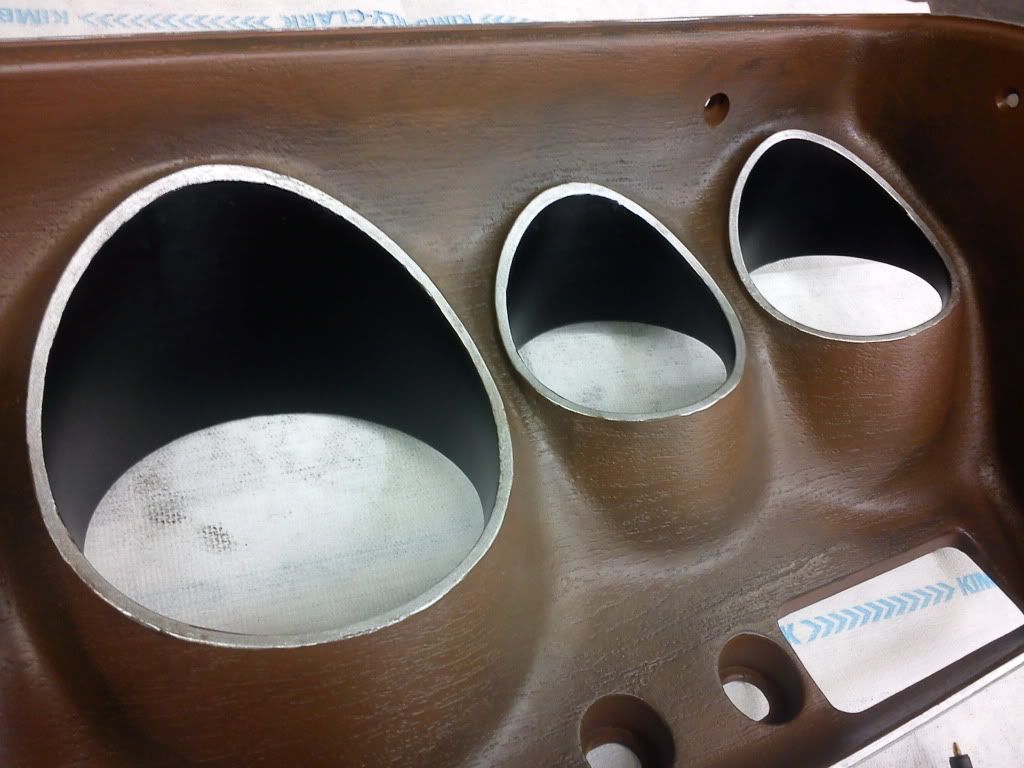
next I sanded the gauge pods and wiper/light switch areas, masked them and painted them a semi gloss:
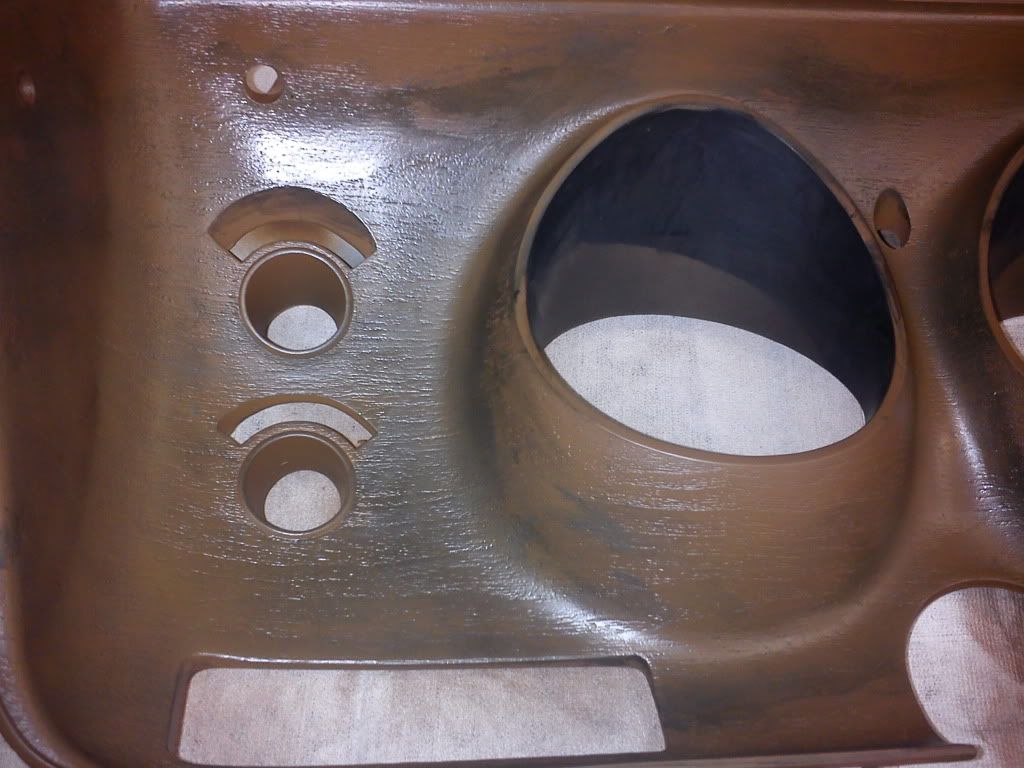
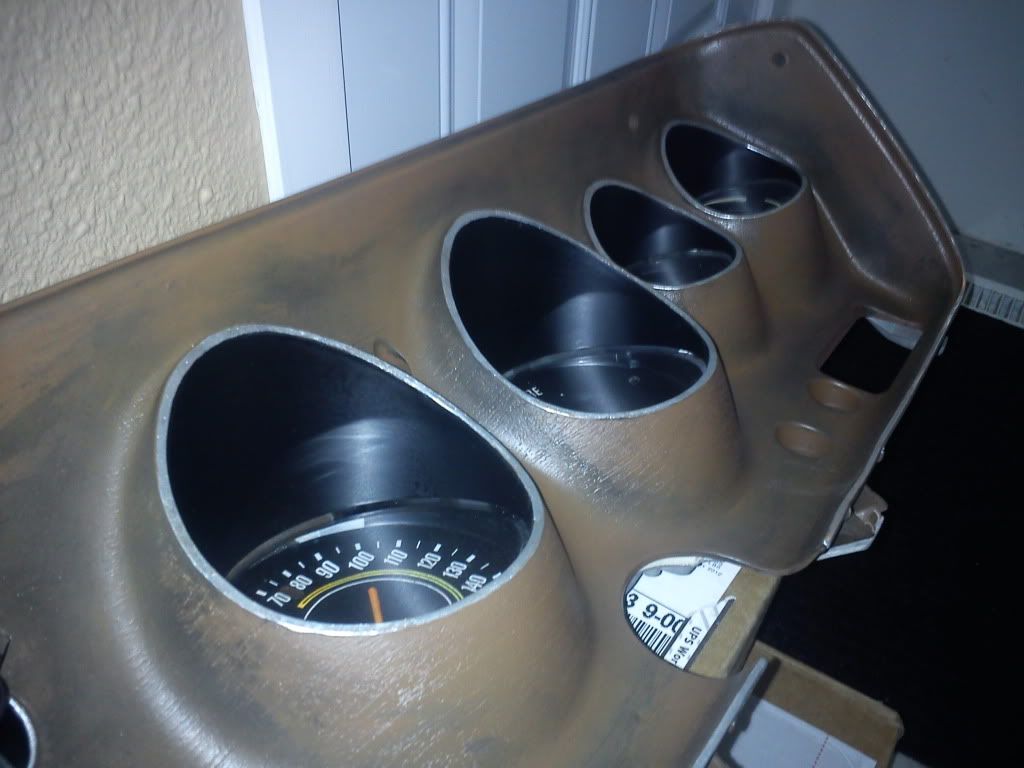
Now this was the most stressful step of them all - applying the silver to the outer edges of the pods, switches and shell, I used a automotive GM Silver, comes as a 2 for 1, light bruch or can be used as a pen, i used the brush. It is hard to work with, you have to keep moving in one direction and it with thicken up on you if you overlap the previous area too much (it starts to dry pretty quick) This would be easy if you were a pin stripper, but for us joes its passable and didn't end up to bad:
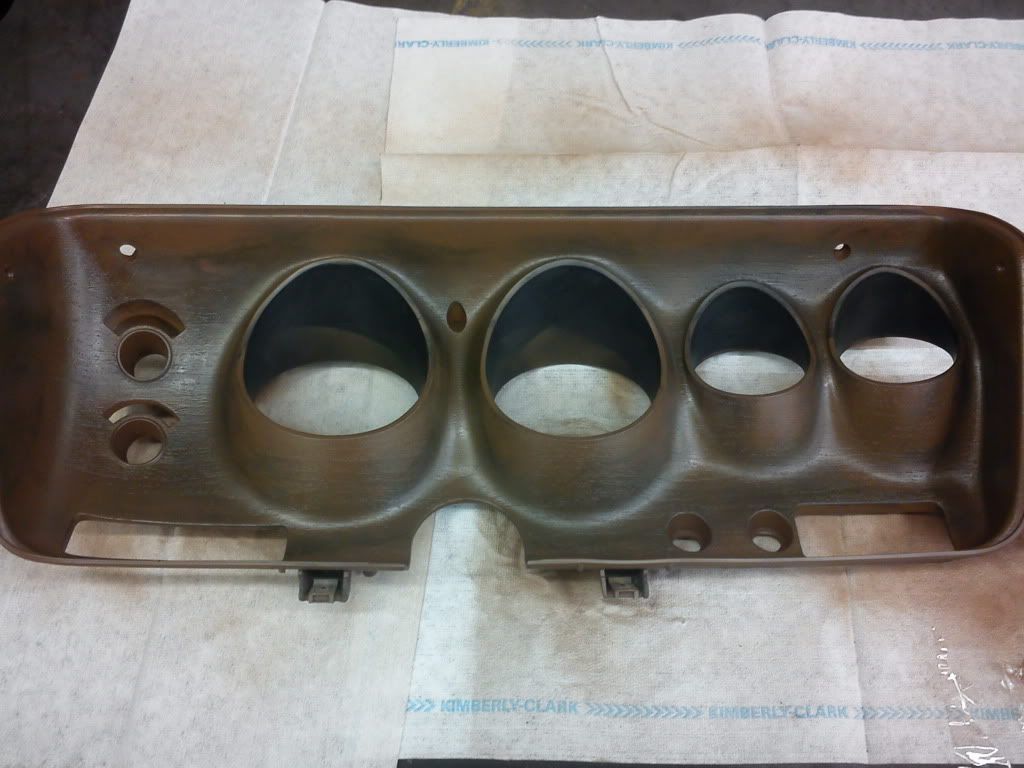
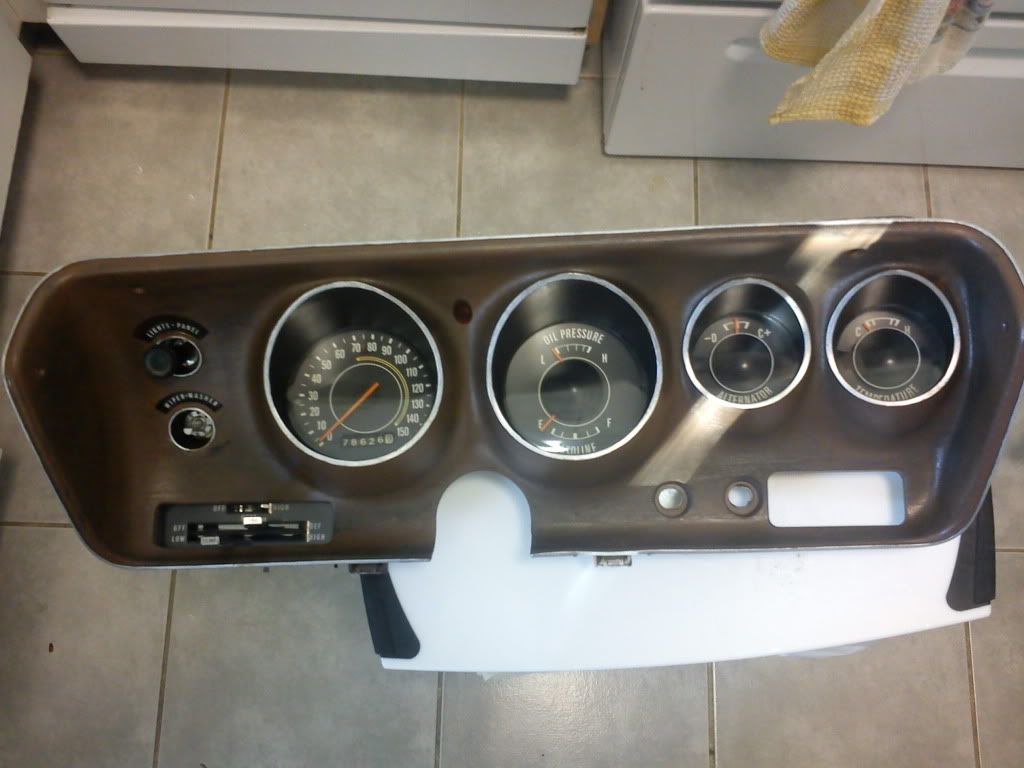
Now all together: (I tried taking different pics in different light)


Re: Restoring a 71-74 Rallye Cluster, this is how I did it.
Posted: Sun Dec 16, 2012 7:25 pm
by asuperdry
Now thats what I call a DAM GOOD bit of restoration!
Re: Restoring a 71-74 Rallye Cluster, this is how I did it.
Posted: Sun Dec 16, 2012 11:32 pm
by gcoupe72
Looks great!
I'm gonna try your painting technique.
Re: Restoring a 71-74 Rallye Cluster, this is how I did it.
Posted: Tue Dec 18, 2012 11:36 pm
by kenny
good job looks very nice
Re: Restoring a 71-74 Rallye Cluster, this is how I did it.
Posted: Thu Dec 20, 2012 8:03 pm
by dangina
thanks guys! next time I would like to use something other than the black acrylic paint - the stuff was runny and would pool up on you, was constanly wiping it down, would like to find something else that goes on better with a paint brush that sticks to plastic, oh well , it was my first try and it cost less than $40 in materials and my time...
Re: Restoring a 71-74 Rallye Cluster, this is how I did it.
Posted: Thu Dec 20, 2012 9:29 pm
by Smellslike1974
That looks amazing. Good job! Gotta love it when you can point to all this and say that YOU did it.That feelings great.
Re: Restoring a 71-74 Rallye Cluster, this is how I did it.
Posted: Sun Jan 06, 2013 10:57 am
by Hugh
Looks very Good! I just picked up a rallye cluster for my 73 Satellite, and it is in good shape but needs restoring. I have definitely picked up a few good pointers from you. Thanks for the post!