Page 23 of 35
Re: Startin to work on the Clone Runner (it's PAINTED!)
Posted: Mon Jul 05, 2021 8:47 pm
by 71Beeper
First, cut off the cone and put the fastener assembly together.
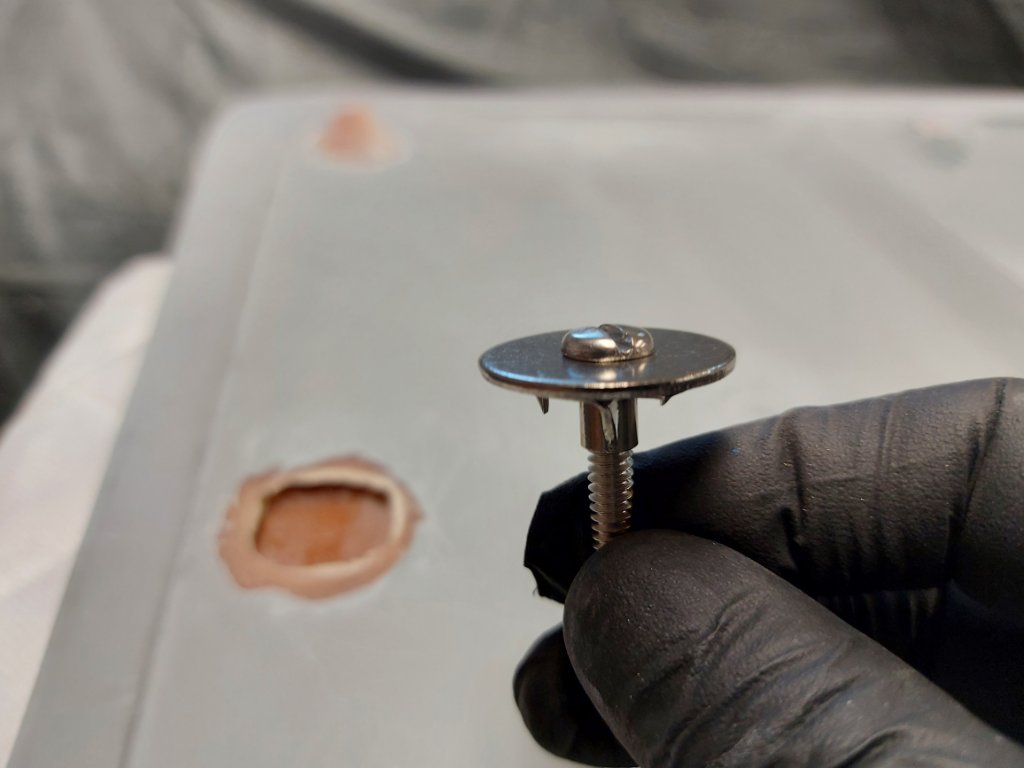
- July 4th (6).jpg (56.83 KiB) Viewed 20392 times
The top of the screw head has to be ground flat so it sits flat in the opening.
Then do a fit-check to make sure everything is good.

- July 4th (5).jpg (61.51 KiB) Viewed 20392 times
Next, mix the JB Weld and put some in the hole first....then place the fastener in and pour the rest of the JB Weld all over.
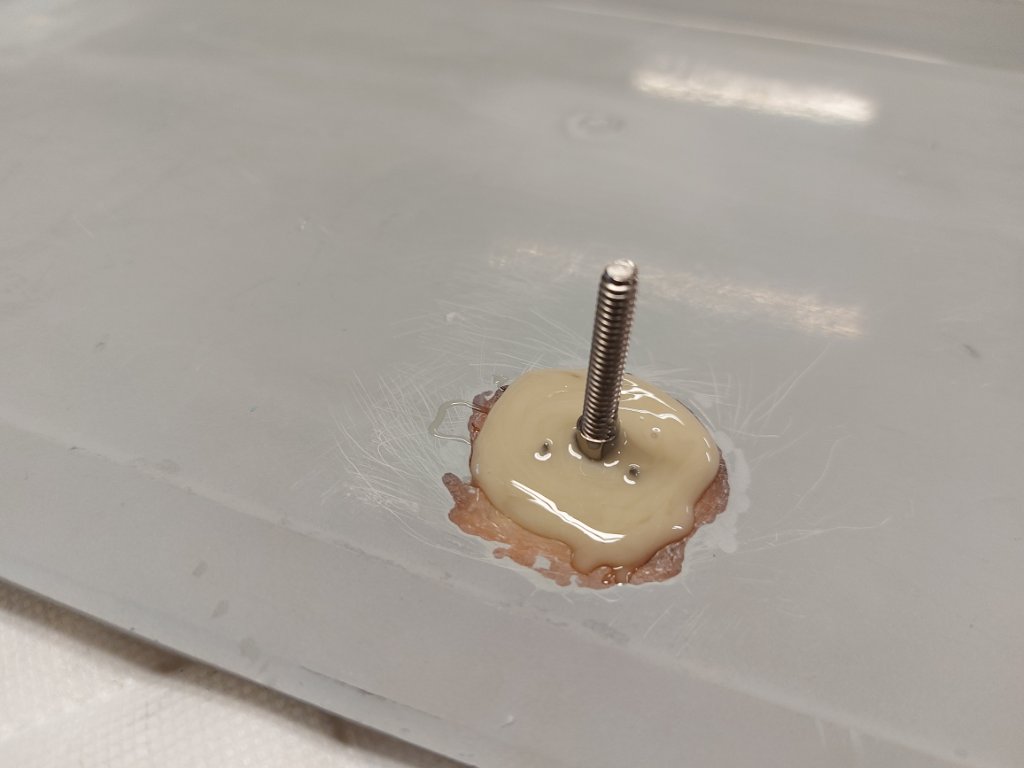
- July 4th (9).jpg (46.4 KiB) Viewed 20392 times
and let it set-up for 24 hrs.
I checked it today and she's hard as a rock and solid too!
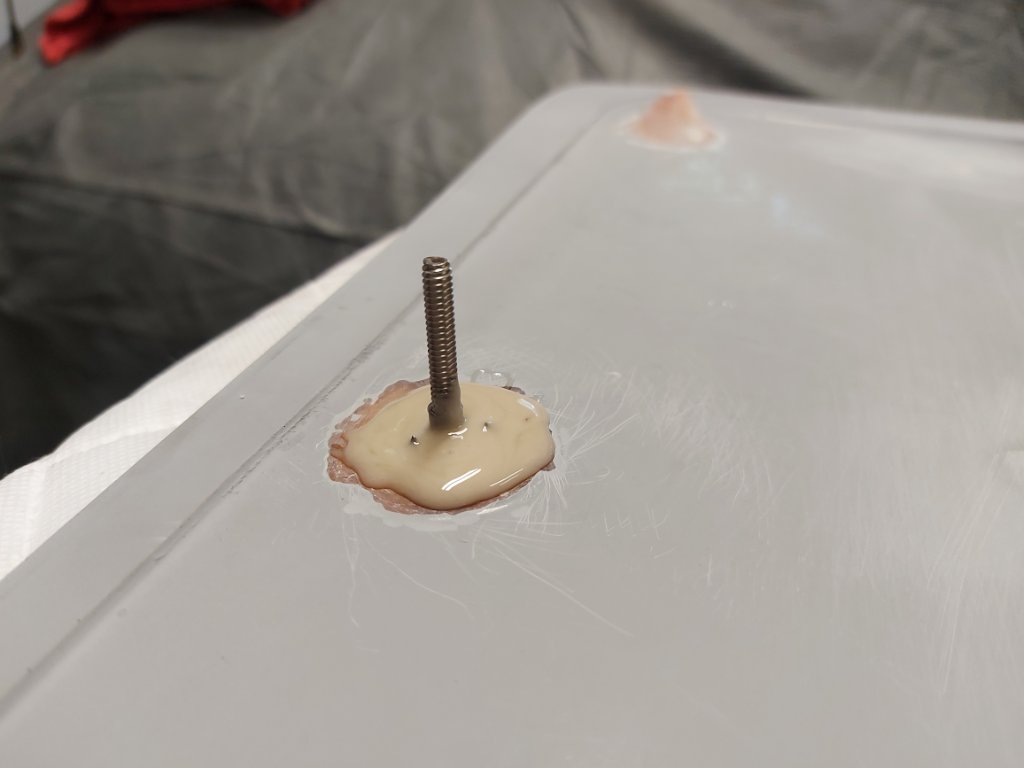
- July 4th (10).jpg (42.04 KiB) Viewed 20392 times
It's much stronger than the original.....now to do the rest of them.
Re: Startin to work on the Clone Runner (it's PAINTED!)
Posted: Thu Jul 08, 2021 12:43 am
by sdweatherman
There you go. A little bit of work and it should look the part of a real grabber. I have been thinking of doing the same for my Satellite. Can't justify getting a real one for it - that would be blasphemy! Lol.
Scott.
Re: Startin to work on the Clone Runner (it's PAINTED!)
Posted: Sat Jul 10, 2021 9:37 pm
by 71Beeper
Yes Scott, I'm hoping it will work the way it should.
I can't budge the studs now that the JB Weld is set.
So, all 4 of the rear studs are done now, including the other studs needed to hold the insert to the hood.

- July 6th (8).jpg (75.38 KiB) Viewed 20368 times
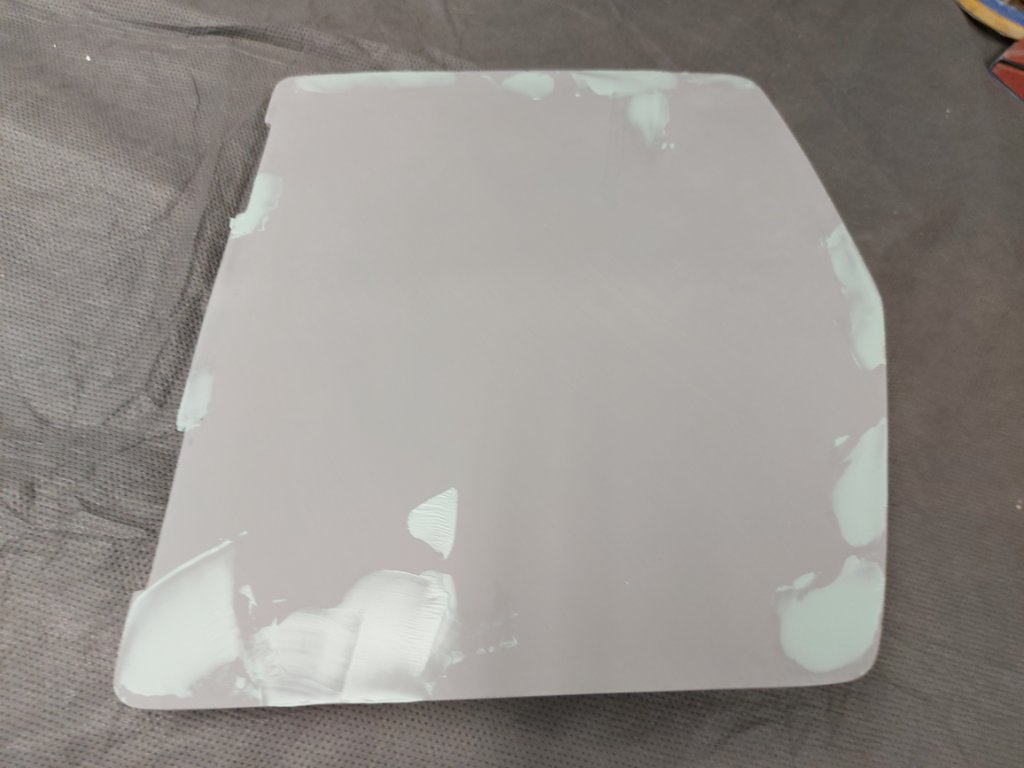
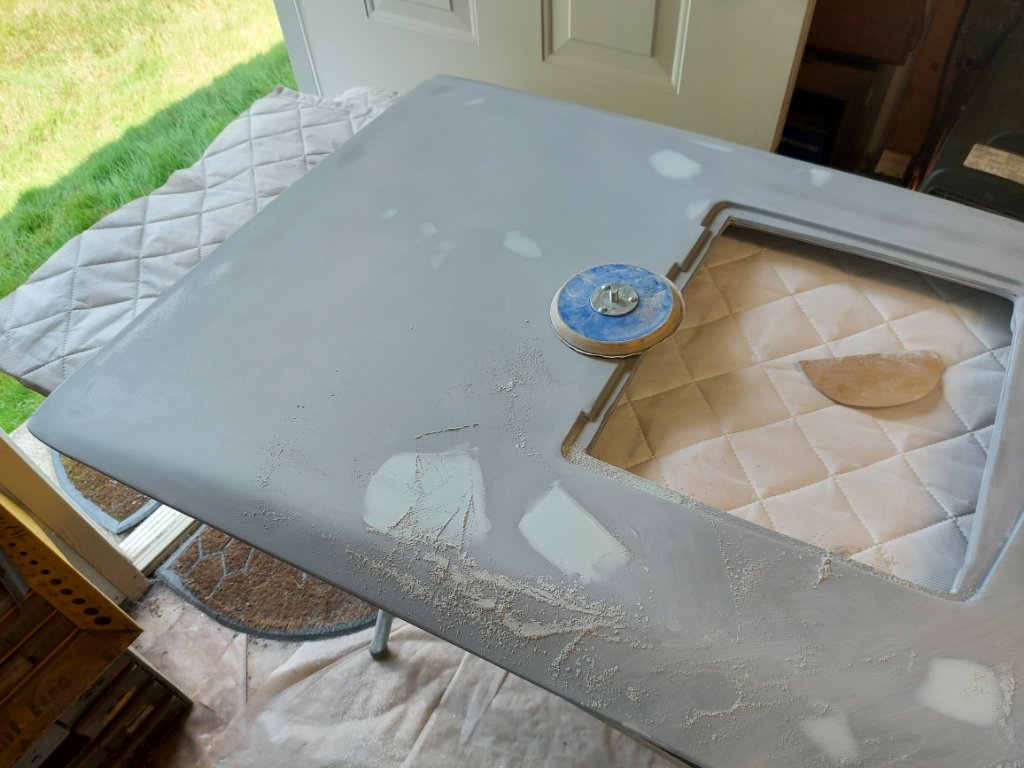
I prepped the underside to get it ready for primer.

- July 10 (2).jpg (102.54 KiB) Viewed 20368 times
I noticed that the Air door had some pock marks on it (again....not the best quality from Stinger...

)
So I applied some putty.
- July 10 (1).jpg (69.17 KiB) Viewed 20368 times
Sanded the putty down.

- July 10 (3).jpg (55.35 KiB) Viewed 20368 times
And shot some black primer on it.
- July 10 (7).jpg (122.45 KiB) Viewed 20368 times
As soon as the air door hinge comes in, I have to do a fit-check.
Re: Startin to work on the Clone Runner (it's PAINTED!)
Posted: Mon Jul 12, 2021 8:21 pm
by 71Beeper
Re: Startin to work on the Clone Runner (it's PAINTED!)
Posted: Sun Jul 18, 2021 5:40 pm
by 71Beeper
Re: Startin to work on the Clone Runner (it's PAINTED!)
Posted: Sun Jul 18, 2021 5:47 pm
by 71Beeper
Next, I started laying out the strobe stripe.
Many many thanks to Doug (72RoadrunnerGTX)

for the info he sent me regarding where the side stripe should be.
First, I found the center line of the roof and the center of the roof stripe....see red grease pencil markings.

- July 17 (12).jpg (116.82 KiB) Viewed 20303 times
Next, space out the same distance as the strobe to where the side stripe meets up with the top stripe.

- July 17 (11).jpg (119.94 KiB) Viewed 20303 times
Then, I checked the gap at the side window opening and I was 1" away.

- July 17 (13).jpg (99.62 KiB) Viewed 20303 times
Put a few magnets down as I still need to do the other side.

- July 17 (14).jpg (105.24 KiB) Viewed 20303 times
Re: Startin to work on the Clone Runner (it's PAINTED!)
Posted: Mon Jul 19, 2021 8:56 am
by ct71rr
Awesome job! Thanks for posting this.
Re: Startin to work on the Clone Runner (it's PAINTED!)
Posted: Mon Jul 19, 2021 9:06 am
by ct71rr
Re: Startin to work on the Clone Runner (it's PAINTED!)
Posted: Sun Jul 25, 2021 12:53 pm
by 71Beeper
CT, the rear valance is fastened to the rear quarter reinforcement piece.
If I remember correctly you recently just installed them on your Runner.
Here's a picture of one. I've circled in red where the valance gets fastened to.
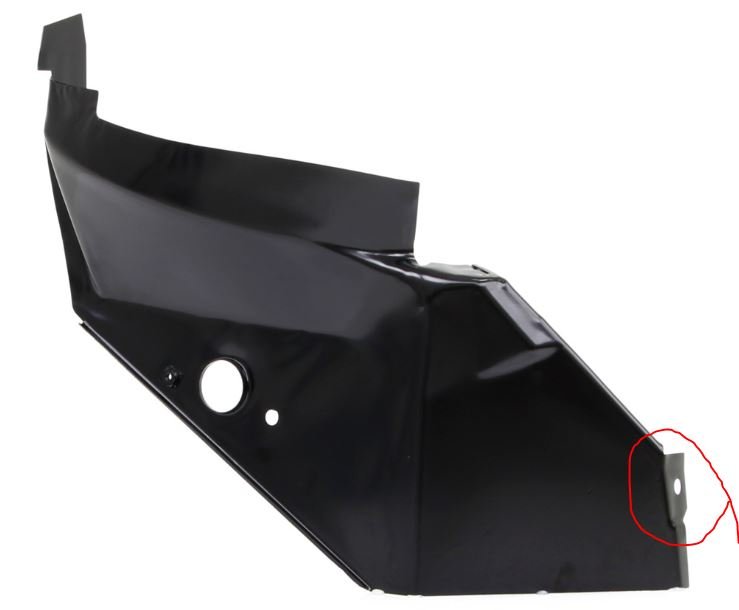
- Rear quarter reinforcement.JPG (21.98 KiB) Viewed 20255 times
There are no fastening holes on the rear quarters or the the trunk extensions as you probably already know.
Re: Startin to work on the Clone Runner (it's PAINTED!)
Posted: Sun Jul 25, 2021 7:34 pm
by 71Beeper
So, continuing on with the strobe stripe install...I had to get the passenger side stripe mocked up tp make sure it's lined up properly.

- July 24 (4).jpg (85.39 KiB) Viewed 20251 times
I had to go back and forth with the 2 side stripes to ensure they were as correctly mounted as possible.
Once confident with that I bit the bullet and started sticking down the roof stripe....

I did it in sections of 3 strobe panels at a time. I put a masking tape down over the 4th strobe, then pulled back the backing paper on the first three and started with the spreader.

- July 24 (6).jpg (63.13 KiB) Viewed 20251 times
Good thing I didn't have the rear glass in as I got my butt up on the rear parcel shelf and thru the rear glass opening.
Once the first three strobes were stuck down, I moved my masking tape line over to the next set of three.
After a bit, all 12 segments were on.
- July 24 (12).jpg (158.68 KiB) Viewed 20251 times
Next, I moved to the passenger side stripe, I did the same as above but only did 2 segments at a time.

- July 24 (14).jpg (92.69 KiB) Viewed 20251 times
Once all the segments were down, I was pretty happy with the way it turned out.

- July 24 (16).jpg (109.48 KiB) Viewed 20251 times
Re: Startin to work on the Clone Runner (it's PAINTED!)
Posted: Sun Jul 25, 2021 7:39 pm
by 71Beeper
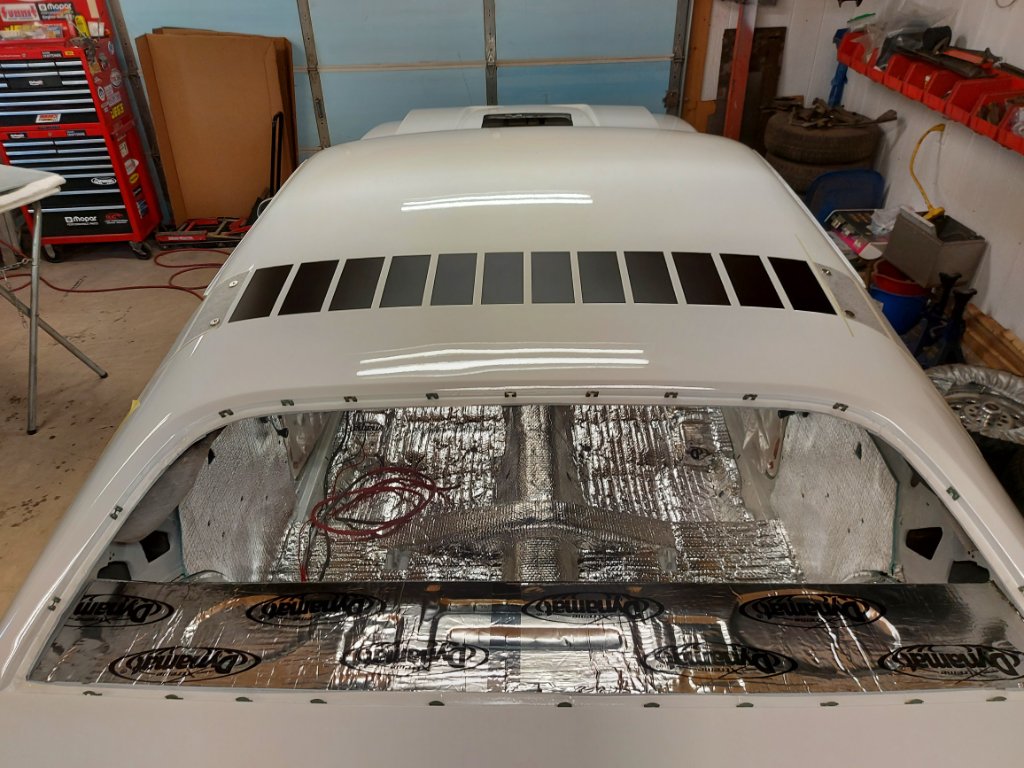
Todays task was to get the drivers side stripe on.
Using yesterdays technique, it all turned out well.

- July 25 (2).jpg (91.53 KiB) Viewed 20251 times

- July 25 (3).jpg (91.47 KiB) Viewed 20251 times
The final step was to apply the reflective running birds.
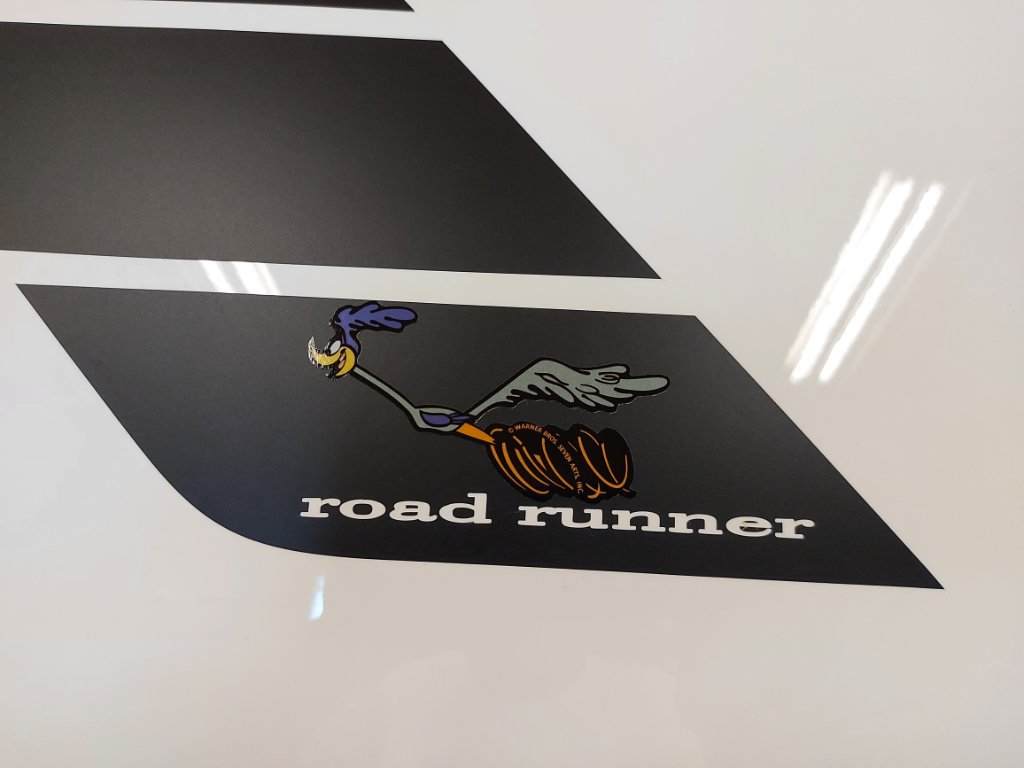
- July 25 (6).jpg (52.62 KiB) Viewed 20251 times

- July 25 (8).jpg (49.05 KiB) Viewed 20251 times
So another big step to getting some contrasting color on it accomplished.

- July 25 (10).jpg (119.17 KiB) Viewed 20251 times
Re: Startin to work on the Clone Runner (it's PAINTED!)
Posted: Sun Jul 25, 2021 7:41 pm
by 71Beeper
So I did have a little bit of time today to get back at the Air Grabber setup and sand off the putty.
I'm still waiting for the door hinge to arrive.
- July 25 (12).jpg (111.33 KiB) Viewed 20251 times

- July 25 (13).jpg (104.96 KiB) Viewed 20251 times

- July 25 (14).jpg (116.81 KiB) Viewed 20251 times
Re: Startin to work on the Clone Runner (it's PAINTED!)
Posted: Mon Aug 02, 2021 7:41 pm
by 71Beeper
Since I will not have any of the under hood mechanism for the Air Grabber in place, I had time to MacGyver up some aluminum brackets that will hold the Air Grabber door open 24/7.
The reason I'm doing this is because the intake I'm using (Edelbrock Air Gap) is too tall to have any of the under hood hardware in place.
First, I had to install the studs for the hinge and the new brackets.

- July 31 (4).jpg (89.39 KiB) Viewed 20188 times
After that, I made a carboard template and made this bracket.

- July 31 (5).jpg (71.48 KiB) Viewed 20188 times

- July 31 (6).jpg (72.36 KiB) Viewed 20188 times
I think one on either side will be more than strong enough to keep the door open and not have it vibrate.
Re: Startin to work on the Clone Runner (it's PAINTED!)
Posted: Mon Aug 02, 2021 7:44 pm
by 71Beeper
Re: Startin to work on the Clone Runner (it's PAINTED!)
Posted: Mon Aug 02, 2021 7:48 pm
by 71Beeper
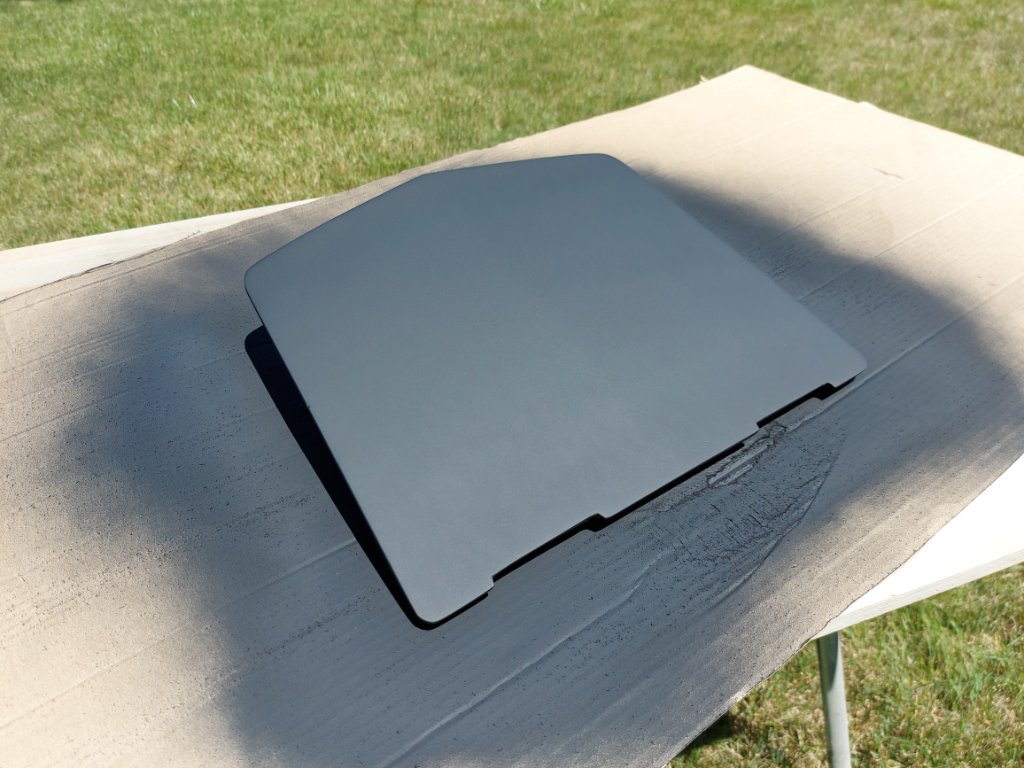
So today it was on to the black primer stage.
It's amazing that this whole assembly (with the hardware) took 4 cans of black primer at $25 a can.....
I did it outside as it was nice and warm with no wind today.

- August 2nd (9).jpg (258.89 KiB) Viewed 20188 times
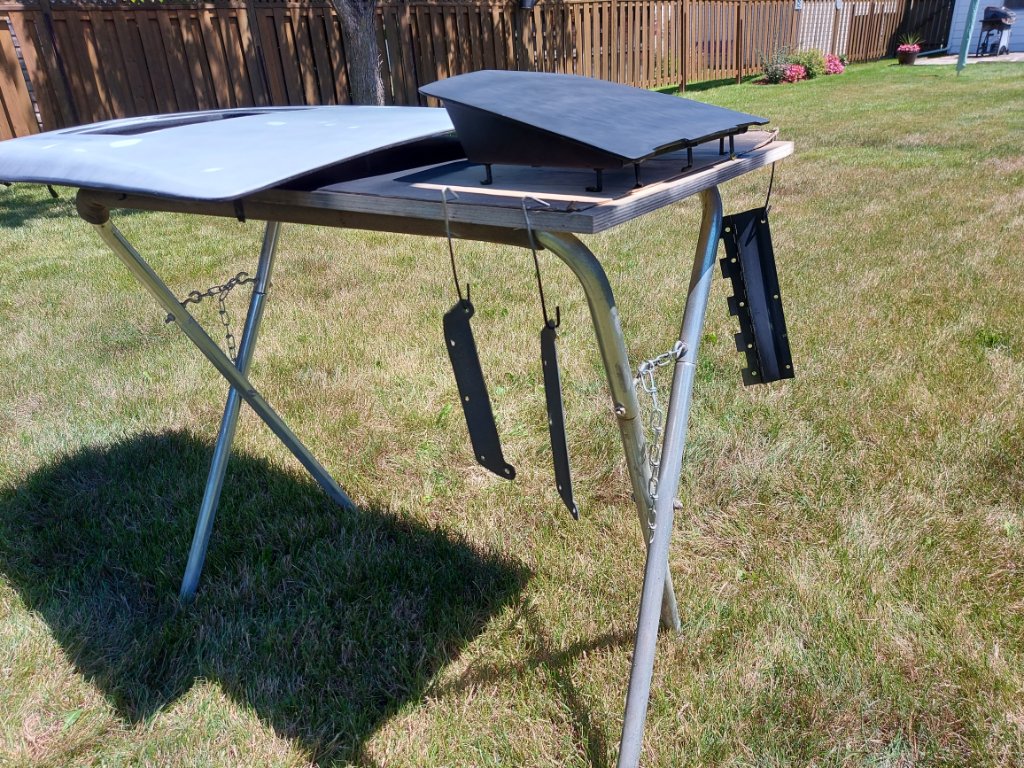
- August 2nd (10).jpg (285.99 KiB) Viewed 20188 times
Turned out great!!

- August 2nd (14).jpg (231.68 KiB) Viewed 20188 times

- August 2nd (15).jpg (179.75 KiB) Viewed 20188 times
Here's what it looks like back inside....

- August 2nd (17).jpg (83.51 KiB) Viewed 20188 times
The next step is for the black satin paint....