Page 18 of 35
Re: Startin to work on the Clone Runner (it's PAINTED!)
Posted: Tue Dec 22, 2020 8:44 pm
by 71Beeper
71bird,
I removed the fuzzies from their base, as they were worn, and put on a thick felt.
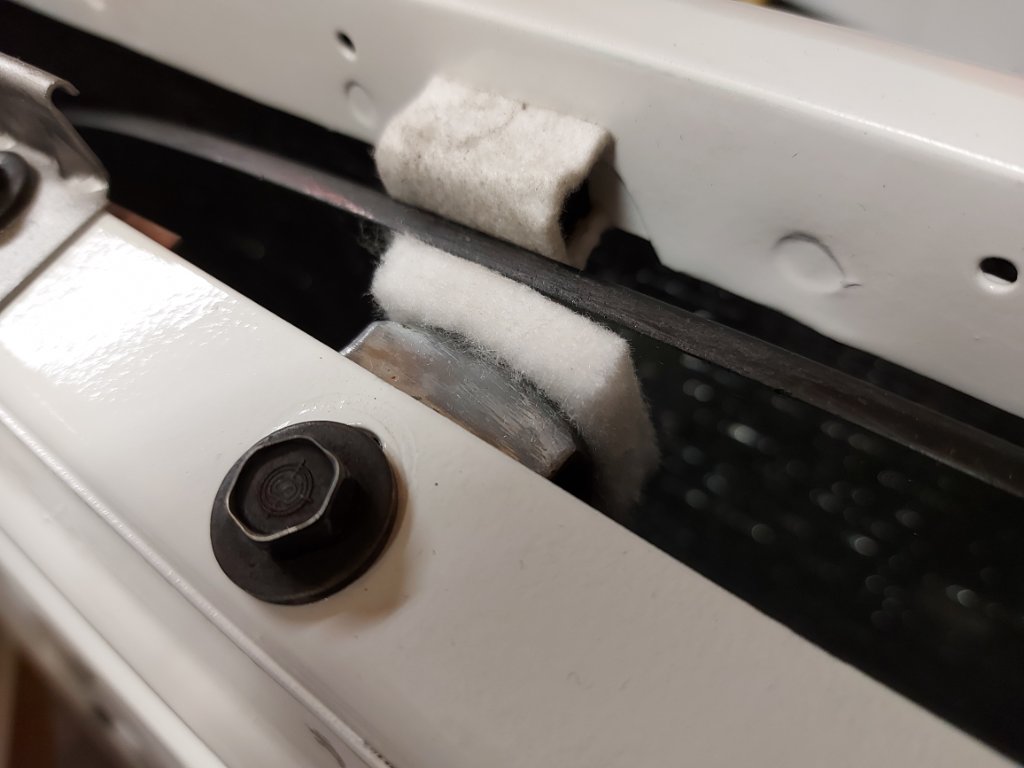
- Dec 22 (2).jpg (64.89 KiB) Viewed 26712 times
On the piece that goes on the outer door at the top, I applied a thinner felt.

- Dec 22 (1).jpg (44.52 KiB) Viewed 26712 times
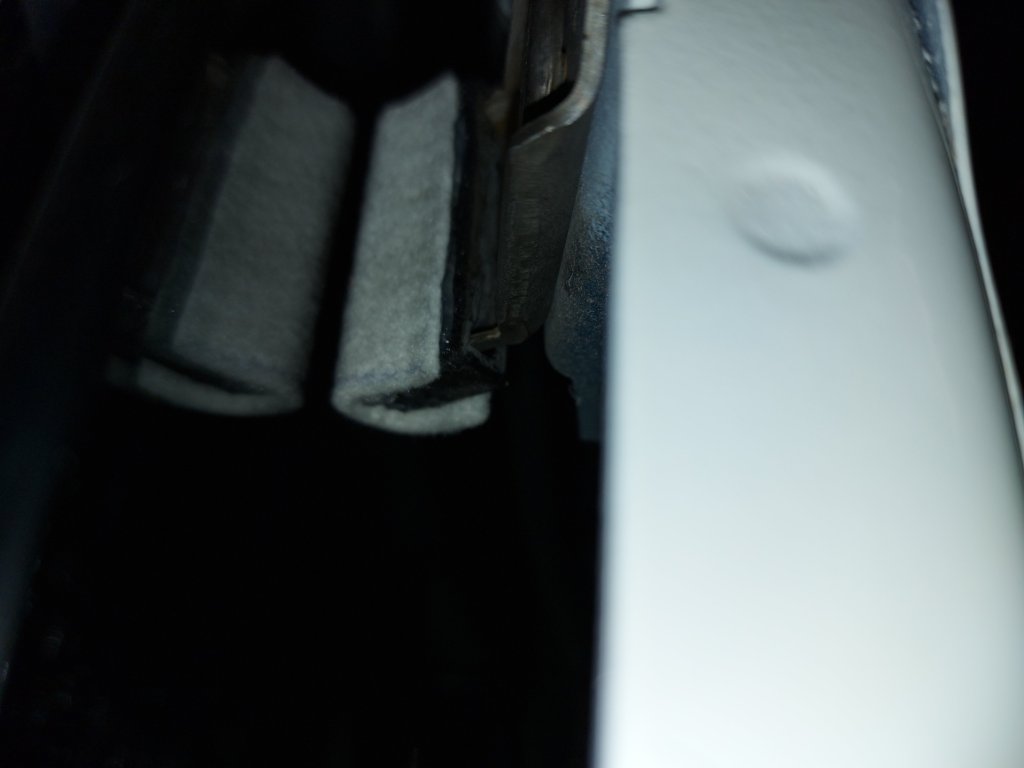
- Dec 22 (4).jpg (37 KiB) Viewed 26712 times
And on the window stoppers I covered them with the same thinner felt, but realized it wasn't really necessary.

- Dec 22 (5).jpg (75.35 KiB) Viewed 26712 times
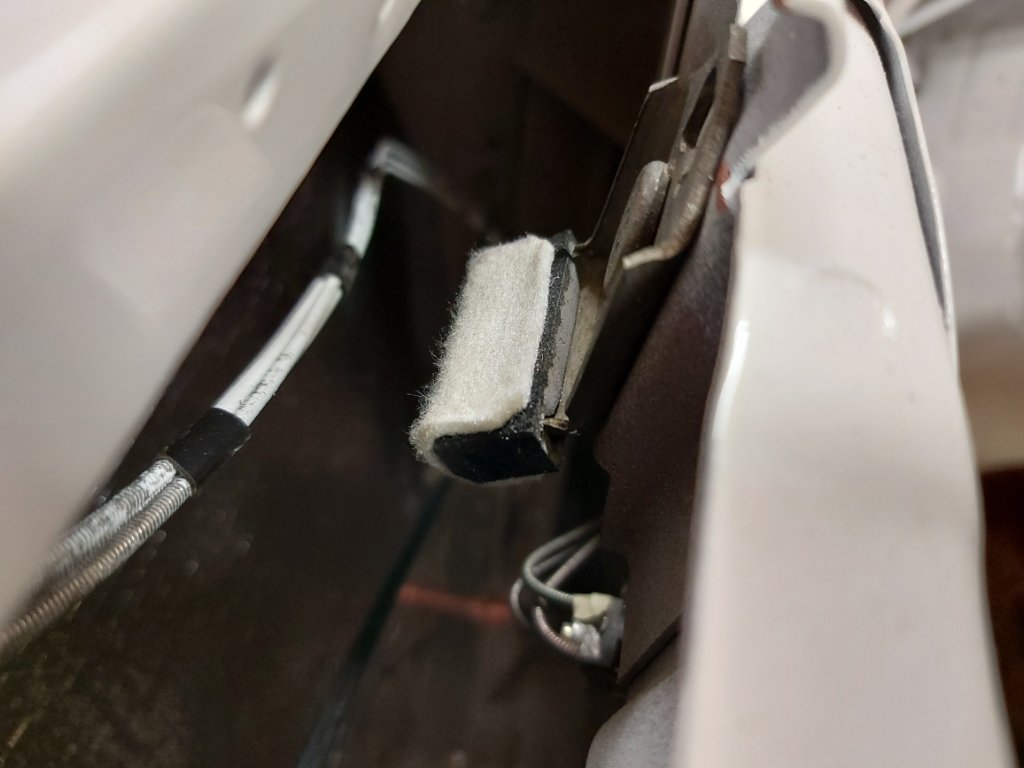
- Dec 22 (7).jpg (66.28 KiB) Viewed 26712 times
The company I work at makes industrial products using textiles, we have that felt in stock.
Re: Startin to work on the Clone Runner (it's PAINTED!)
Posted: Tue Dec 22, 2020 8:47 pm
by 71Beeper
And I used this stuff to glue it on with.
It's good stuff.....


- Shoe goo.JPG (24.82 KiB) Viewed 26712 times
Re: Startin to work on the Clone Runner (it's PAINTED!)
Posted: Mon Dec 28, 2020 4:54 pm
by 71Beeper
I took advantage of the Christmas holiday's to get out in the shop and put down the rest of the sound deadner.
I put some filler pieces in the little valleys.

- Dec 26_27_28 (3).jpg (147.11 KiB) Viewed 26681 times
Then add the rest.

- Dec 26_27_28 (5).jpg (190.88 KiB) Viewed 26681 times
Then work my way up to the front.
- Dec 26_27_28 (7).jpg (174.29 KiB) Viewed 26681 times
Finally do the firewall piece.

- Dec 26_27_28 (9).jpg (227.98 KiB) Viewed 26681 times
And I'm still not done...
Re: Startin to work on the Clone Runner (it's PAINTED!)
Posted: Fri Jan 01, 2021 11:07 pm
by 71Beeper
Re: Startin to work on the Clone Runner (it's PAINTED!)
Posted: Sun Jan 03, 2021 8:20 pm
by 71Beeper
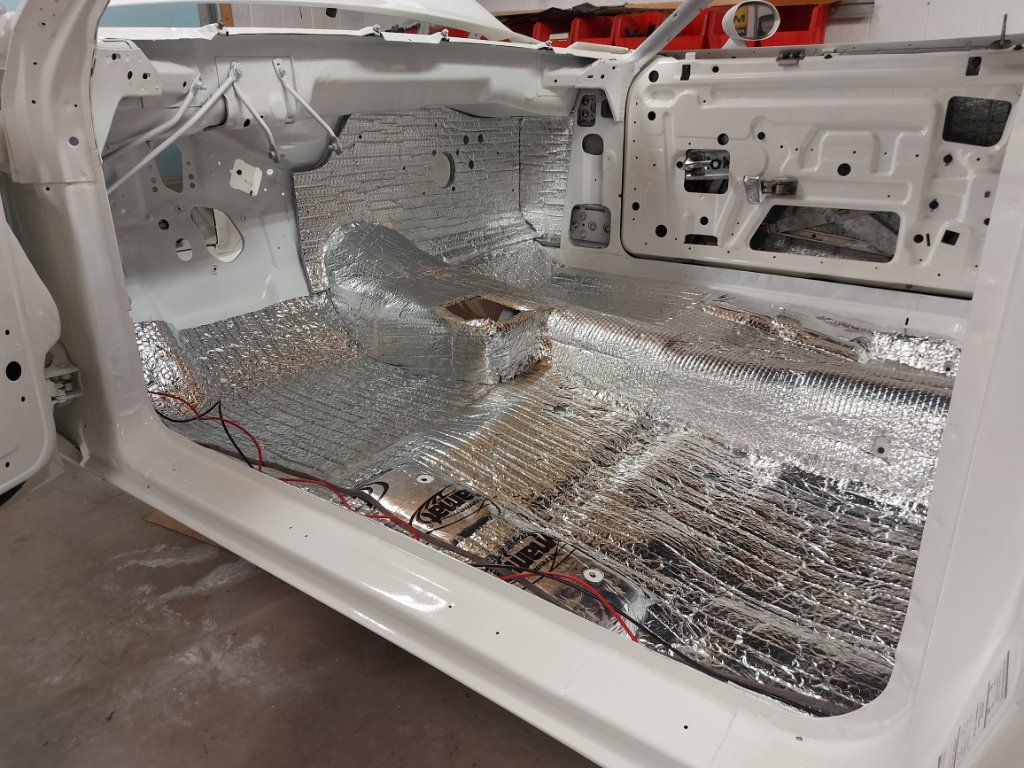
So keeping on with the sound deadner theme, I added more of it.
I put some Dynamat here...
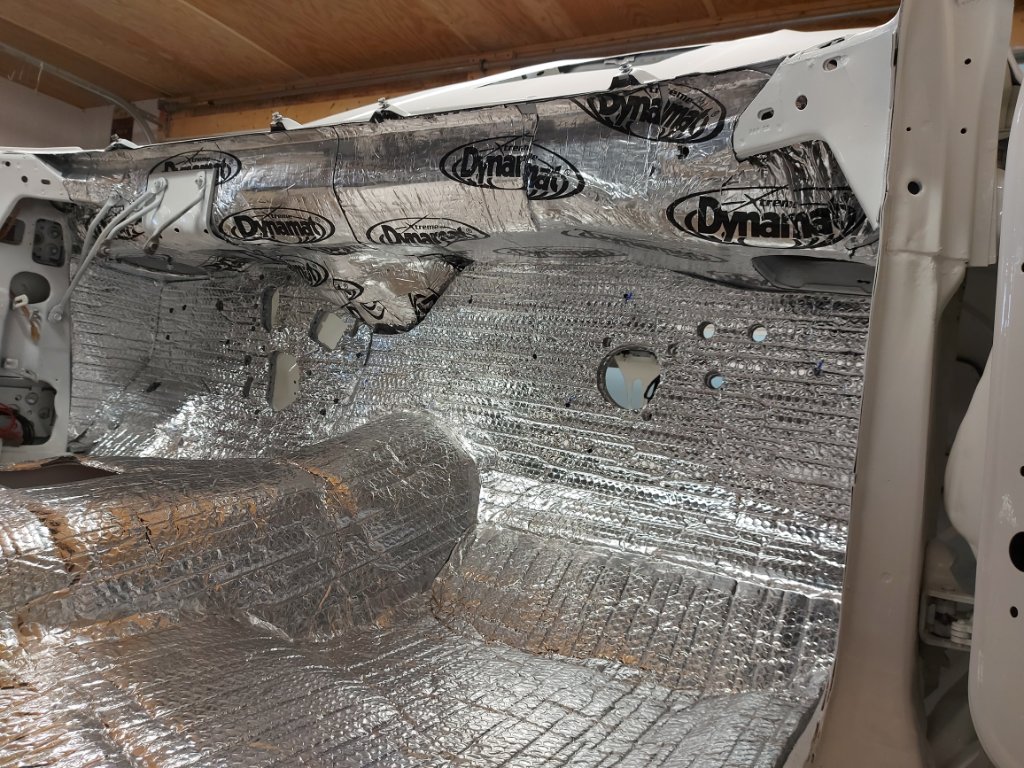
- Dec 31 (3).jpg (226.49 KiB) Viewed 26624 times

- Dec 31 (2).jpg (222.38 KiB) Viewed 26624 times
Then I made these side panels.
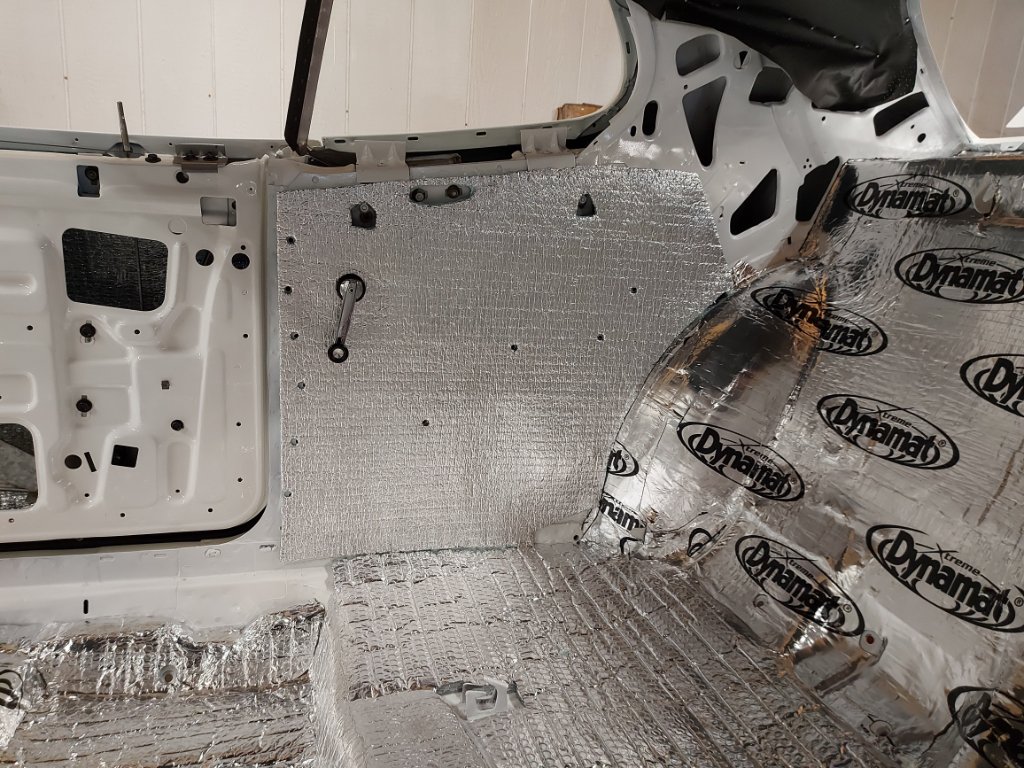
- Jan 2 (3).jpg (205.49 KiB) Viewed 26624 times
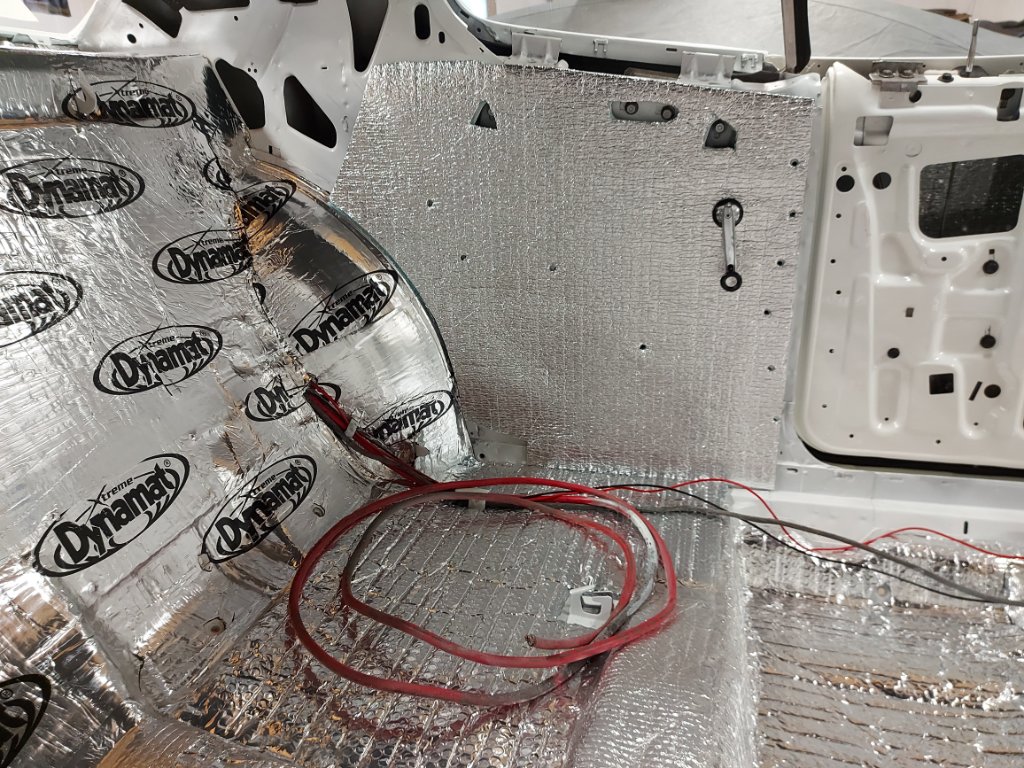
- Jan 2 (4).jpg (238.83 KiB) Viewed 26624 times
I think that completes the sound deadner project....yay!
Re: Startin to work on the Clone Runner (it's PAINTED!)
Posted: Sun Jan 03, 2021 8:22 pm
by 71Beeper
With the doors having sound deadner in them already, I made up the regular vapor barrier for them.
I'll use double sided foam tape to hold them to the door.
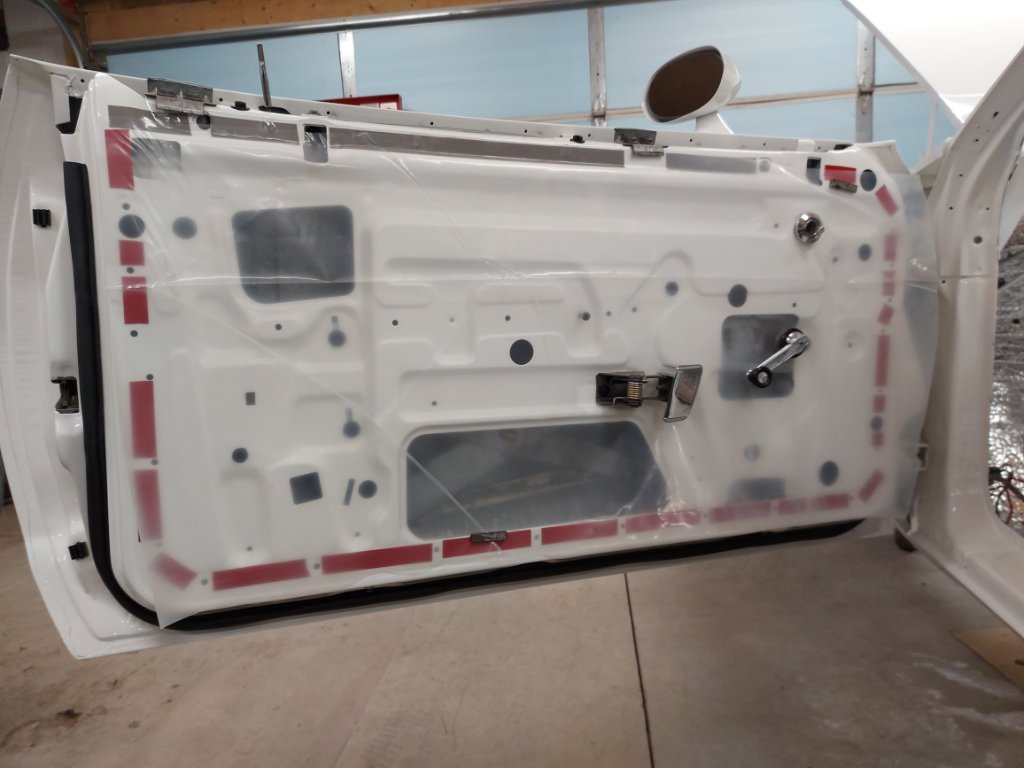
- Jan 2 (5).jpg (84 KiB) Viewed 26624 times

- Jan 2 (6).jpg (195.35 KiB) Viewed 26624 times
Re: Startin to work on the Clone Runner (it's PAINTED!)
Posted: Wed Jan 06, 2021 12:56 pm
by ct71rr
Nice job! A lot of work going on over there

Re: Startin to work on the Clone Runner (it's PAINTED!)
Posted: Sun Jan 10, 2021 9:08 pm
by 71Beeper
Thanks ct71rr,
Today my box of gaskets arrived from Detroit Muscle Technologies.
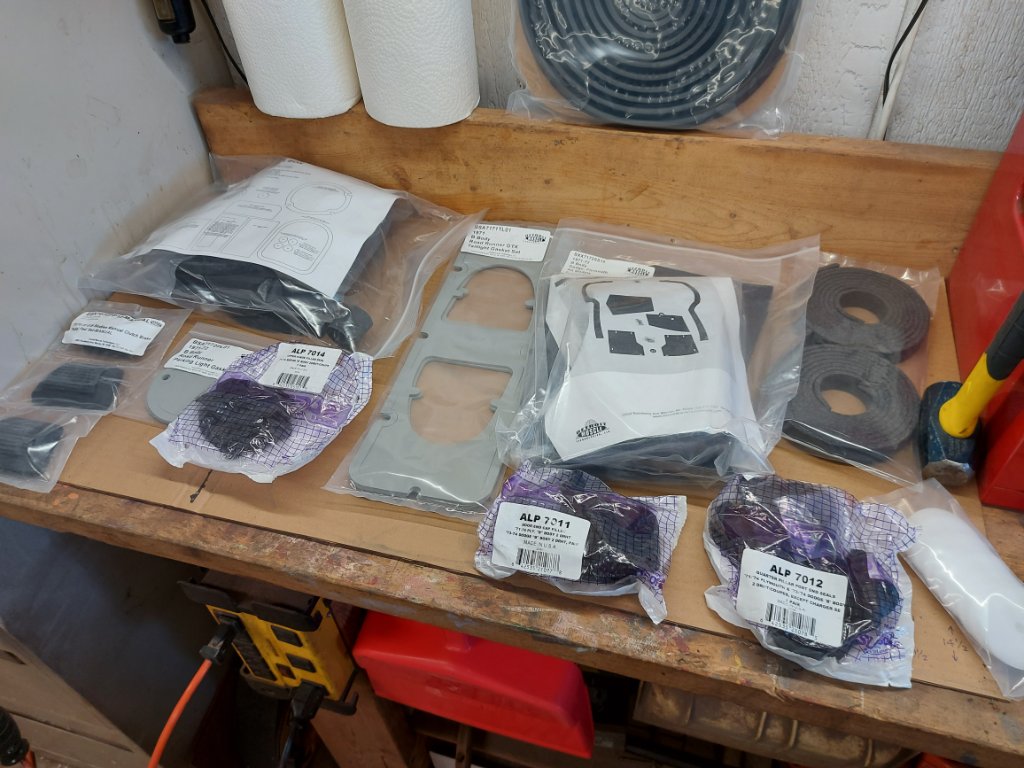
- Jan 9 (5).jpg (143.23 KiB) Viewed 26558 times
My proper length of trunk weather stripping now fits like its suppose to.

- Jan 9 (11).jpg (119.48 KiB) Viewed 26558 times
Also, my axle studs from ARP arrived.
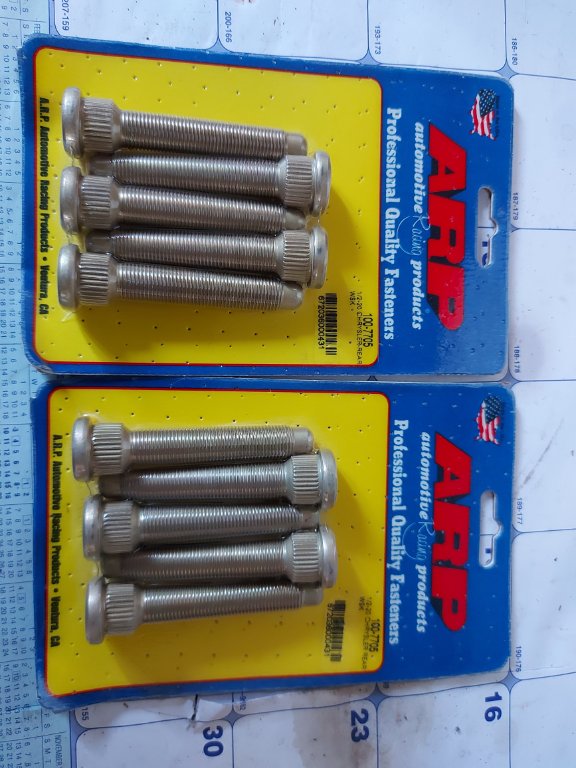
- Jan 9 (1).jpg (94.11 KiB) Viewed 26558 times
Time to install them.

- Jan 9 (4).jpg (147.31 KiB) Viewed 26558 times
And get started on cleaning up the heater box.
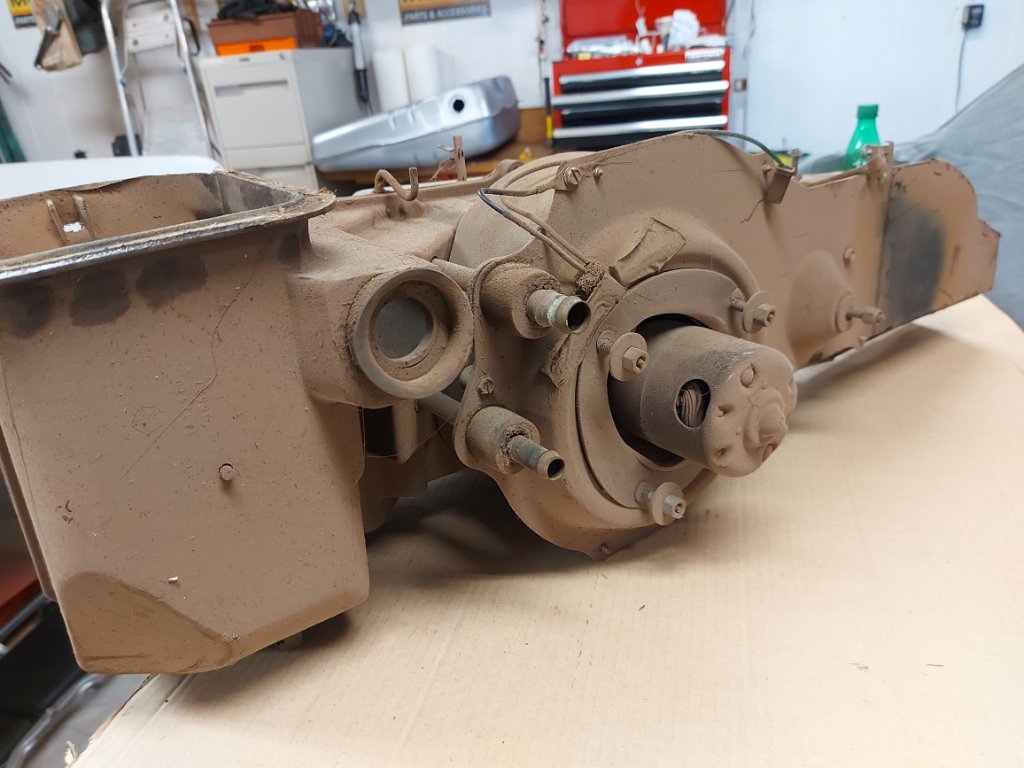
- Jan 3 (13).jpg (105.06 KiB) Viewed 26558 times
Re: Startin to work on the Clone Runner (it's PAINTED!)
Posted: Sun Jan 10, 2021 9:14 pm
by 71Beeper
The heater box was covered in the dust left over from all the sandblasting that I did earlier.
Opened it up and this was in it...

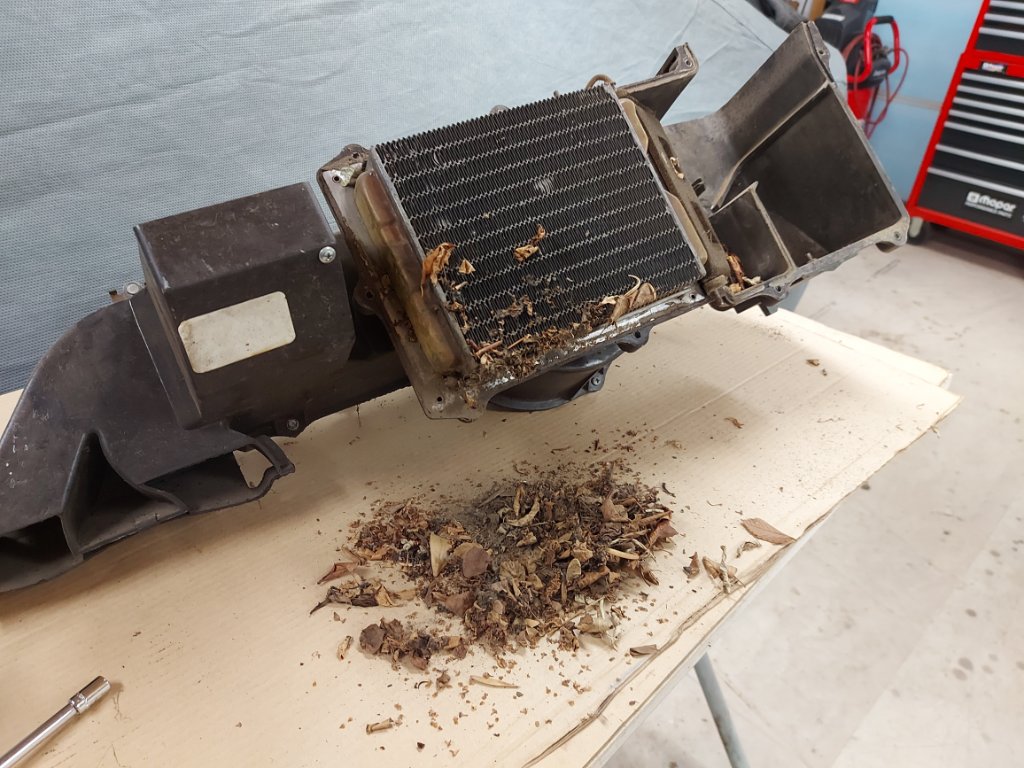
- Jan 3 (18).jpg (157.25 KiB) Viewed 26558 times
No mouse poop thank God. The heater core looks to be in good shape. I'll put some vinegar in it and rinse it out.
In the meantime I cleaned up the heater motor and got it ready for primer.
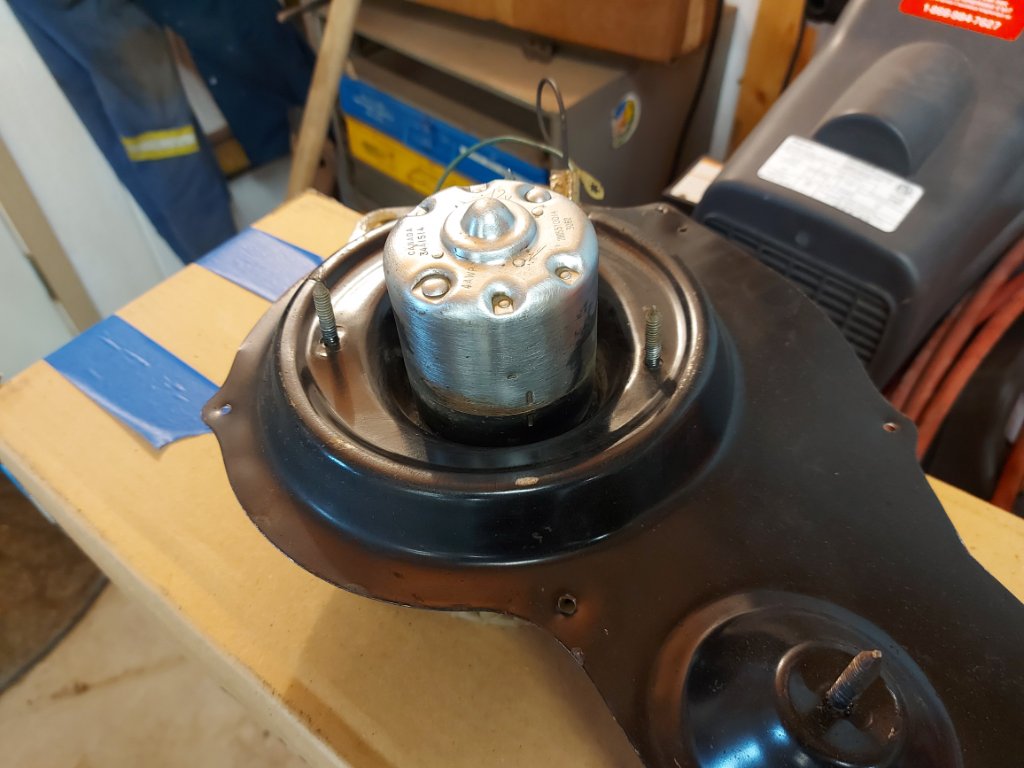
- Jan 10 (1).jpg (96.63 KiB) Viewed 26558 times
- Jan 10 (2).jpg (102.57 KiB) Viewed 26558 times

- Jan 10 (3).jpg (106.22 KiB) Viewed 26558 times
The heater box is starting to clean up real nice too.
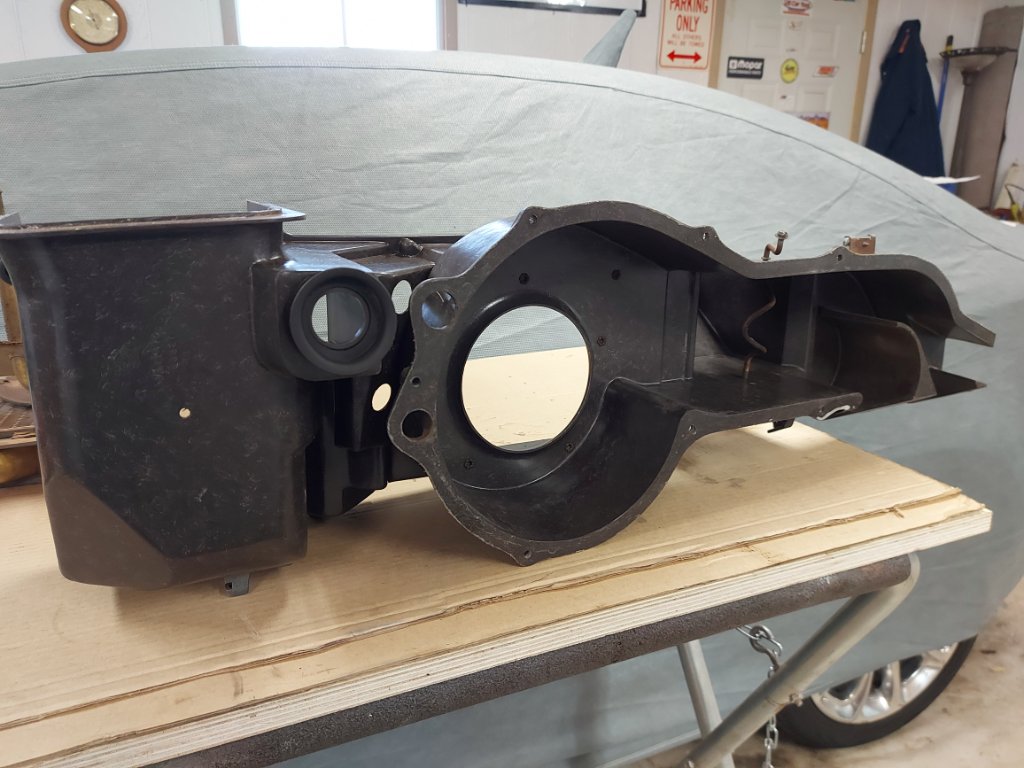
- Jan 10 (13).jpg (115.89 KiB) Viewed 26558 times
Re: Startin to work on the Clone Runner (it's PAINTED!)
Posted: Tue Jan 12, 2021 11:26 am
by ct71rr
Nice work! I’ve been pulling nests & old acorns out of everywhere. I haven’t opened up my heater core yet but I’m sure there’s got to be a huge one in there too!
Re: Startin to work on the Clone Runner (it's PAINTED!)
Posted: Thu Jan 14, 2021 7:51 am
by 71Beeper
Thanks CT,
As long as the heater core itself isn't damaged, the rest of the box cleans up quite nicely.
Good thing I ordered the gasket kit from Detroit Muscle car technologies - the original 50 year foam on the blend doors literally fell apart as soon as I touched them...
Re: Startin to work on the Clone Runner (it's PAINTED!)
Posted: Thu Jan 14, 2021 10:45 am
by 71bird
I like the idea of the felt for the side glass, have you rolled the glass up and down to see how it compares to original?
Re: Startin to work on the Clone Runner (it's PAINTED!)
Posted: Sat Jan 16, 2021 9:25 pm
by 71Beeper
Yes, I did.
To be honest with you, and it could be that they need a final adjustment, but so far the glass is nice and tight going up or down.
There is no wobble in it, which is what I found with the original bits on it.
Don't forget the original guides were worn.
I've left the rubber blocks that go in the bottom of the door out as I need the glass to go below the point of where the fuzzies fit, that's the only way you will be able to put the mounting screws in with the glass installed.
Re: Startin to work on the Clone Runner (it's PAINTED!)
Posted: Sat Jan 23, 2021 5:08 pm
by 71Beeper
Continuing on with the heat box, I took out the heater core and cleaned it up.
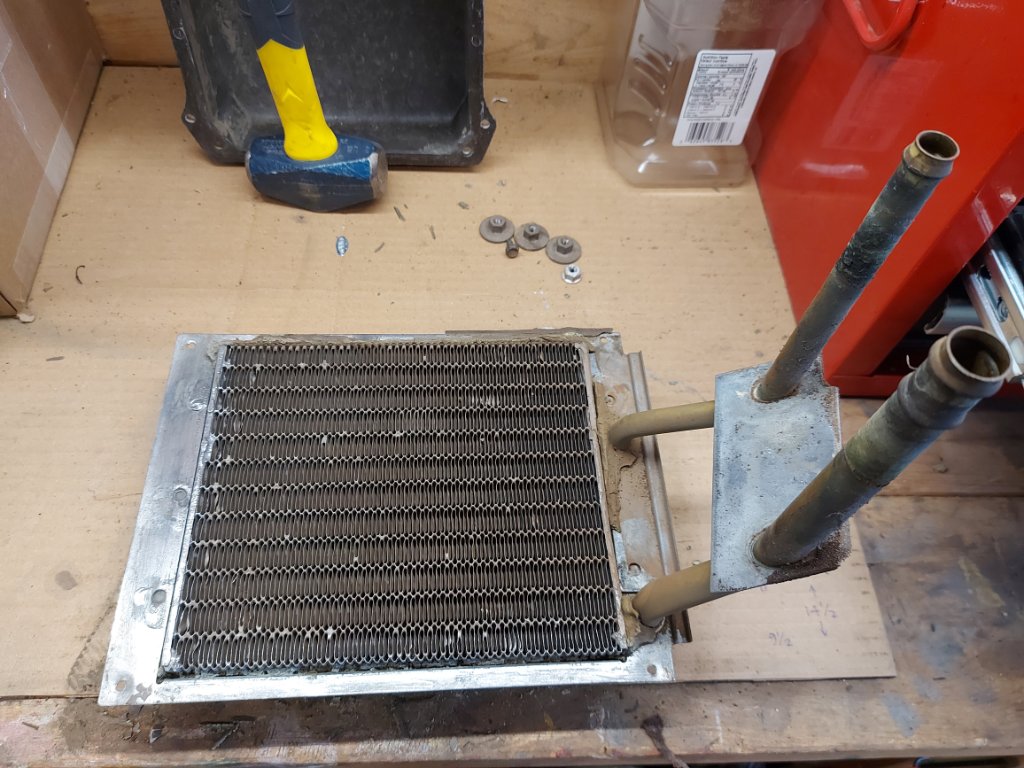
- Jan 16 (1).jpg (156.8 KiB) Viewed 26426 times
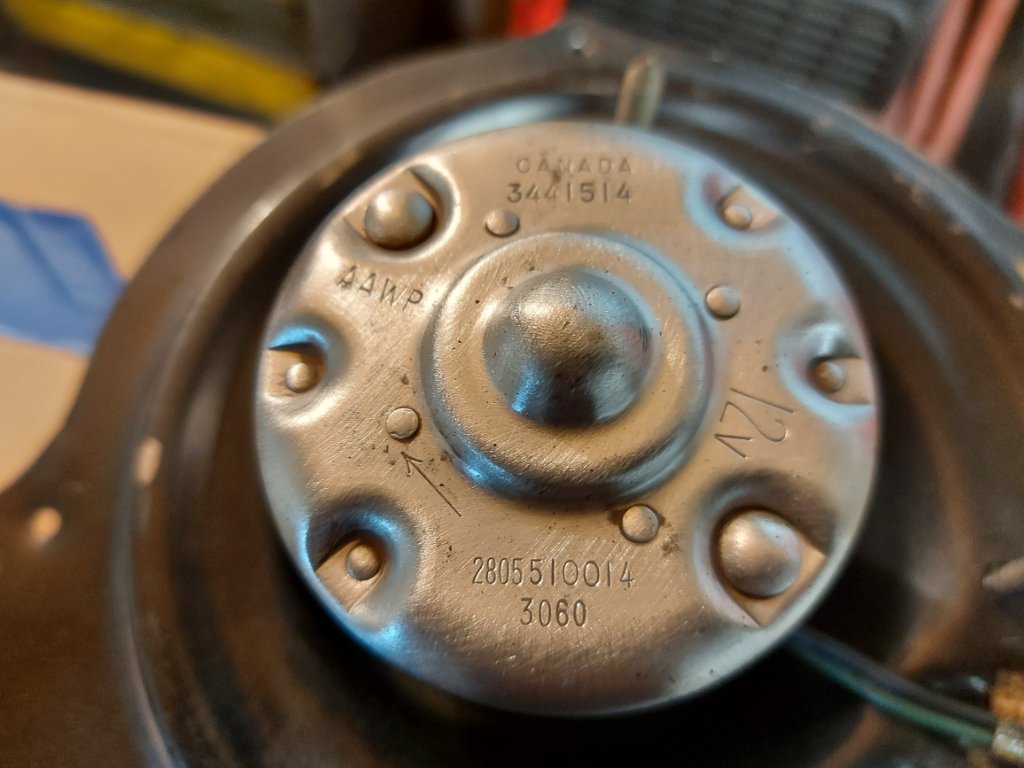
I even found a part number on the underside of it.
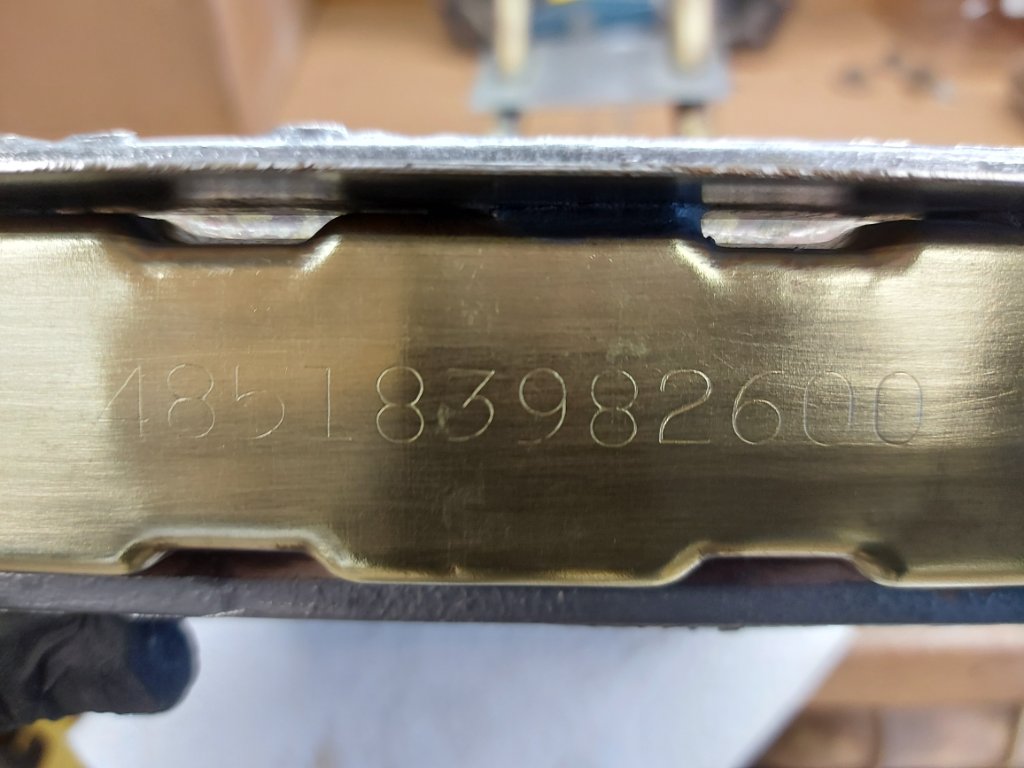
- Jan 16 (4).jpg (90.62 KiB) Viewed 26426 times
Here's the finished product.

- Jan 16 (8).jpg (164.91 KiB) Viewed 26426 times
Don't forget about the little hook type attachment for non A/C boxes.

- Jan 16 (5).jpg (58.05 KiB) Viewed 26426 times
Re: Startin to work on the Clone Runner (it's PAINTED!)
Posted: Sat Jan 23, 2021 5:14 pm
by 71Beeper
Today I did a little upgrading regarding the heater box.
Here's the small carboard piece that came from the factory.

- Jan 23 (3).jpg (84.36 KiB) Viewed 26426 times
Its purpose is to complete the ducting that goes down to the feet area on the passenger side.
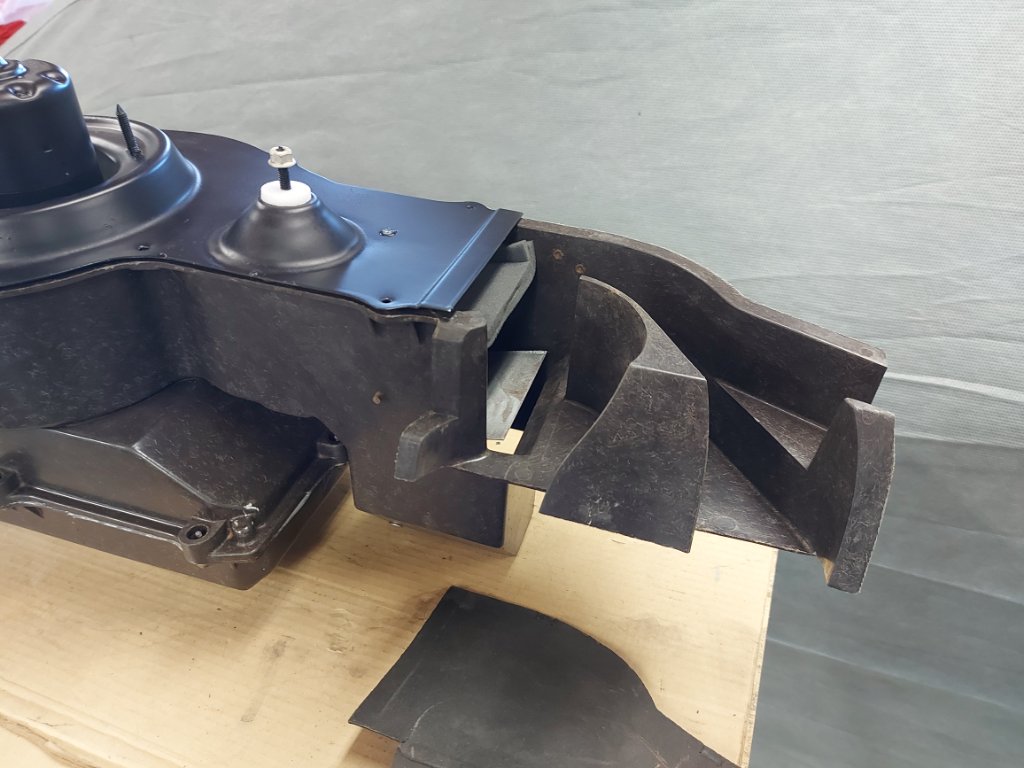
- Jan 23 (2).jpg (103.61 KiB) Viewed 26426 times
I did get a new one in the kit from Detroit Musclecar technologies, but decided I could make a better one.
So I got a thin piece of stainless steel and made a duplicate up.
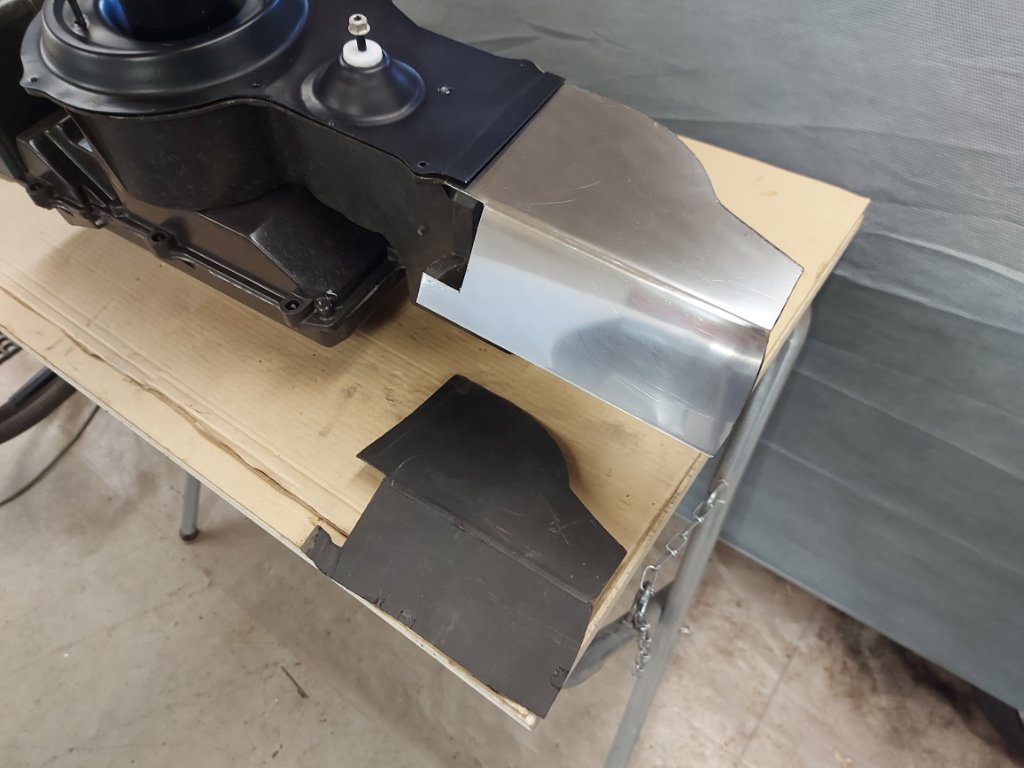
- Jan 23 (5).jpg (92.78 KiB) Viewed 26426 times
- Jan 23 (6).jpg (109.53 KiB) Viewed 26426 times
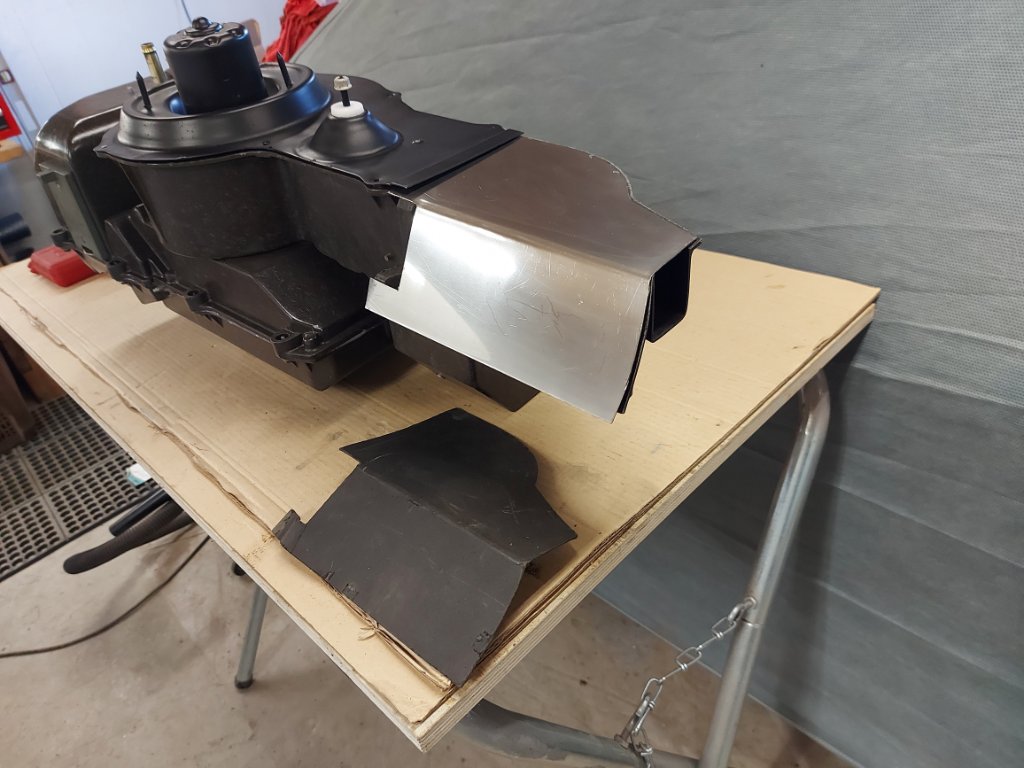
Put a little sealer on the box and clip the new cover in place.
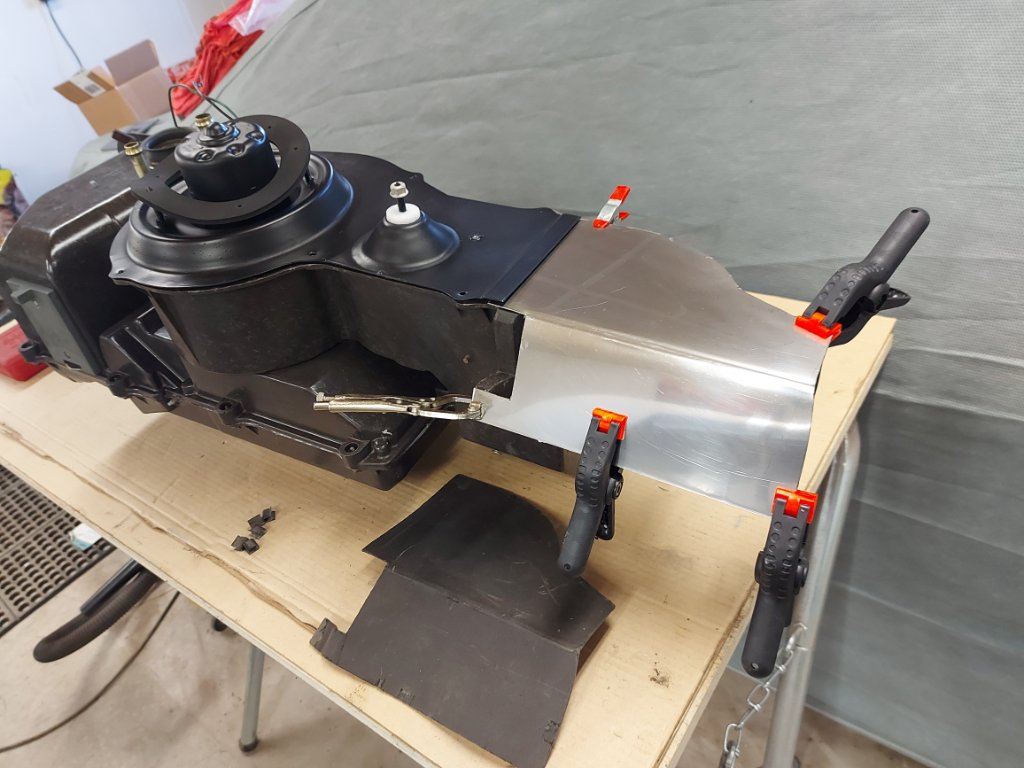
- Jan 23 (7).jpg (111.55 KiB) Viewed 26426 times