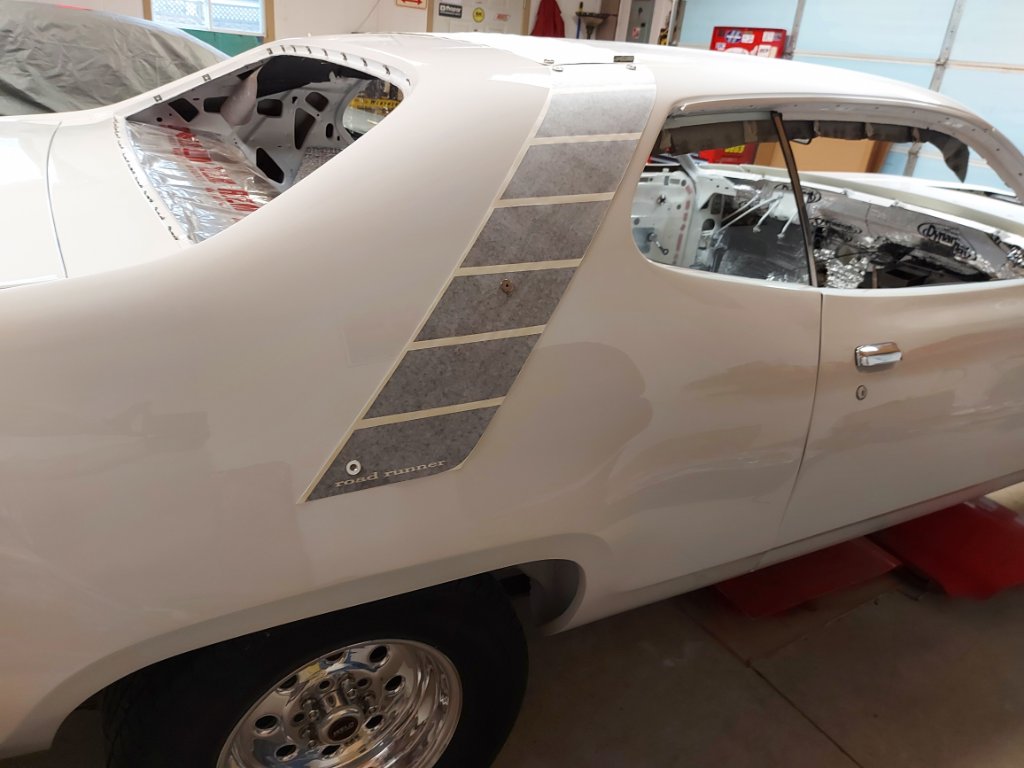
So, continuing on with the strobe stripe install...I had to get the passenger side stripe mocked up tp make sure it's lined up properly.
- July 24 (4).jpg (85.39 KiB) Viewed 19422 times
I had to go back and forth with the 2 side stripes to ensure they were as correctly mounted as possible.
Once confident with that I bit the bullet and started sticking down the roof stripe....

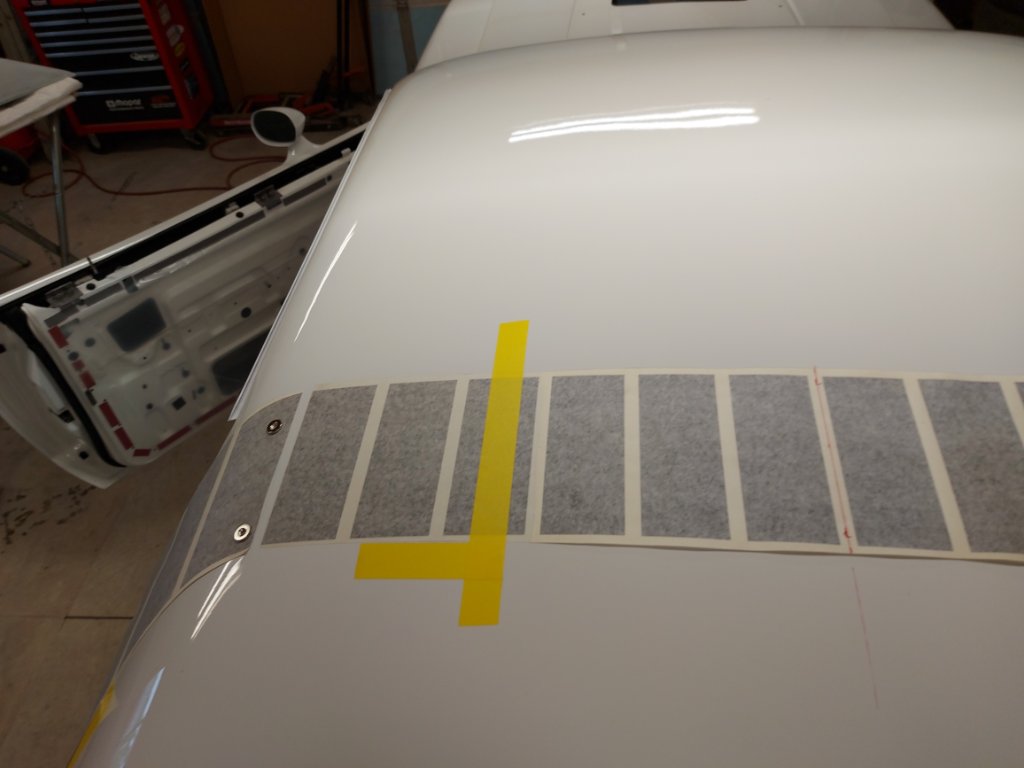
I did it in sections of 3 strobe panels at a time. I put a masking tape down over the 4th strobe, then pulled back the backing paper on the first three and started with the spreader.
- July 24 (6).jpg (63.13 KiB) Viewed 19422 times
Good thing I didn't have the rear glass in as I got my butt up on the rear parcel shelf and thru the rear glass opening.
Once the first three strobes were stuck down, I moved my masking tape line over to the next set of three.
After a bit, all 12 segments were on.

- July 24 (12).jpg (158.68 KiB) Viewed 19422 times
Next, I moved to the passenger side stripe, I did the same as above but only did 2 segments at a time.

- July 24 (14).jpg (92.69 KiB) Viewed 19422 times
Once all the segments were down, I was pretty happy with the way it turned out.

- July 24 (16).jpg (109.48 KiB) Viewed 19422 times

