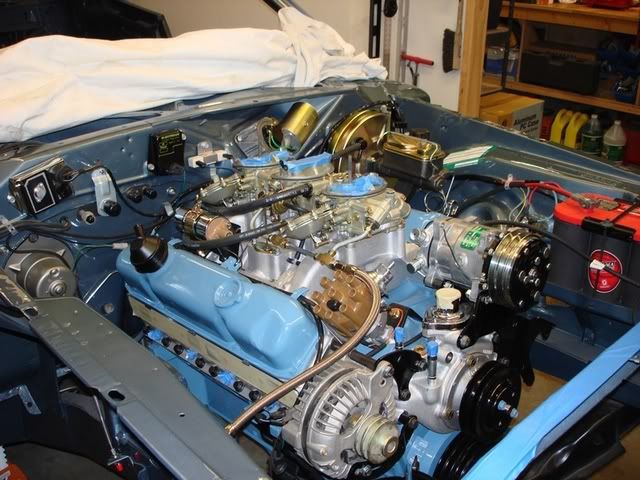
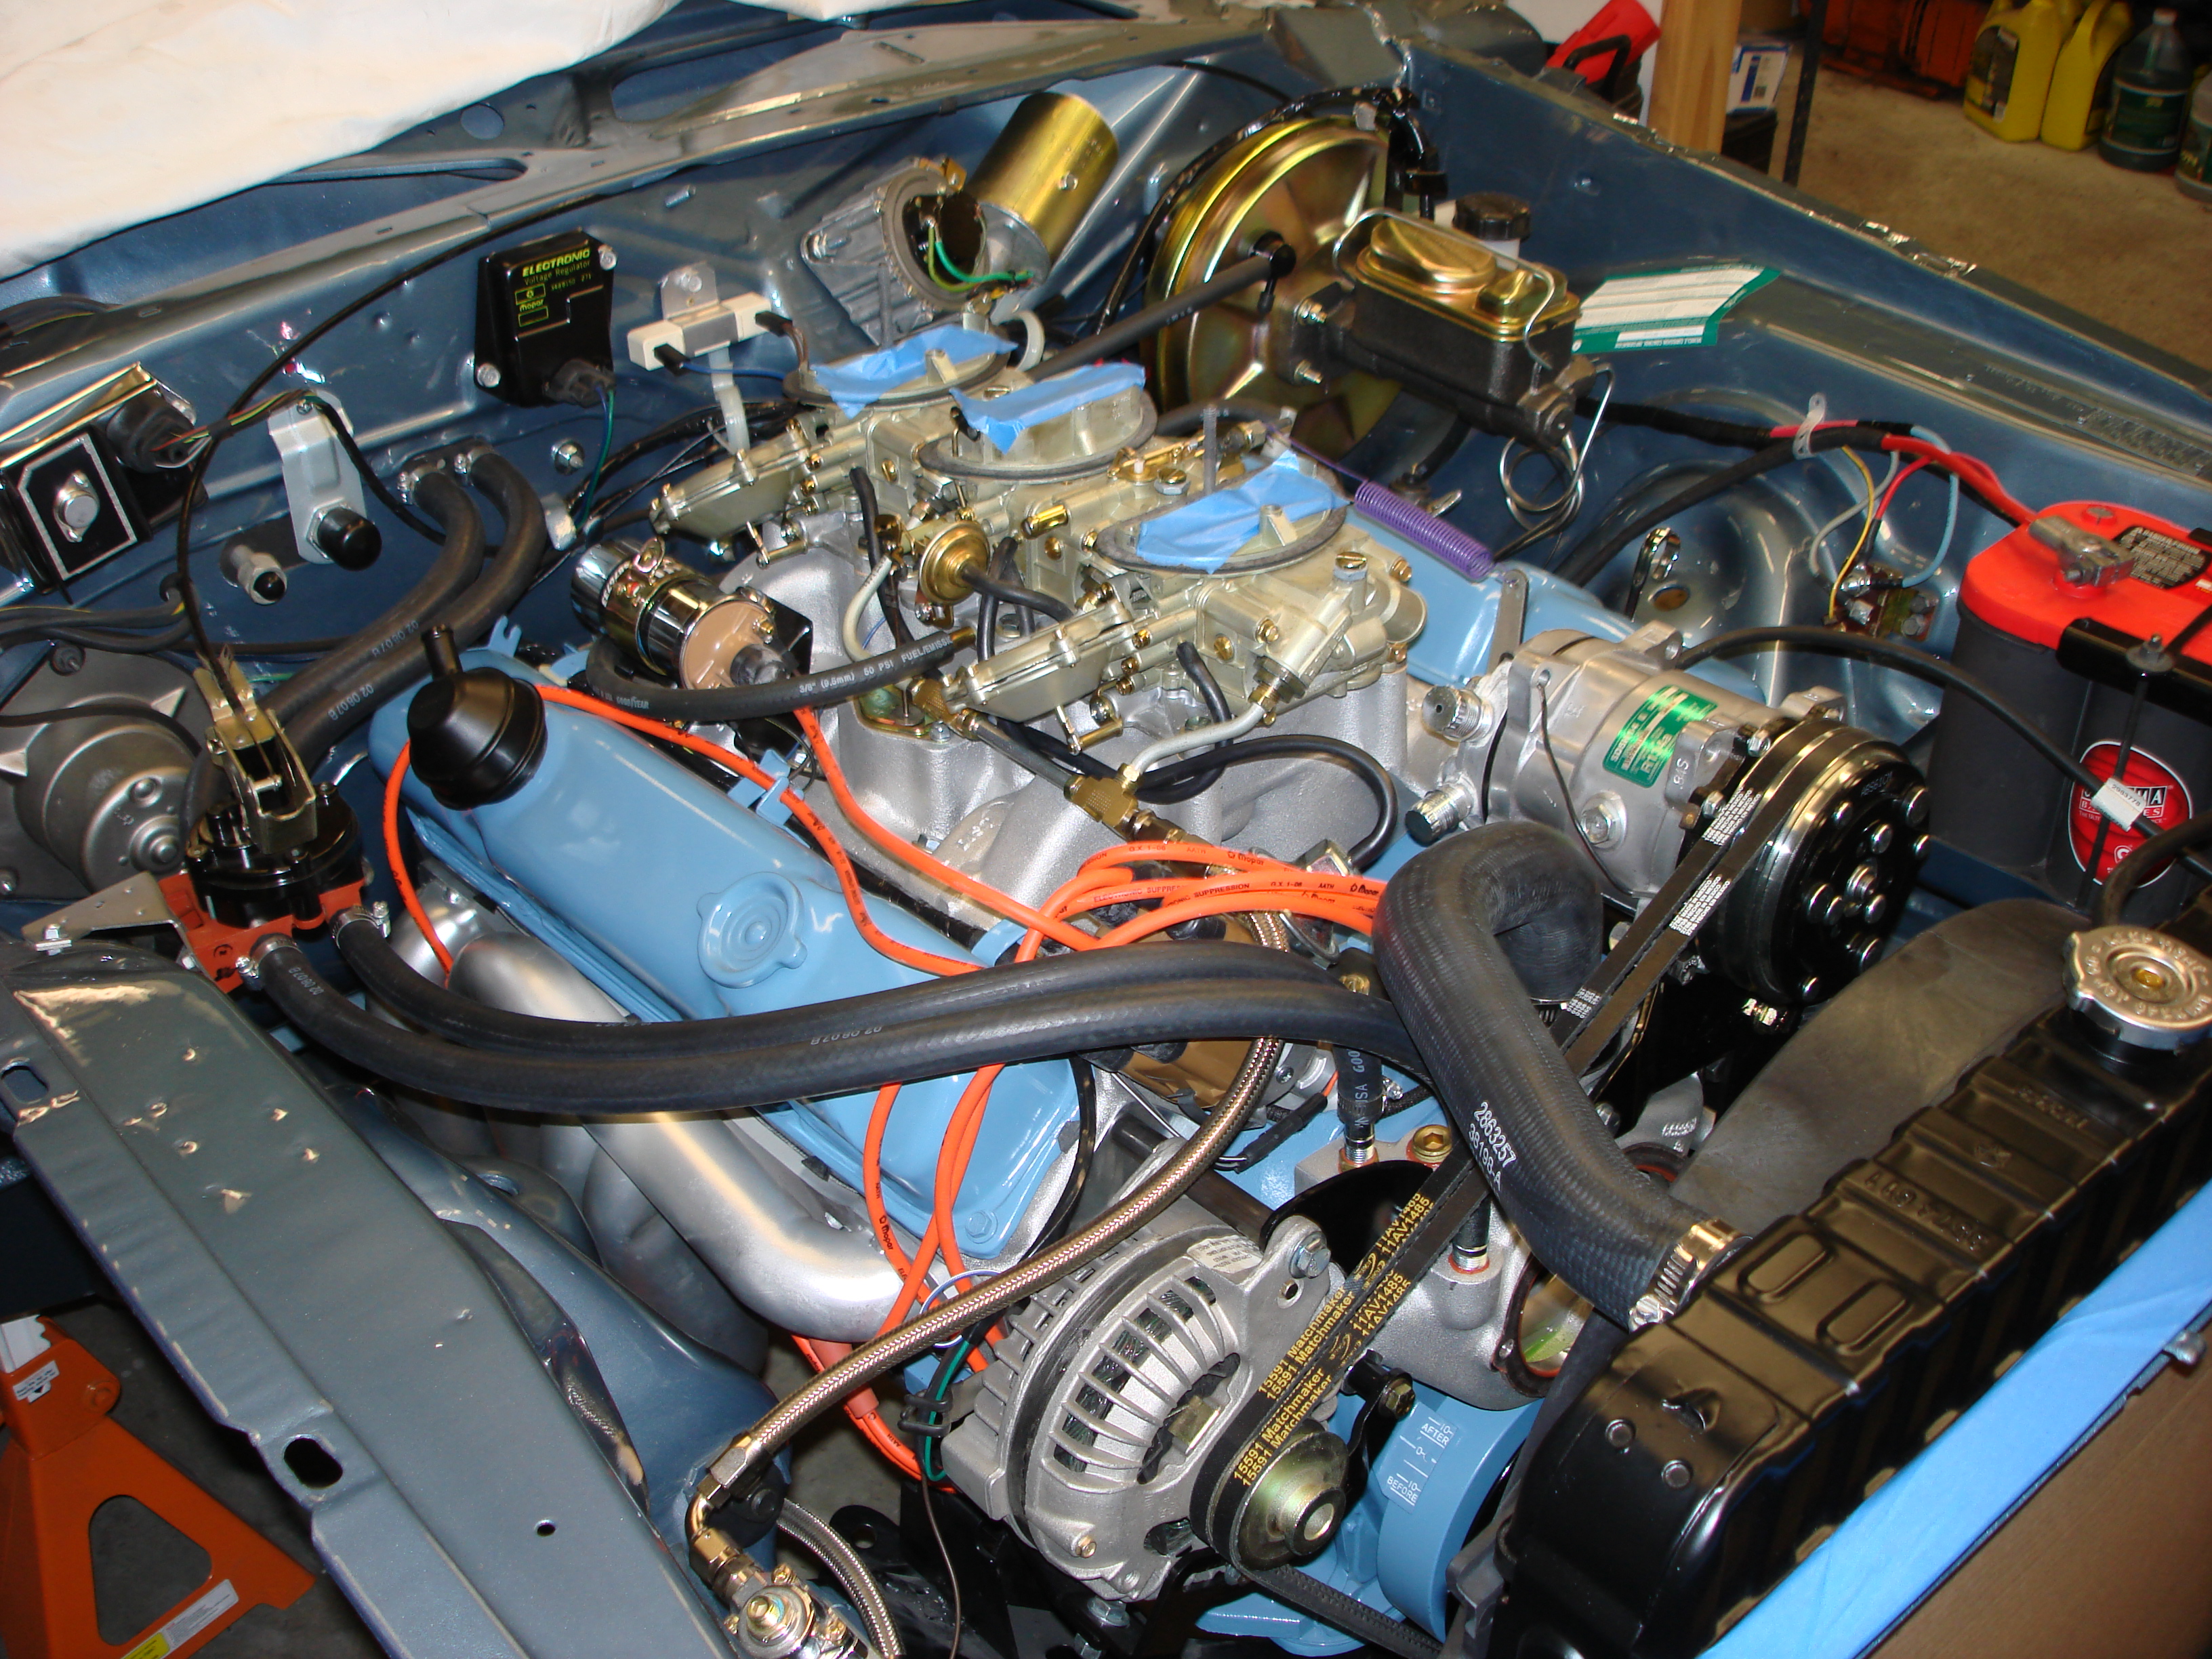
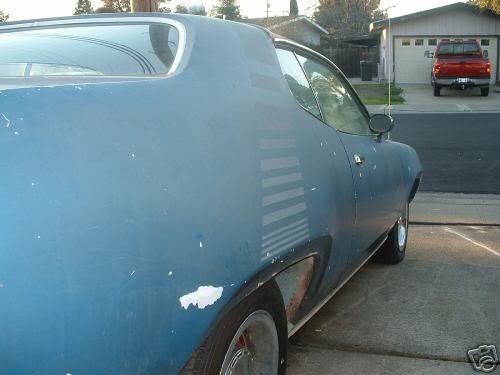
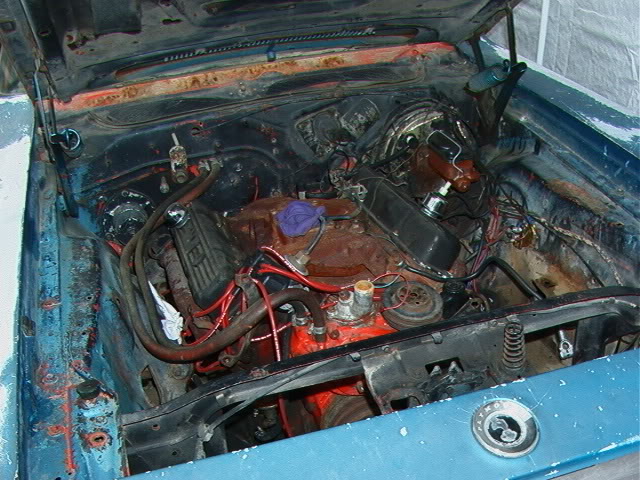
What are you going to do for hoses/fittings for the a/c system? Looks like a pretty tight fit under the air cleaner.
I got mine made from Classic Auto Air. Took a couple of tries to get the right bend to fit nicely but the folks down there were really good about working with me.
Here's a couple of pix of the compressor and evaporator fittings. I had the service ports put right on the compressor fittings, although you can actually put them other places. I can hook up my service manifold without even taking off the air cleaner. In your case you'll probably have to.
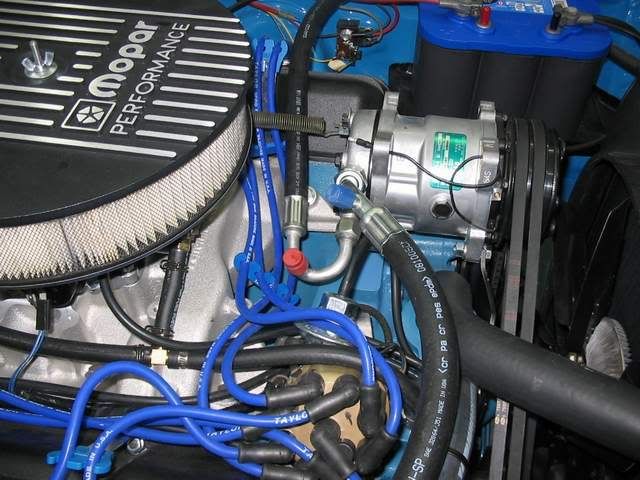
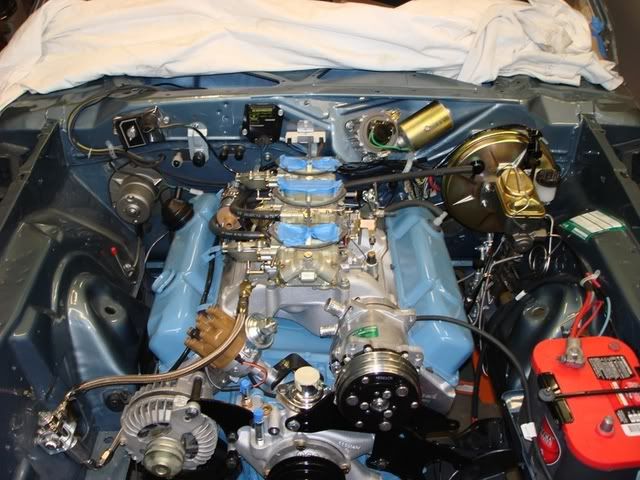
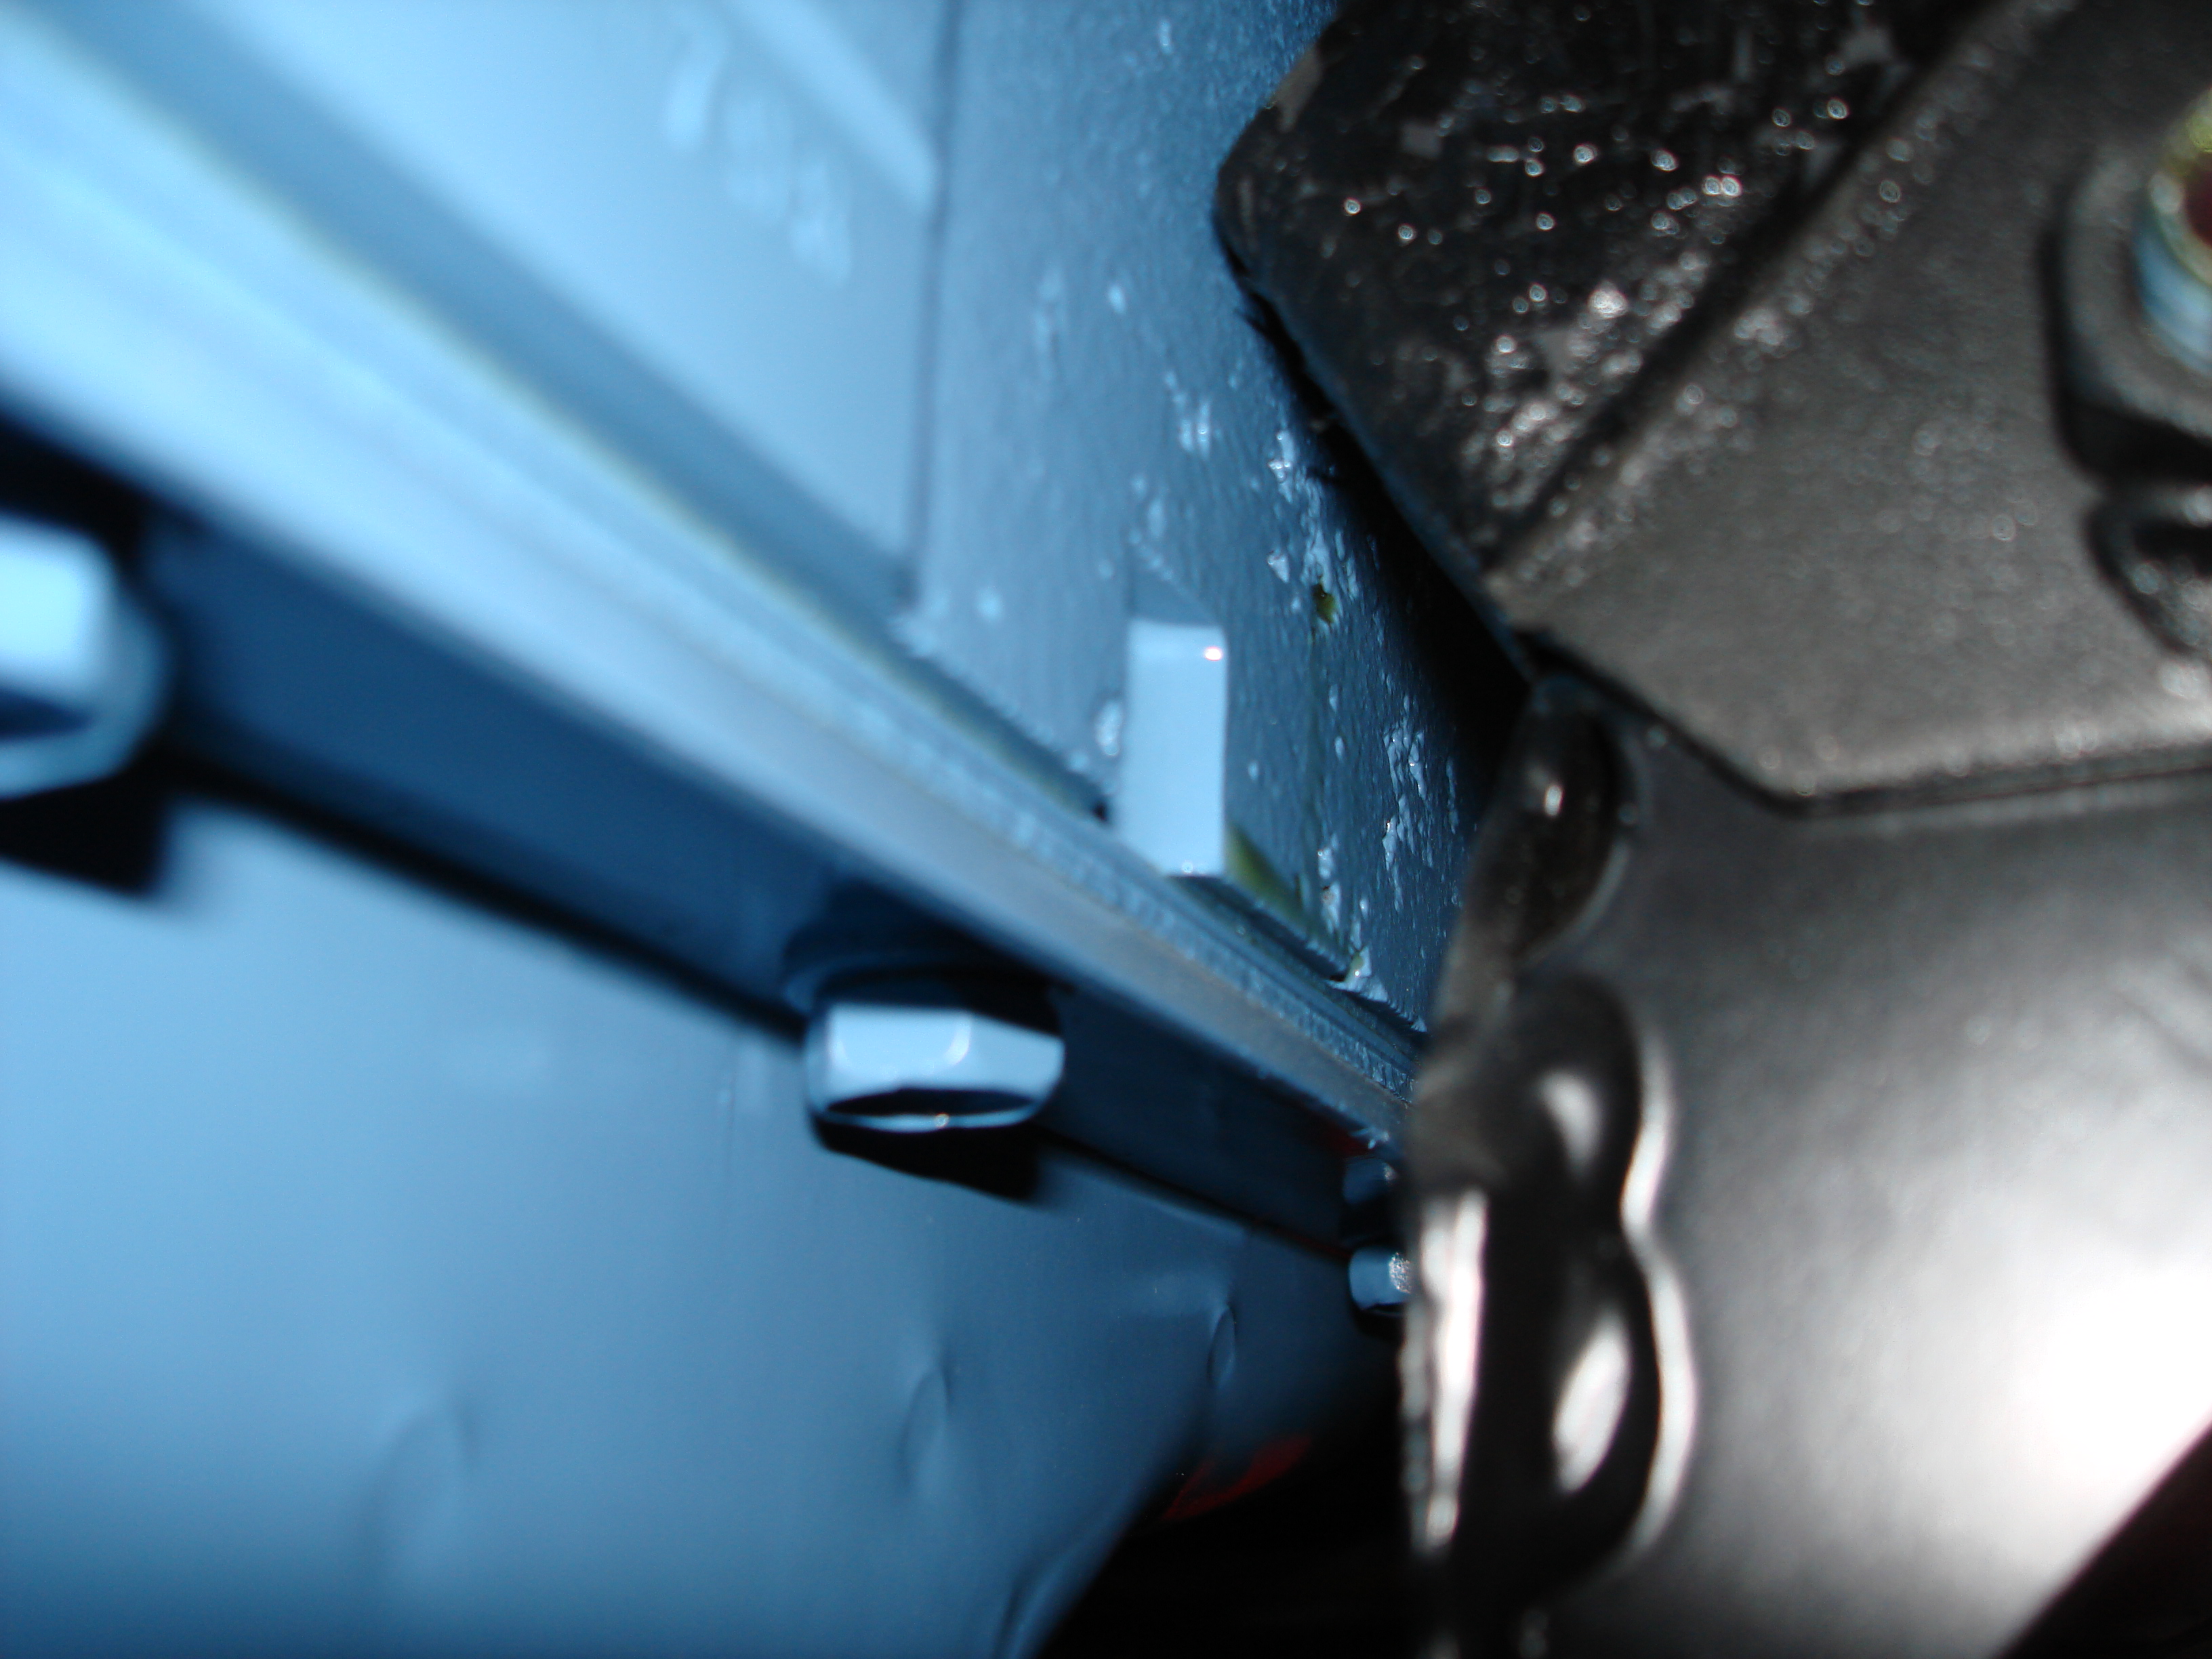
Classic Auto Air sent me fittings for the evaporator but due to the Mopar Performance (MSD) ignition module they wouldn't fit. But the stock ones fit like they were made for that unit! I sent them to Classic Auto Air and they cleaned them up and put the appropriate hoses on them. They leave the other end of the hose (where it attaches to the compressor) off. All you have to do is measure, fit, and cut the hose to the right length, then take it to any a/c shop to have the fitting swaged onto the hose. Here's a pix of the evaporator fittings. Also shows the stock expansion valve with the capillary tube that slips into the small tube on top of the evaporator suction fitting.
I might add, I took the foam insulation off the large fitting where the capillary tube attaches to take the picture.
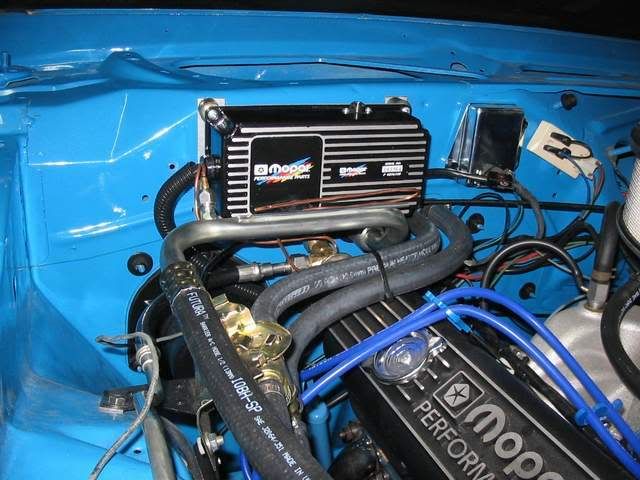
I was really surprised how easily it all went together and it works great!
In the FWIW department i left the little valve that depending on engine temp will advance the spark to add 50 rpm to the idle speed. (can't see it in the picture as it's underneath the heater hoses) This was a Mopar feature on the 440 engines with a/c to help cool the engine when at idle with the a/c on. I don't think it's really needed due to the more efficient system I have on now, but in the interest of nostalgia I left it in place. So far, even on a hot summer Louisiana day, sitting at a stop light with the a/c going full blast, I haven't even come close to overheating the motor.