Now its time to attach the wiring harness to the dash cluster.
- June 25th (2).jpg (89.64 KiB) Viewed 94980 times
As I started attaching wires in their proper places, everything started out going smoothly.
I plug in the headlight switch and the wiper switch, no issues there.
I go to plug in the heater motor and the dash lights for it and I run into a problem.
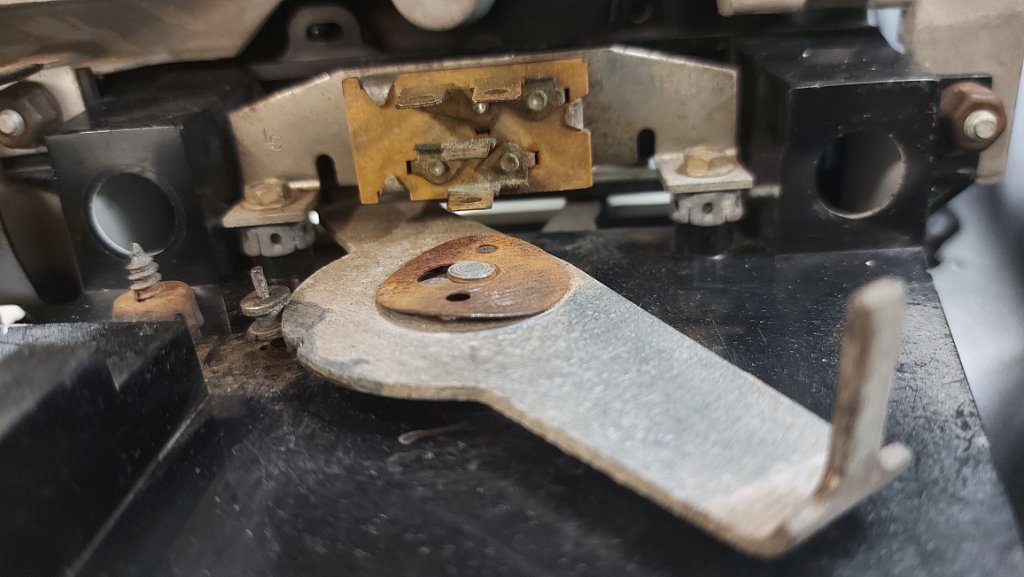
Now as most of you go know (or maybe didn't) that the heater control for 1971 cars is different from the 1972 cars & up.
The blower motor switch is above the heater control levers and mounted in a horizontal pattern.
Here's what it looks like on the back.
- June 25th (2).jpg (89.64 KiB) Viewed 94980 times
Now I see I have one dash light bulb and socket but not two as required.
Then it dawned on me.......this harness is for a 1972 B-body.
So now I call up a friend who has some B-body harnesses he's collected over the years and ask him if he has the 2 sockets and blower motor switch plug that I need.
He texts me back this picture.
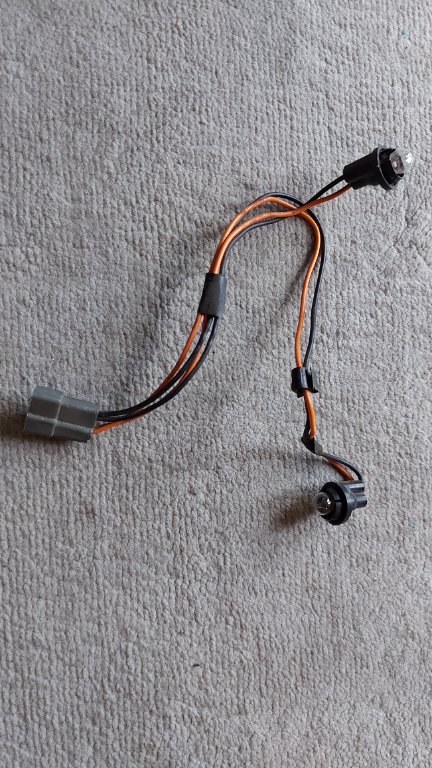
- 20220626_085122.jpg (120.81 KiB) Viewed 94980 times
Okay, what about the blower switch plug? he says you have to come to house and we'll have a look.
So, I go over there and we find a nice 1971 Charger SE harness and lo & behold the plug I need.
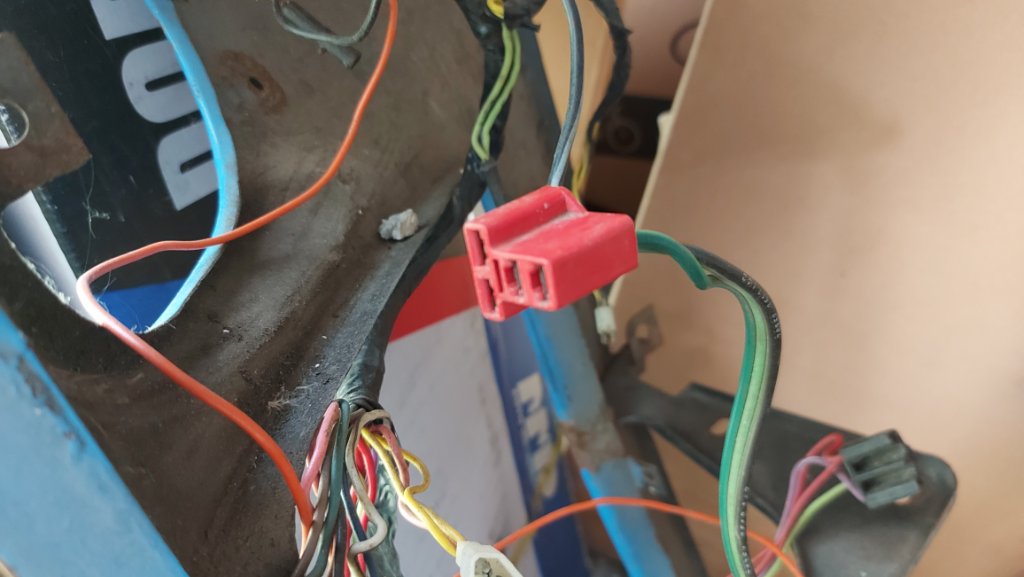
- 20220625_173932.jpg (72.17 KiB) Viewed 94980 times
But this harness has not been cut so he will not cut it for me. But at least I know what I'm looking for.
I buy the 2 light sockets and go home.
Well after a nights sleep I'm back at it and thought to go and look at the original wiring harness that came with the car.
Well holy crap

look what I find...
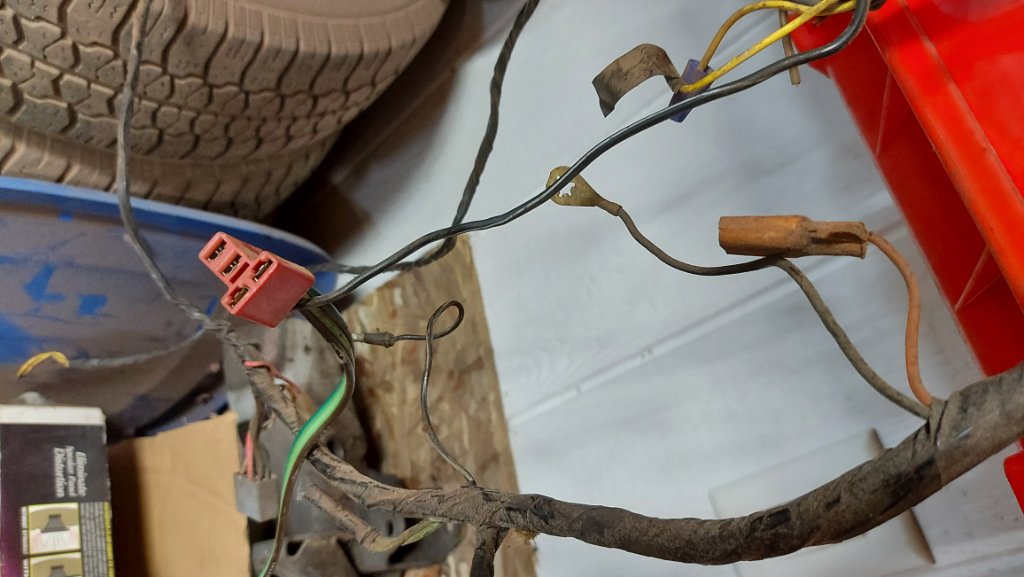
- June 26th (2).jpg (90.04 KiB) Viewed 94980 times
I've had it all along and the other end that plugs into the resistor is the correct one.
So one little splice and we are back in business.